Кофеварка Philips HD7753 - инструкция пользователя по применению, эксплуатации и установке на русском языке. Мы надеемся, она поможет вам решить возникшие у вас вопросы при эксплуатации техники.
Если остались вопросы, задайте их в комментариях после инструкции.
"Загружаем инструкцию", означает, что нужно подождать пока файл загрузится и можно будет его читать онлайн. Некоторые инструкции очень большие и время их появления зависит от вашей скорости интернета.


9
D
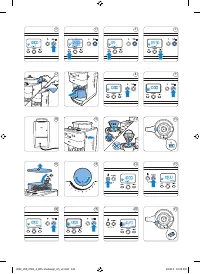
Note:
If you want to brew coffee with ground coffee,
press the pre-ground coffee button to switch off
the grinder before you select the number of cups.
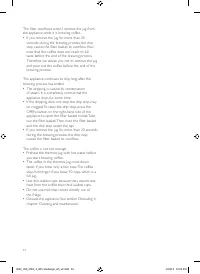
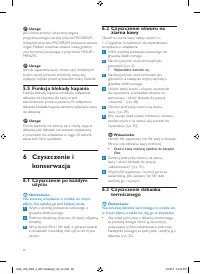
5.5 Drip stop function
The drip stop function enables you to remove
the jug from the coffeemaker before the brewing
process is finished. When you remove the jug, the
drip stop stops the flow of coffee into the jug.
D
Note:
The brewing process does not stop when you
remove the jug. If you do not put the jug back
in the appliance within 20 seconds, the filter
basket overflows.
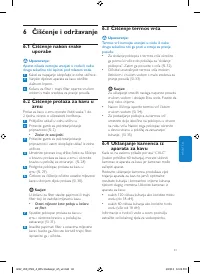
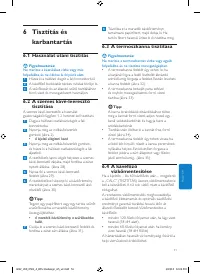
6 Cleaning and
maintenance
6.1 Cleaning after every use
B
Warning:
Never immerse the appliance in water or any
other liquid, nor rinse it under the tap.
1
Remove the mains plug from the wall socket.
2
Wipe the outside of the coffeemaker with a
damp cloth.
3
Clean the filter basket and the permanent
filter with hot water and some washing-up
liquid.
6.2 Cleaning the coffee bean
chute
You have to clean the coffee bean chute ever y
1 to 2 weeks, depending on the frequency of use.
1
Put the mains plug in the wall socket.
2
Press the star t/standby button (Fig. 2).
• The display lights up.
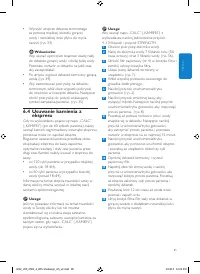
3
Press the star t/standby button and then
remove the mains plug from the wall socket.
5
Press the star t/standby button.
• The appliance beeps and the display lights up.
6
Press the pre-ground coffee button to switch
off the grinder (Fig. 8).
• The button lights up when you press it.
D
Note:
When you switch off the grinder, the number
of cups and the strength setting are not
shown on the display.
7
Follow steps 11 to 13 in section ‘Using coffee
beans’.
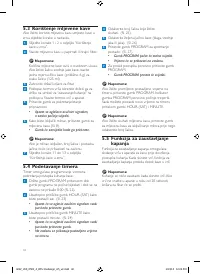
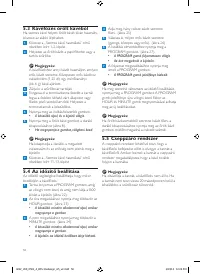
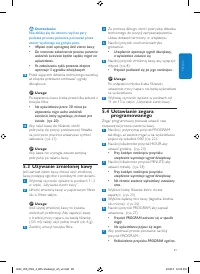
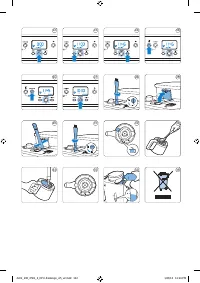
5.4 Setting the timer
The timer enables you to program the time for
star ting the coffee-making process.
1
Keep the PROGRAM button pressed until
the program button star ts flashing and 0:00
appears on the display (Fig. 22).
2
Press the HOUR button repeatedly to set the
hour. (Fig. 23)
• The appliance beeps each time you press
the button.
3
Press the MINUTE button repeatedly to set
the minutes. (Fig. 24)
• The appliance beeps each time you press
the button.
• The display shows the set timer time.
4
Select the number of cups you want to
brew. (Fig. 25)
5
Select the desired coffee strength
(mild, medium or strong). (Fig. 26)
6
Press the PROGRAM button to save the
settings. (Fig. 27)
• The PROGRAM button lights up
continuously.
• The clock time appears on the display.
7
To interrupt the process, press the
PROGRAM button again.
• The PROGRAM button light goes out.
D
Note:
If you want to change the set timer time, press
the PROGRAM button. The PROGRAM button
indicator star ts flashing again. Now you can set
the new timer time by pressing the HOUR and
MINUTE buttons.
ENGLISH
4222_200_0561_4_DFU-Redeisgn_A5_v2.indd 9
1/23/13 12:24 PM


