Кофеварка Philips HD7753 - инструкция пользователя по применению, эксплуатации и установке на русском языке. Мы надеемся, она поможет вам решить возникшие у вас вопросы при эксплуатации техники.
Если остались вопросы, задайте их в комментариях после инструкции.
"Загружаем инструкцию", означает, что нужно подождать пока файл загрузится и можно будет его читать онлайн. Некоторые инструкции очень большие и время их появления зависит от вашей скорости интернета.


8
B
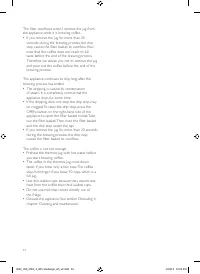
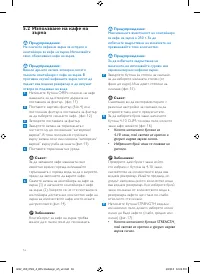
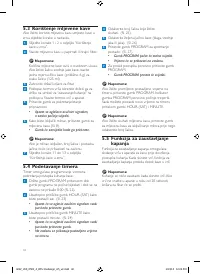
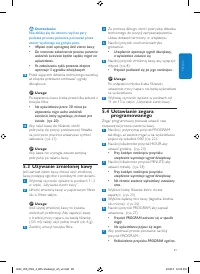
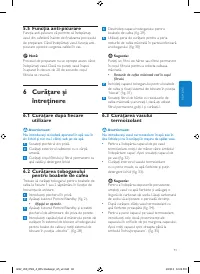
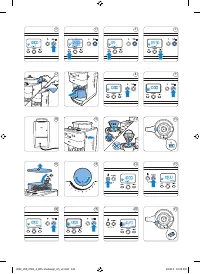
Warning:
Keep away from the steam vent during
brewing, as hot steam escapes through the
vent.
• The grinder grinds the required amount of
coffee beans.
• The freshness indicator flashes rapidly on
the display until the brewing process is
finished.
• The coffeemaker beeps 5 times when the
brewing process is finished.
12
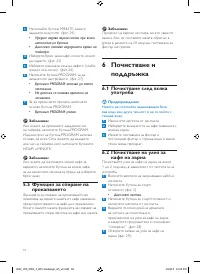
Wait until the coffeemaker has stopped
beeping before you remove the thermos jug.
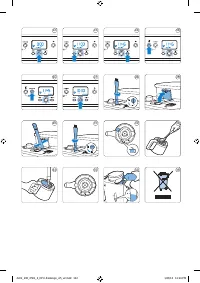
D
Note:
After brewing, coffee drips from the filter
basket for several seconds.
• The freshness indicator flashes slowly on
the display for 30 minutes after brewing,
to indicate that the coffee is fresh. (Fig. 20)
13
To pour out coffee, turn the lid to the ‘pour’
position. In this position, the arrowhead on
the lid points to the ‘pour’ symbol on the
rim (Fig. 21).
D
Note:
To keep the coffee hot, always close the lid
after pouring out.
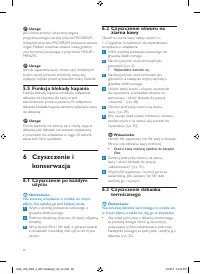
5.3 Using pre-ground coffee
If you want to use pre-ground coffee instead of
coffee beans, follow the steps below.
1
Follow steps 1 and 2 in section ‘Using coffee
beans’.
2
Put pre-ground coffee in the paper filter or in
the permanent filter.
D
Note:
How much pre-ground coffee you use is a
matter of personal taste. For a medium-strong
cup of coffee, use one measuring spoon
(approximately 6g) for each cup (125ml).
3
Close the filter basket holder.
4
Turn the lid of the thermos jug by its lever to
the ‘closed/brewing’ symbol on the lid. Put the
thermos jug in the appliance.
B
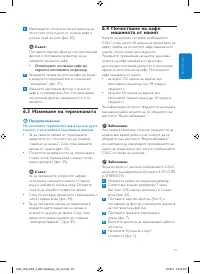
Warning:
The maximum capacity of the coffee bean
container is 250g. To prevent the grinder
from jamming, do not exceed this amount.
B
Warning:
To prevent the grinder from jamming, do not
use unroasted or caramelised beans.
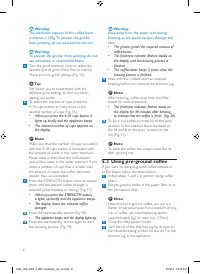
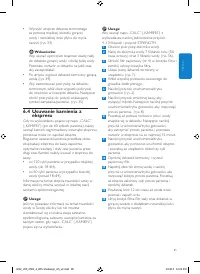
7
Turn the grind selection knob to select the
desired type of grind (from fine to coarse).
There are nine grind settings (Fig. 15).
E
Tip:
We advise you to experiment with the
different grind settings to find out which
setting you prefer.
8
To select the number of cups, press the
4-10 cups button as many times as the
desired number of cups (Fig. 16).
• When you press the 4-10 cups button, it
lights up briefly and the appliance beeps.
• The selected number of cups appears on
the display.
D
Note:
Make sure that the number of cups you select
with the 4-10 cups button is consistent with
the amount of water in the water reser voir.
Please keep in mind that the coffeemaker
uses all the water in the water reser voir. If you
select a number of cups that is smaller than
the amount of water, the coffee becomes
weaker than you intended.
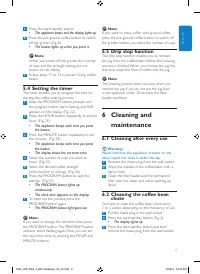
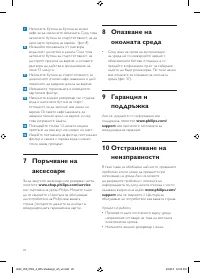
9
Press the STRENGTH button once or several
times until the desired coffee strength is
selected (mild, medium or strong) (Fig. 17).
• When you press the STRENGTH button,
it lights up briefly and the appliance beeps.
• The display shows the selected coffee
strength.
10
Press the star t/standby button (Fig. 18).
• The appliance beeps and the display lights up.
11
Press the star t/standby button again to star t
the brewing process (Fig. 19).
4222_200_0561_4_DFU-Redeisgn_A5_v2.indd 8
1/23/13 12:24 PM


