Кофеварка Philips HD7753 - инструкция пользователя по применению, эксплуатации и установке на русском языке. Мы надеемся, она поможет вам решить возникшие у вас вопросы при эксплуатации техники.
Если остались вопросы, задайте их в комментариях после инструкции.
"Загружаем инструкцию", означает, что нужно подождать пока файл загрузится и можно будет его читать онлайн. Некоторые инструкции очень большие и время их появления зависит от вашей скорости интернета.


7
D
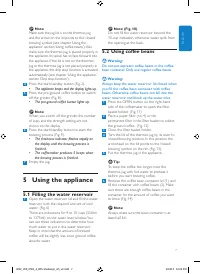
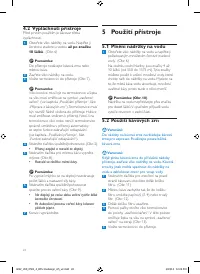
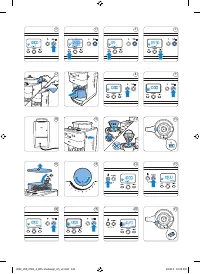
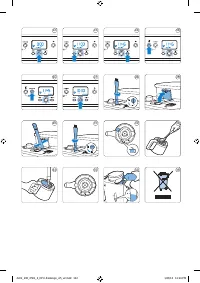
Note: (Fig. 10)
Do not fill the water reser voir beyond the
10-cup indication, otherwise water spills from
the opening at the back.
5.2 Using coffee beans
B
Warning:
Do not put espresso coffee beans in the coffee
bean container. Only use regular coffee beans.
B
Warning:
Always keep the water reservoir lid closed when
you fill the coffee bean container with coffee
beans. Otherwise coffee beans can fall into the
water reservoir and block up the water inlet.
1
Press the OPEN button on the right-hand
side of the coffeemaker to open the filter
basket holder. (Fig. 11)
2
Place a paper filter (no. 4) or the
permanent filter in the filter basket to collect
the ground coffee. (Fig. 12)
3
Close the filter basket holder.
4
Turn the lid of the thermos jug by its lever to
‘closed/brewing’ position. In this position the
arrowhead on the lid points to the ‘closed/
brewing’ symbol on the rim (Fig. 13).
5
Put the thermos jug in the appliance.
E
Tip:
To keep the coffee hot longer, rinse the
thermos jug with hot water to preheat it
before you star t brewing coffee.
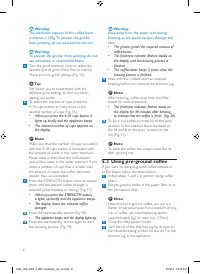
6
Remove the coffee bean container lid (1) and
fill the container with coffee beans (2). Make
sure there are enough coffee beans in the
container for the amount of coffee you want
to brew (Fig. 14).
D
Note:
Always make sure the bean container is at
least half full.
D
Note:
Make sure the jug lid is on the thermos jug
and the arrow on the lid points to the ‘closed/
brewing’ symbol (see chapter ‘Using the
appliance’, section ‘Using coffee beans’). Also
make sure the thermos jug is placed properly in
the appliance. Its spout has to face forward into
the appliance. If the lid is not on the thermos
jug or the thermos jug is not placed properly in
the appliance, the drip stop function is activated
automatically (see chapter ‘Using the appliance’,
section ‘Drip stop function’).
4
Press the star t/standby button (Fig. 2).
• The appliance beeps and the display lights up.
5
Press the pre-ground coffee button to switch
off the grinder (Fig. 8).
• The pre-ground coffee button lights up.
D
Note:
When you switch off the grinder, the number
of cups and the strength setting are not
shown on the display.
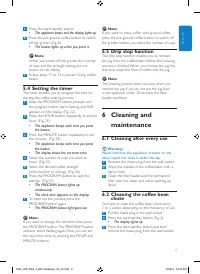
6
Press the star t/standby button to star t the
brewing process (Fig. 9).
• The freshness indicator flashes rapidly on
the display until the brewing process is
finished.
• The coffeemaker produces 5 beeps when
the brewing process is finished.
7
Empty the jug.
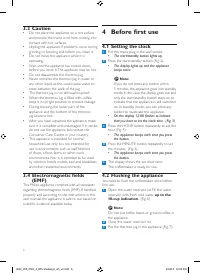
5 Using the appliance
5.1 Filling the water reservoir
1
Open the water reser voir lid and fill the water
reser voir with the required amount of cold
water. (Fig. 6)
There are indications for 4 to 10 cups (550ml
to 1375ml) on the water level window. You
can use these indications to determine how
much water to put in the water reser voir.
Keep in mind that the amount of brewed
coffee will be slightly less, since ground coffee
absorbs water.
ENGLISH
4222_200_0561_4_DFU-Redeisgn_A5_v2.indd 7
1/23/13 12:24 PM


