Кофеварка Philips HD7502 - инструкция пользователя по применению, эксплуатации и установке на русском языке. Мы надеемся, она поможет вам решить возникшие у вас вопросы при эксплуатации техники.
Если остались вопросы, задайте их в комментариях после инструкции.
"Загружаем инструкцию", означает, что нужно подождать пока файл загрузится и можно будет его читать онлайн. Некоторые инструкции очень большие и время их появления зависит от вашей скорости интернета.


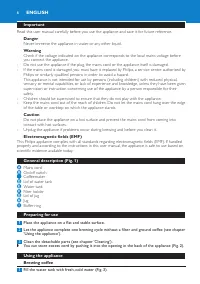
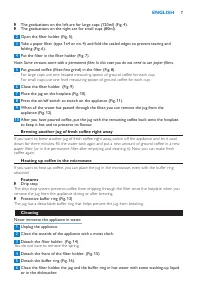
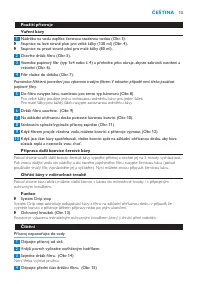

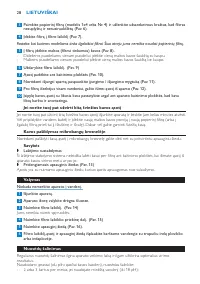
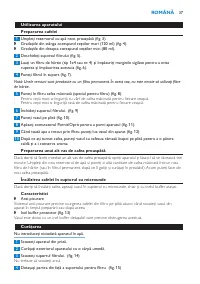
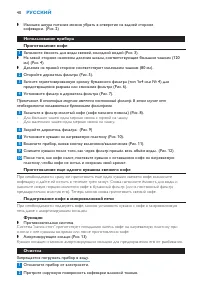

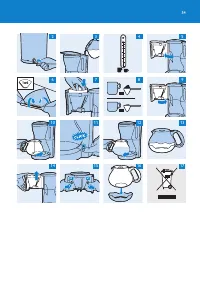


The graduations on the left are for large cups (120ml) (Fig. 4).
The graduations on the right are for small cups (80ml).
Open the ilter holder (Fig. 5).
Take a paper ilter (type 1x4 or no. 4) and fold the sealed edges to prevent tearing and
folding (Fig. 6).
Put the ilter in the ilter holder (Fig. 7).
Note: Some versions come with a permanent ilter. In this case you do not need to use paper ilters.
5
Put ground coffee (ilter-ine grind) in the ilter (Fig. 8).
For large cups: use one heaped measuring spoon of ground coffee for each cup.
For small cups: use one level measuring spoon of ground coffee for each cup.
6
Close the ilter holder. (Fig. 9)
7
Place the jug on the hotplate (Fig. 10).
8
Press the on/off switch to switch on the appliance (Fig. 11).
9
When all the water has passed through the ilter, you can remove the jug from the
appliance (Fig. 12).
10
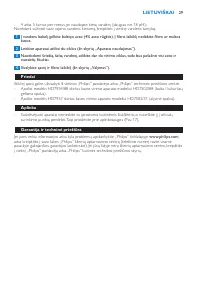
After you have poured coffee, put the jug with the remaining coffee back onto the hotplate
to keep it hot and to preserve its lavour.
Brewing another jug of fresh coffee right away
If you want to brew another jug of fresh coffee right away, switch off the appliance and let it cool
down for three minutes. Fill the water tank again and put a new amount of ground coffee in a new
paper ilter (or in the permanent ilter after emptying and cleaning it). Now you can make fresh
coffee again.
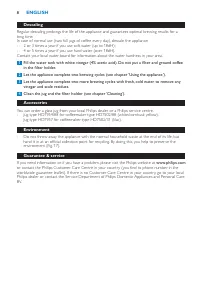
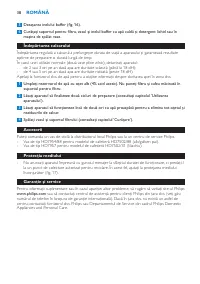
Heating up coffee in the microwave
If you want to heat up coffee, you can place the jug in the microwave, even with the buffer ring
attached.
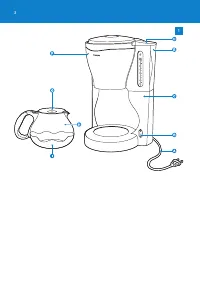
Features
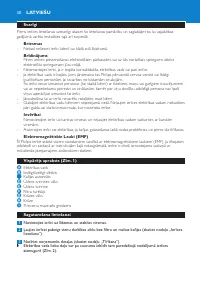
Drip stop
The drip stop system prevents coffee from dripping through the ilter onto the hotplate when you
remove the jug from the appliance during or after brewing.
Protective buffer ring (Fig. 13)
The jug has a detachable buffer ring that helps prevent the jug from breaking.
Cleaning
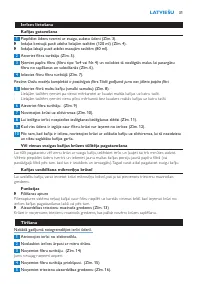
Never immerse the appliance in water.
1
Unplug the appliance.
Clean the outside of the appliance with a moist cloth.
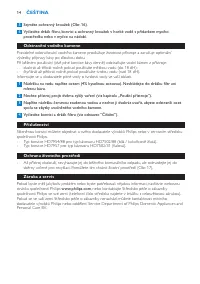
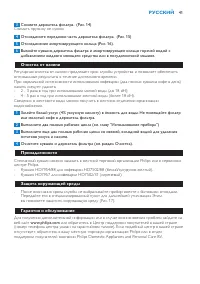
Detach the ilter holder. (Fig. 14)
You do not have to remove the spring.
Detach the front of the ilter holder. (Fig. 15)
5
Detach the buffer ring (Fig. 16).
6
Clean the ilter holder, the jug and the buffer ring in hot water with some washing-up liquid
or in the dishwasher.
,
,
-
-
,
,
EnglisH
7


