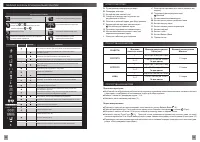
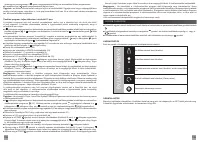
Кофеварка Krups EA815E70 - инструкция пользователя по применению, эксплуатации и установке на русском языке. Мы надеемся, она поможет вам решить возникшие у вас вопросы при эксплуатации техники.
Если остались вопросы, задайте их в комментариях после инструкции.
"Загружаем инструкцию", означает, что нужно подождать пока файл загрузится и можно будет его читать онлайн. Некоторые инструкции очень большие и время их появления зависит от вашей скорости интернета.


29
28
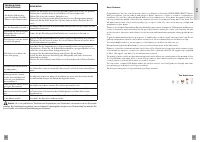
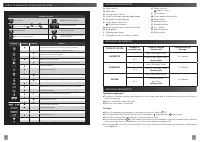
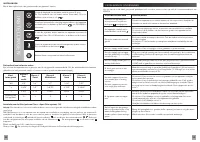
If one of the problems described in the table persists, contact KRUPS customer service.
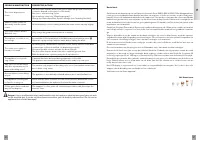
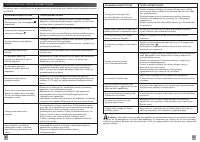
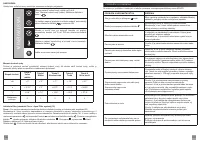
PROBLEM MALFUNCTION
CORRECTIVE ACTION
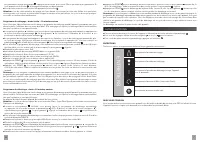
Your machine detects a fault:
a symbol appears.
Switch off and disconnect the machine, remove the filter cartridge, wait for a
minute and restart the machine.
The appliance does not turn
on when the button is
pressed.
Check your fuses and plug sockets.
Check that the two power plugs are pushed in properly both on the appliance
and at the socket.
The coffee grinder makes a
strange noise.
There is a foreign body in the grinder. Disconnect the machine before inves-
tigating.
See if you can extract the foreign body using your vacuum cleaner.
The steam nozzle makes a
noise.
Check that the steam nozzle is correctly attached to its corresponding end
piece.
The steam nozzle on your
machine seems partially or
completely clogged.
Ensure that the opening in the end piece is not obstructed by milk residue or
limescale. Unclog the holes with the needle supplied with your appliance.
The steam nozzle makes little
or no milk froth.
For milk-based drinks, you use very fresh, very cold pasteurised or UHT milk.
It is also advisable to use a cold container. If the results do not improve, try
changing the brand of milk.
No steam comes out of the
nozzle.
Empty the tank and temporarily remove the filter cartridge. Fill the water tank
with mineral water which is high in calcium (> 100 mg/l) and run successive
steam cycles.
The auto-cappuccino setting
makes little or no froth.
The auto-cappuccino setting
does not take in milk.
Check that the accessory is correctly attached to the appliance, remove it
then replace it.
Check that the flexible tube is not obstructed or pierced and that it is correctly
attached to the accessory so as to make it airtight. Rinse and clean the ac-
cessory (refer to the “Auto-cappuccino accessory” chapter).
There is water underneath the
appliance.
Before removing the water tank, wait for 15 seconds after the coffee has fini-
shed flowing so that the machine finishes its cycle properly.
Check that the drip tray is correctly positioned on the machine; it should
always be in place, even when the appliance is not in use.
Check that the drip tray is not full.
The drip tray should not be removed during a cycle.
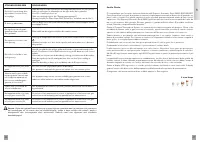
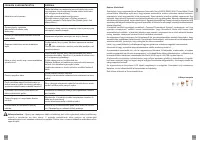
After emptying the coffee
grounds collector, the warning
message is still displayed on
the screen.
Correctly replace the coffee grounds collector and follow the instructions on
the screen.
Wait at least 8 seconds before replacing them.
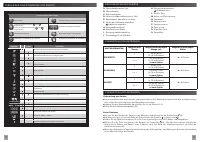
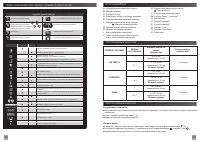
TROUBLESHOOTING
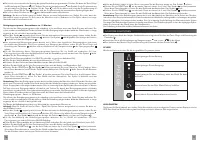
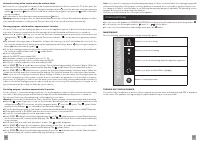
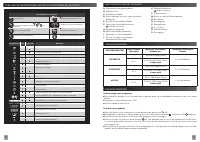
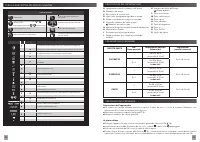
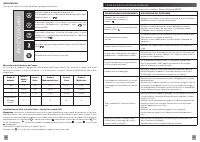
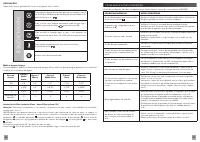
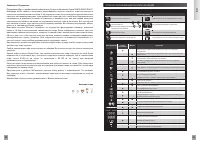
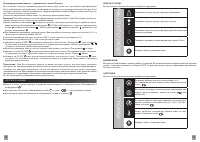
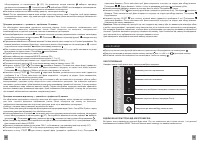
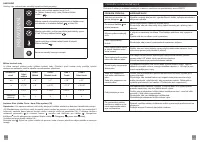
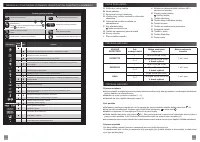
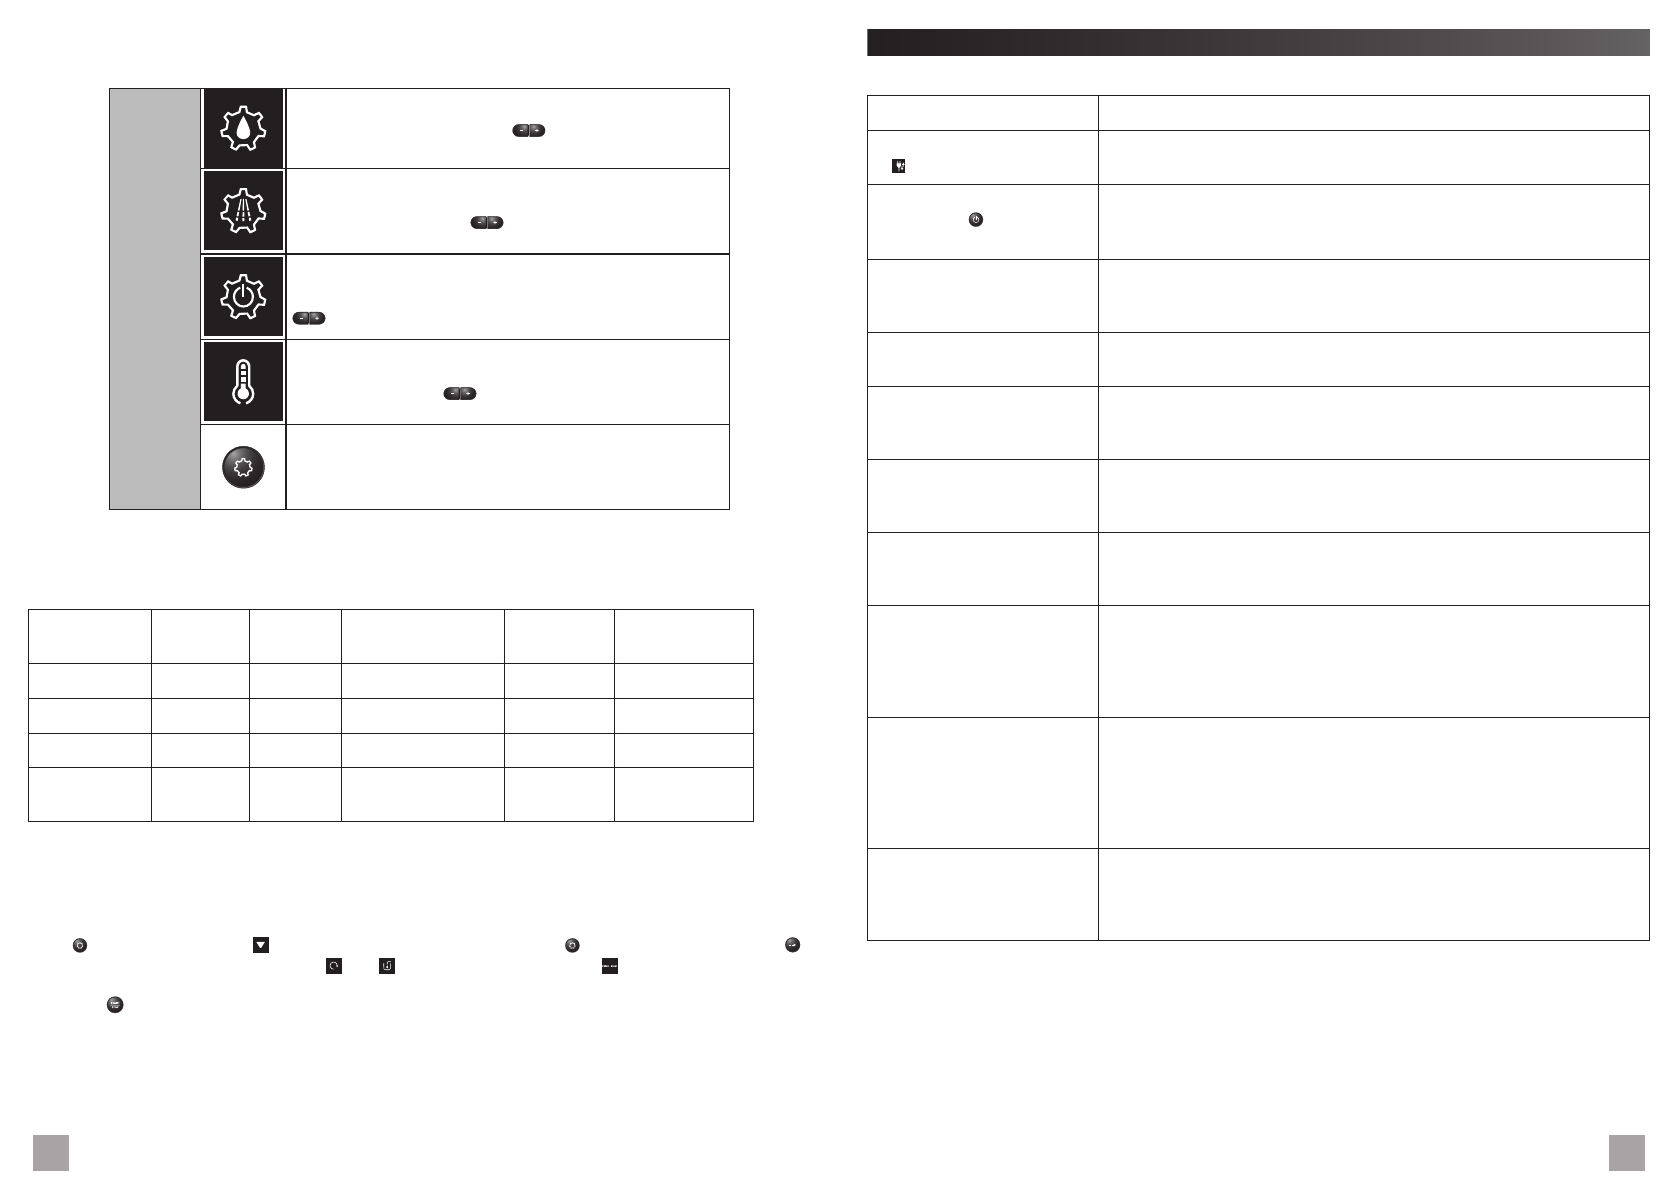
SETTINGS
All of the following options allow you to run the selected programs:
SETTINGS
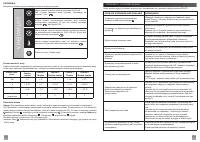
You can set your water hardness between 0 and 4 by
pressing the + or – buttons
. See “Measuring water
hardness” (below)
You can program automatic rinsing each time the appliance is
turned on by pressing the
buttons and selecting ON.
You can choose the period after which your appliance will turn off
automatically (between 15 and 120 minutes by pressing the
buttons).
You can adjust the temperature of your coffee to three different
levels by pressing the
buttons.
Return to coffee types menu.
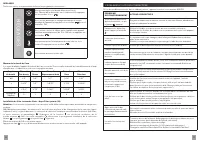
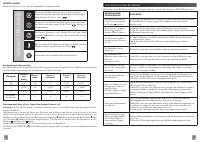
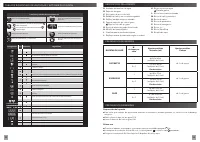
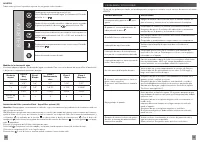
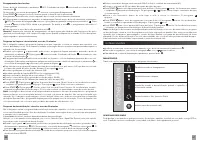
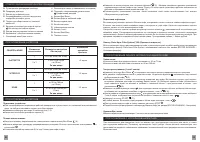
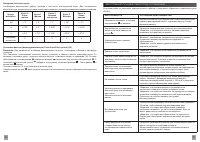
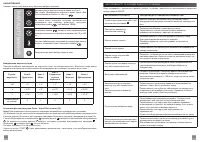
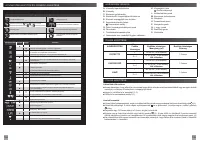
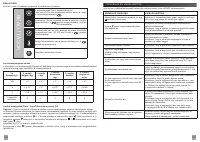
Measuring water hardness
It is advisable to adjust the appliance according to the hardness of the water used. To check the water hardness, use
the stick supplied with your machine or contact your local water authority.
Degree of
hardness
Class 0
Very soft
Class 1
Soft
Class 2
Average hardness
Class 3
Hard
Class 4
Very hard
° dH
< 3°
> 4°
> 7°
> 14°
> 21°
° e
< 3,75°
> 5°
> 8,75°
> 17,5°
> 26,25°
° f
< 5,4°
> 7,2°
> 12,6°
> 25,2°
> 37,8°
Appliance
settings
0
1
2
3
4
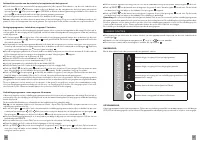
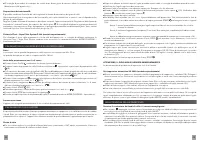
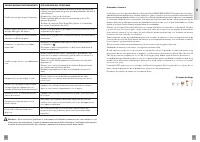
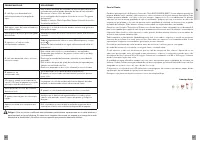
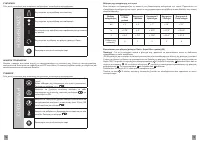
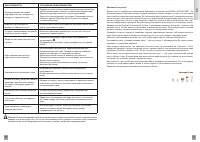
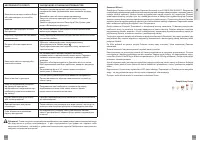
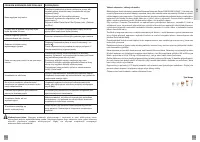
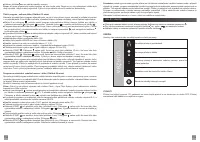
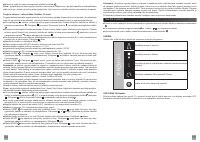
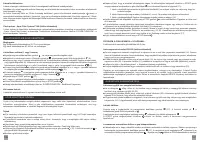
Installing the filter (Claris - Aqua Filter System cartridge) (32)
Note :
To correctly install your cartridge, ensure that you follow the installation procedure each time you replace it.
(33) A mechanism which memorises the month in which the cartridge was changed and replaced (after a maximum
of 2 months): set the date using the cartridge cursor. Fit the cartridge in the tank (34). In the maintenance and settings
menu , the function indicator is located above the maintenance button . Using the navigation button ,
select the filter cartridge installation symbol . The symbols and the start button start to flash.
Place a 0.6 L container under the steam nozzle.
Press start . The start-up cycle begins and finished when the coffee types menu appears
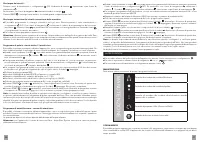
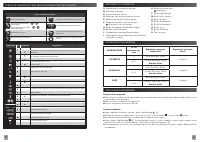
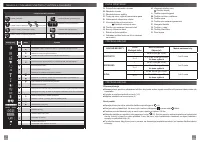
Характеристики

Остались вопросы?Не нашли свой ответ в руководстве или возникли другие проблемы? Задайте свой вопрос в форме ниже с подробным описанием вашей ситуации, чтобы другие люди и специалисты смогли дать на него ответ. Если вы знаете как решить проблему другого человека, пожалуйста, подскажите ему :)


