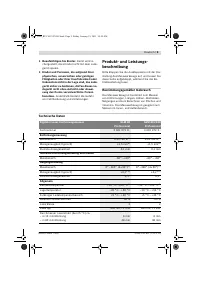
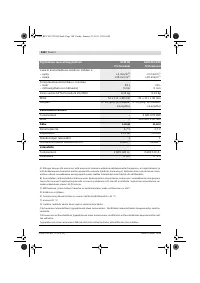
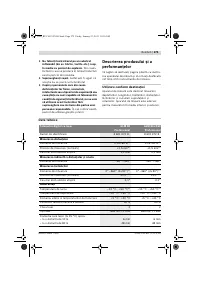
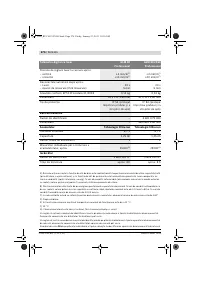
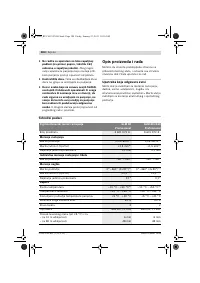
Измерительные приборы Bosch GLM 80 шина R60 - инструкция пользователя по применению, эксплуатации и установке на русском языке. Мы надеемся, она поможет вам решить возникшие у вас вопросы при эксплуатации техники.
Если остались вопросы, задайте их в комментариях после инструкции.
"Загружаем инструкцию", означает, что нужно подождать пока файл загрузится и можно будет его читать онлайн. Некоторые инструкции очень большие и время их появления зависит от вашей скорости интернета.


30
| English
2 609 140 807 | (21.1.11)
Bosch Power Tools
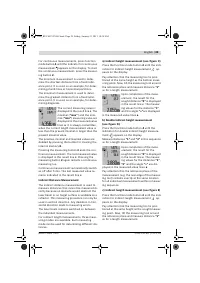
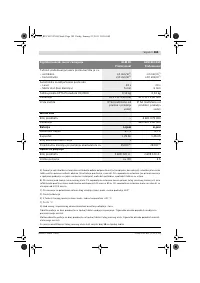
Upon completion of the meas-
urement, the result for the
sought distance
“X”
is displayed
in the result line
c
. The measur-
ing values for the distance
“1”
and the angle
“
α
”
are displayed
in the measured-value lines
a
.
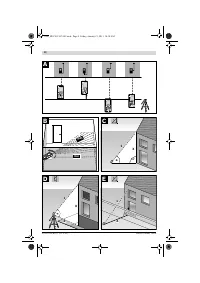
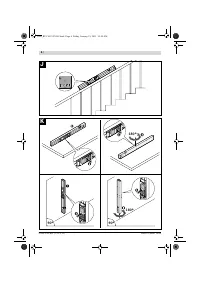
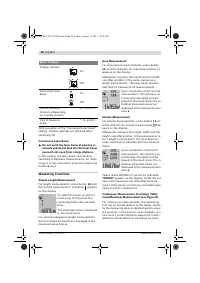
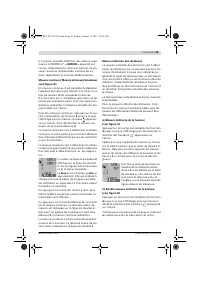
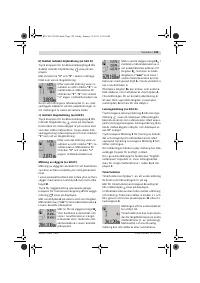
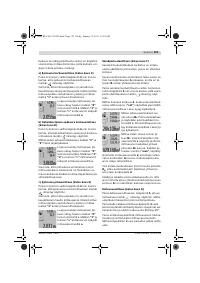
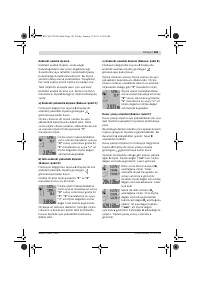
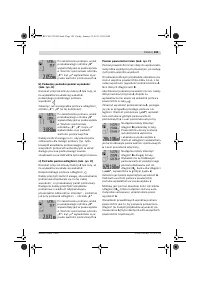
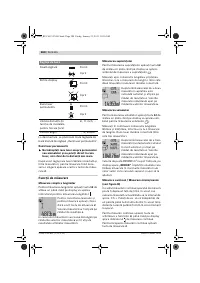
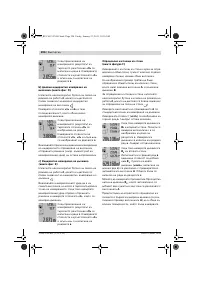
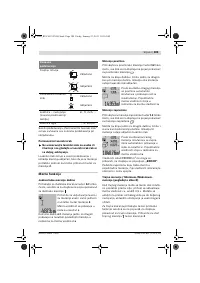
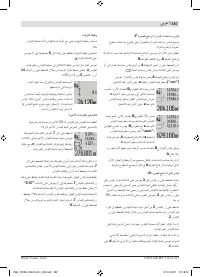
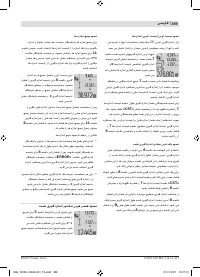
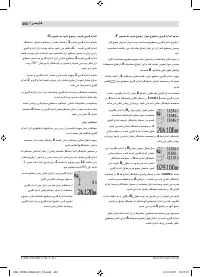
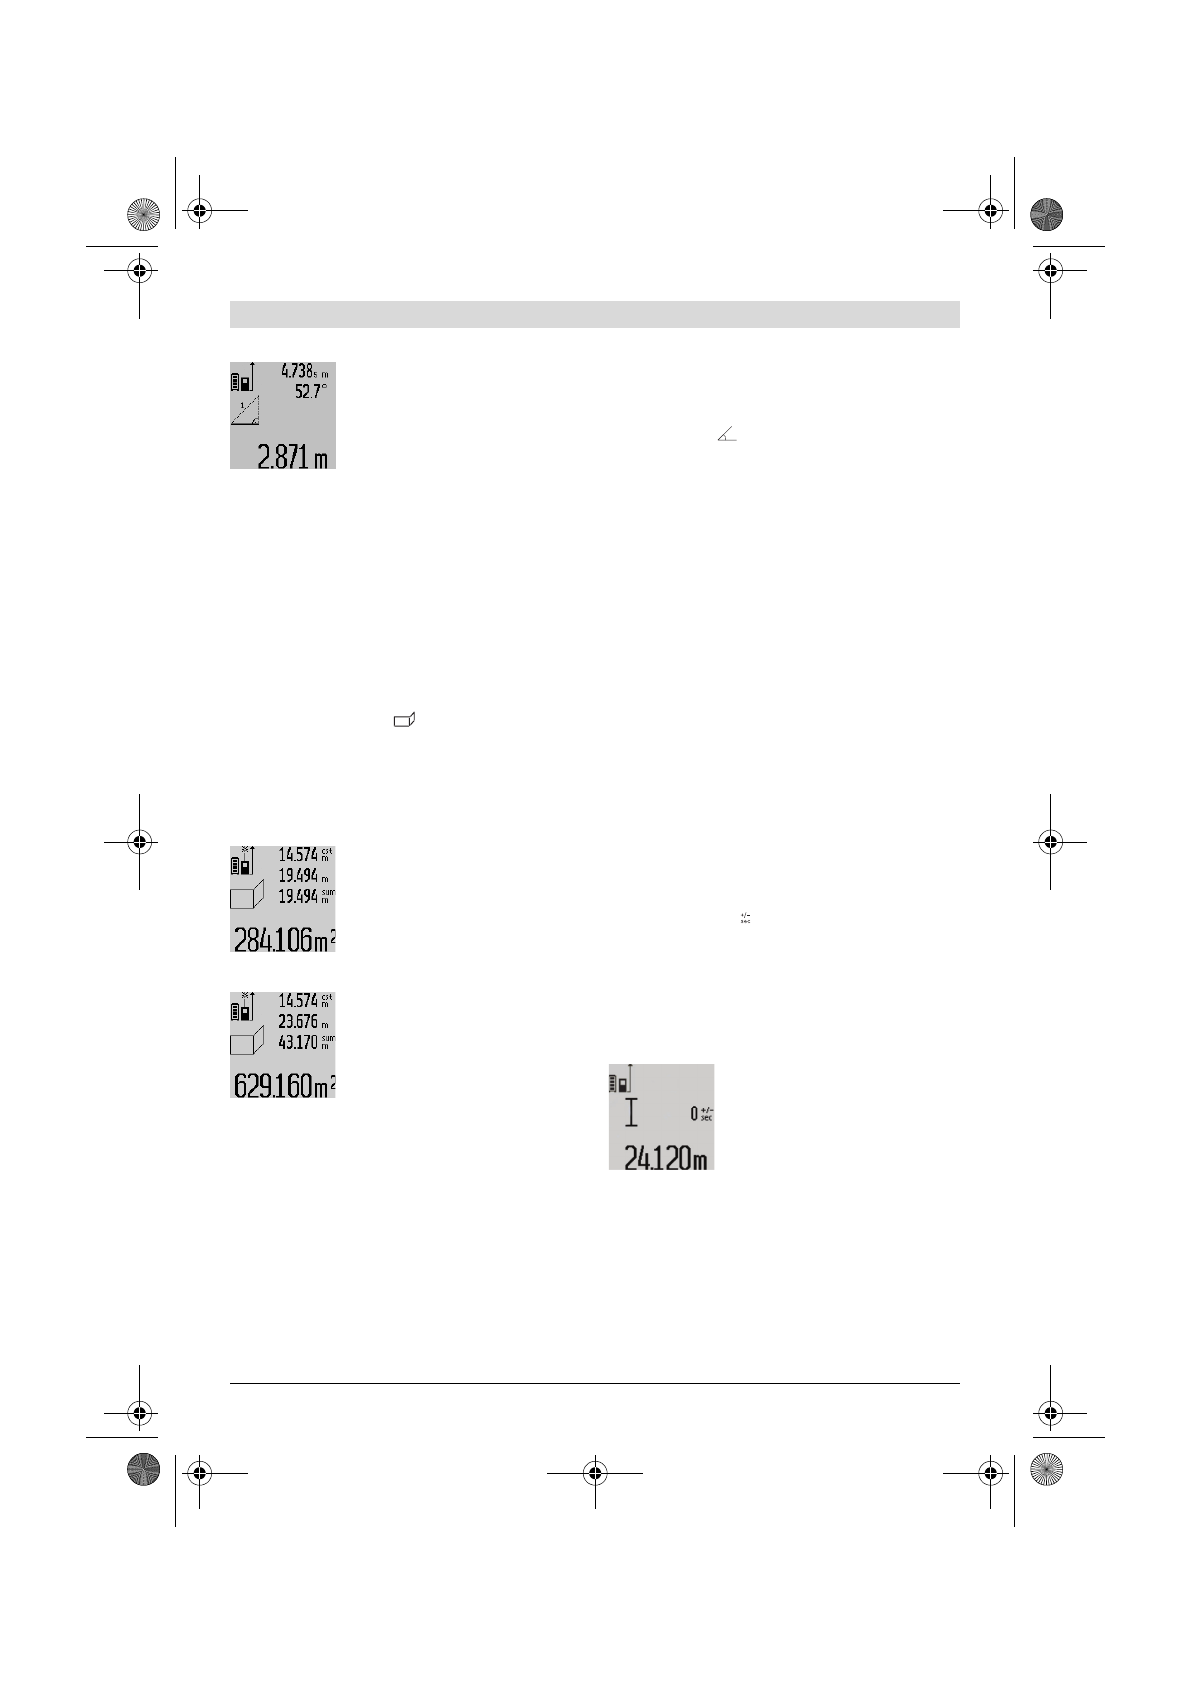
Wall Surface Measurement (see figure F)
The wall surface measurement is used to deter-
mine the sum of several individual surfaces with
a common height.
In the example shown, the total surface of sev-
eral walls that have the same room height
A
, but
different lengths
B
, are to be determined.
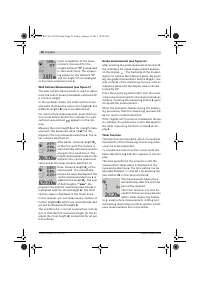
For wall surface measurements, press the func-
tion-mode button
4
until the indicator for wall
surface measurement
appears on the dis-
play.
Measure the room height
A
as for a length meas-
urement. The measured value (
“cst”
) is dis-
played in the top measured-value line
a
. The la-
ser remains switched on.
Afterwards, measure length
B
1
of the first wall. The surface is
automatically calculated and dis-
played in the result line
c
. The
length measurement value is dis-
played in the centre measured-
value line
a
. The laser remains switched on.
Now, measure length
B
2
of the
second wall. The individually
measured value displayed in the
centre measured-value line
a
is
added to the length
B
1
. The sum
of both lengths (
“sum”
, dis-
played in the bottom measured-value line
a
) is
multiplied with the stored height
A
. The total
surface value is displayed in the result line
c
.
In this manner, you can measure any number of
further lengths
B
X
, which are automatically add-
ed and multiplied with height
A
.
The condition for a correct area/surface calcula-
tion is that the first measured length (in the ex-
ample the room height
A
) is identical for all par-
tial surfaces.
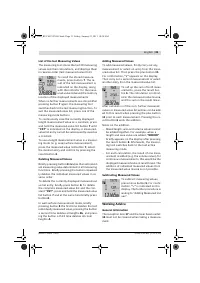
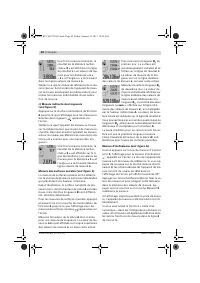
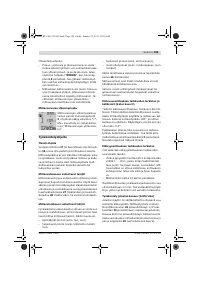
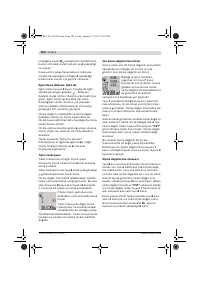
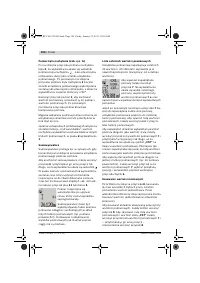
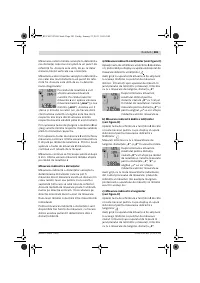
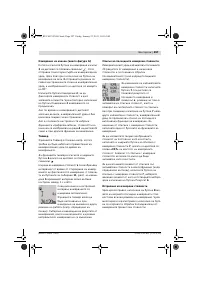
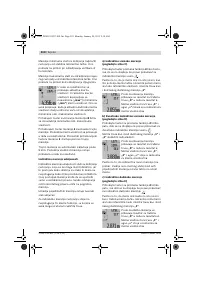
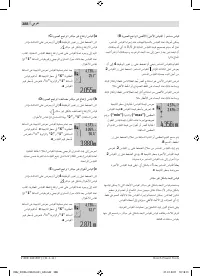
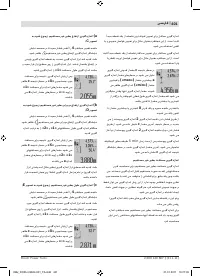
Grade measurement (see figure G)
After pressing the grade measurement button
3
,
the indication for grade measurement appears
on the display
. The backside of the measur-
ing tool is used as the reference plane. By press-
ing the grade measurement button
3
again, the
side surfaces of the measuring tool are used as
reference plane and the display view is shown
turned by 90°.
Press the measuring button
2
to lock the meas-
uring value and accept it in the measured values
memory. Pressing the measuring button
2
again
continues the measurement.
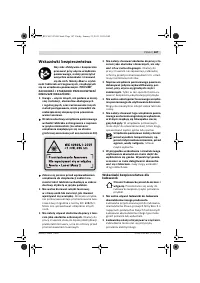
When the indication flashes during the measur-
ing procedure, then the measuring tool was tilt-
ed too much in lateral direction.
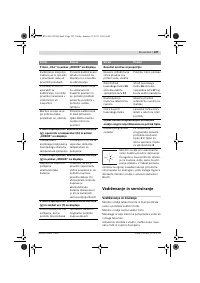
If the “digital vial” function is activated in the ba-
sic settings, the grade value is also displayed in
the other measuring functions in line
d
of dis-
play
1
.
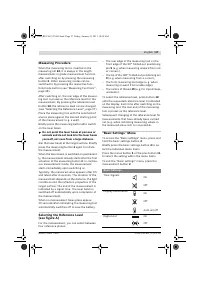
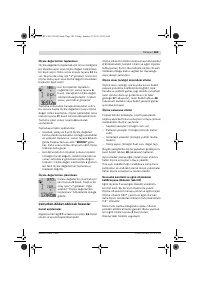
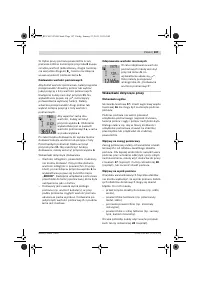
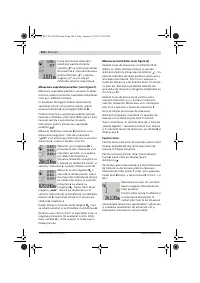
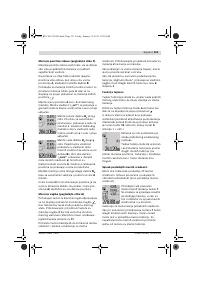
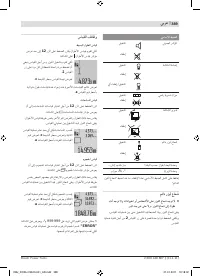
Timer function
The timer function is helpful, when, for example,
movements of the measuring tool during meas-
uring are to be prevented.
To activate the timer function, press and hold
button
6
until the indicator appears in the dis-
play.
The time period from the actuation until the
measurement takes place is displayed in the
measured-value line
a
. The time period can be
adjusted between 1 s and 60 s by pressing the
plus button
11
or the minus button
5
.
The measurement takes place
automatically after the set time
period has elapsed.
The timer function can also be
used for distance measurements
within other measuring modes
(e. g. area/surface measurement). Adding and
subtracting measuring results as well as contin-
uous measurements are not possible.
OBJ_BUCH-1347-001.book Page 30 Friday, January 21, 2011 10:30 AM
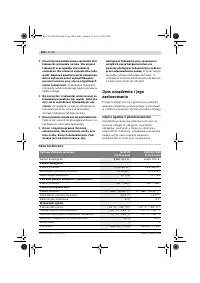
Содержание
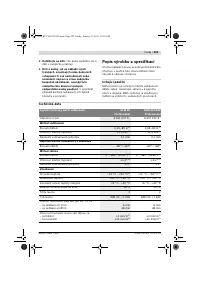
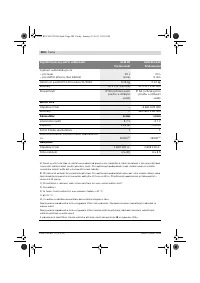
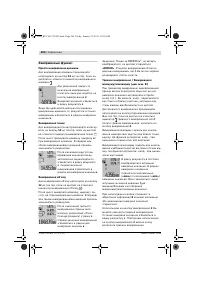
- 244 Описание продукта и услуг; Применение по назначению; Цифровой лазерный дальномер
- 245 Измерение угла наклона
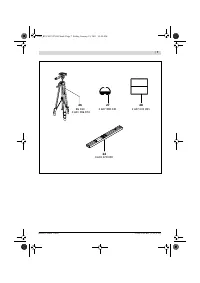
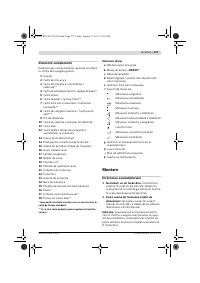
- 246 Изображенные составные части; Зарядное устройство
- 247 Элементы индикации; Сборка; Зарядка аккумулятора; Примите во внимание напряжение в сети!
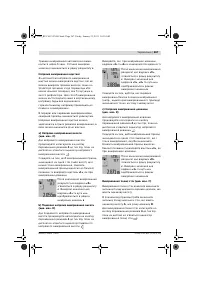
- 248 Работа с инструментом; Эксплуатация; включения; Измерение
- 249 Меню «Основные настройки»
- 250 Непрерывный лазерный луч; Режимы измерений; Простое измерение длины
- 251 «max»
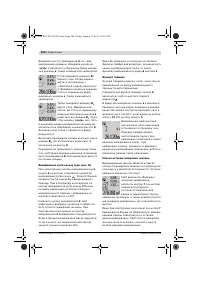
- 253 Список последних измеренных значений
- 254 Указания по применению; Общие указания
- 255 Проверка точности измерения расстояния; Неисправность; Причина
- 256 » на дисплее
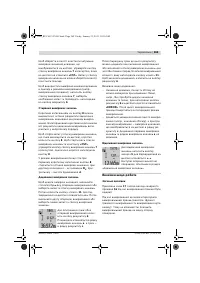
- 257 Техобслуживание и сервис; Техобслуживание и очистка
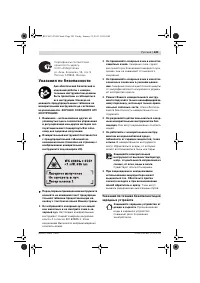
- 258 Россия; Утилизация


