
Измерительные приборы Bosch GLM 40 - инструкция пользователя по применению, эксплуатации и установке на русском языке. Мы надеемся, она поможет вам решить возникшие у вас вопросы при эксплуатации техники.
Если остались вопросы, задайте их в комментариях после инструкции.
"Загружаем инструкцию", означает, что нужно подождать пока файл загрузится и можно будет его читать онлайн. Некоторые инструкции очень большие и время их появления зависит от вашей скорости интернета.


English |
25
Bosch Power Tools
2 609 141 206 | (14.8.14)
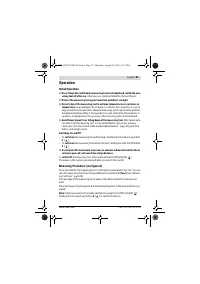
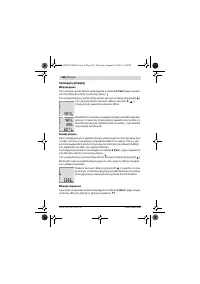
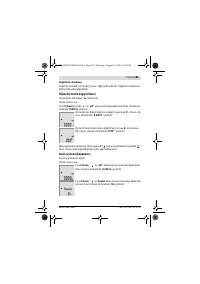
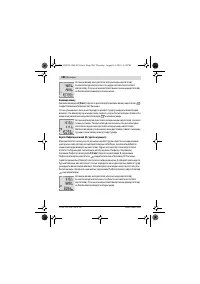
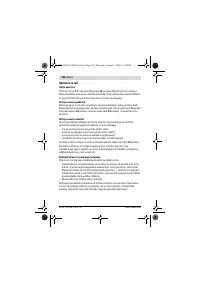
Operation
Initial Operation
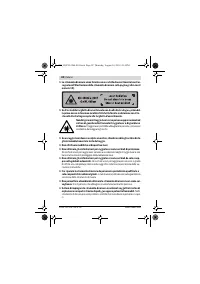
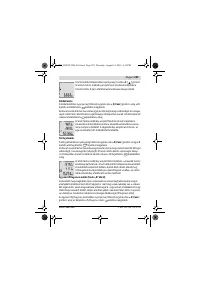
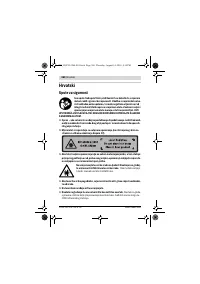
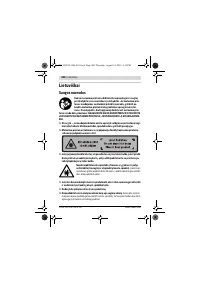
Do not leave the switched-on measuring tool unattended and switch the mea-
suring tool off after use.
Other persons could be blinded by the laser beam.
Protect the measuring tool against moisture and direct sun light.
Do not subject the measuring tool to extreme temperatures or variations in
temperature.
As an example, do not leave it in vehicles for a long time. In case of
large variations in temperature, allow the measuring tool to adjust to the ambient
temperature before putting it into operation. In case of extreme temperatures or
variations in temperature, the accuracy of the measuring tool can be impaired.
Avoid heavy impact to or falling down of the measuring tool.
After severe exte-
rior effects to the measuring tool, it is recommended to carry out an accuracy
check (see “Accuracy Check of the Distance Measurement”, page 31) each time
before continuing to work.
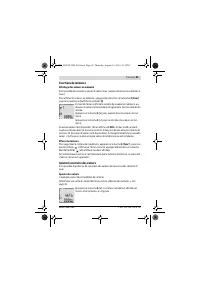
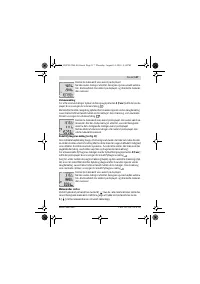
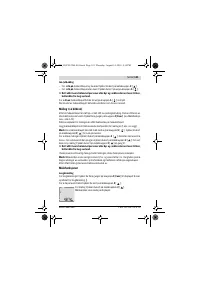
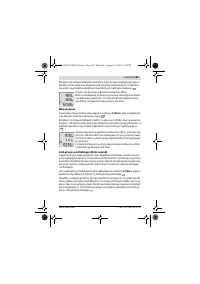
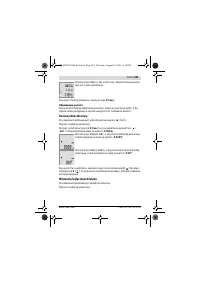
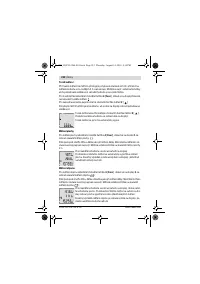
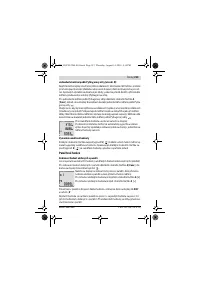
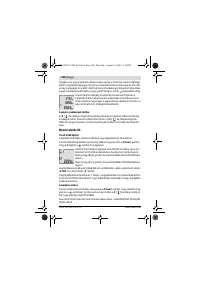
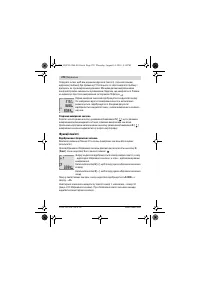
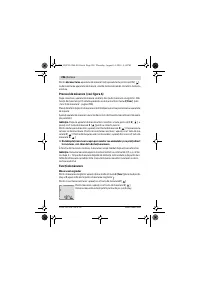
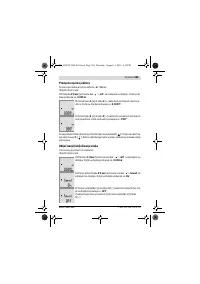
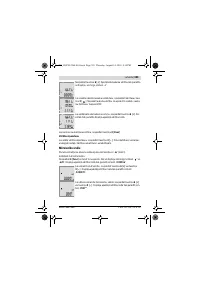
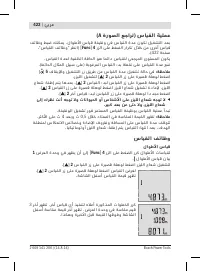
Switching On and Off
– To
switch on
the measuring tool and the laser, briefly press the measuring button
2
[
].
– To
switch on
the measuring tool without the laser, briefly press the On/Off button
5
[
].
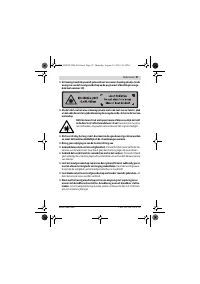
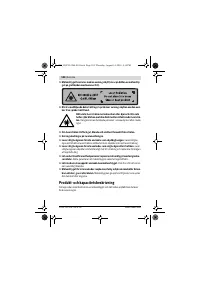
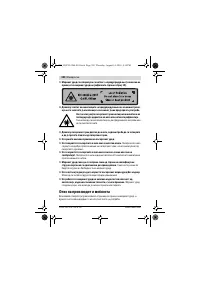
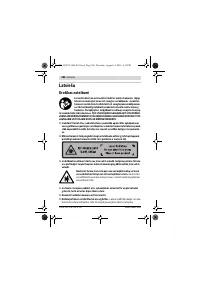
Do not point the laser beam at persons or animals and do not look into the la-
ser beam yourself, not even from a large distance.
To
switch off
the measuring tool, press and hold the On/Off button
5
[
].
The values in the memory are retained when you switch the tool off.
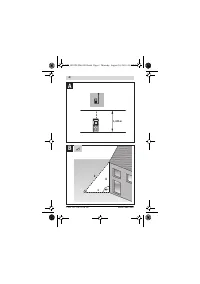
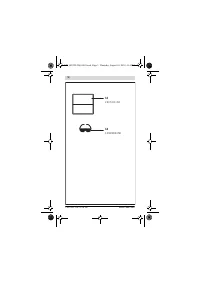
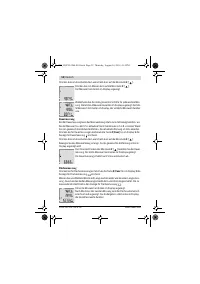
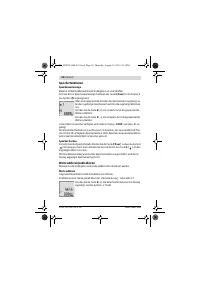
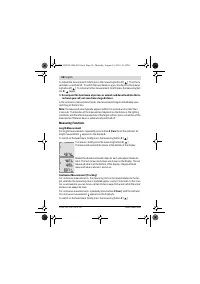
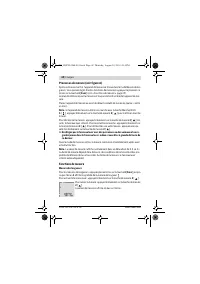
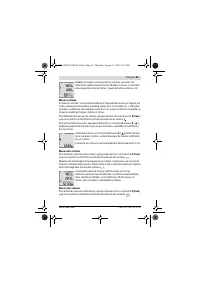
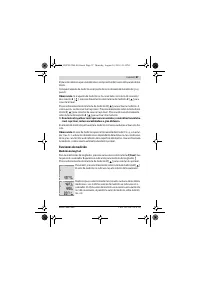
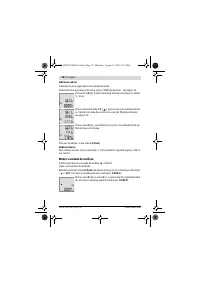
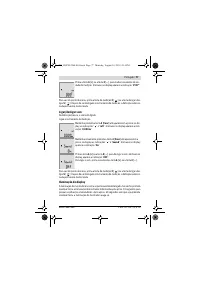
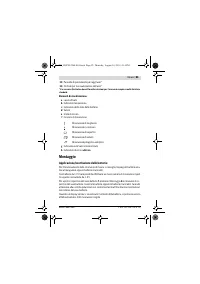
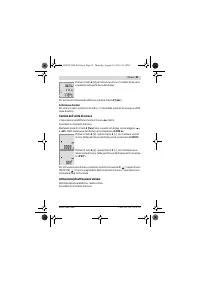
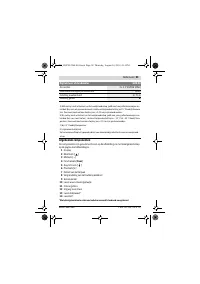
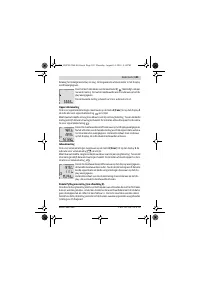
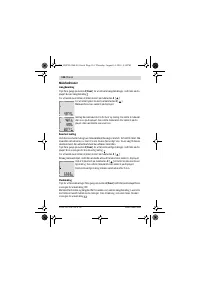
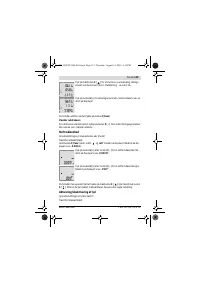
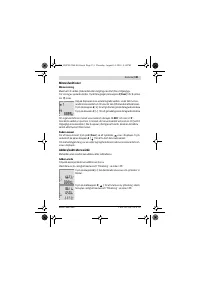
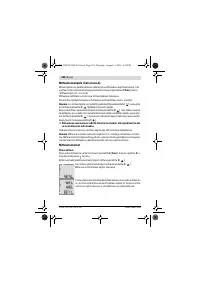
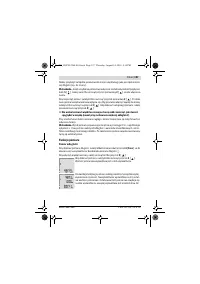
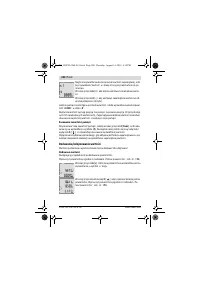
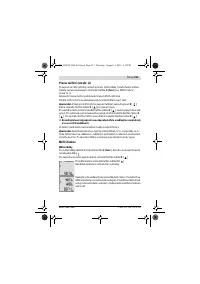
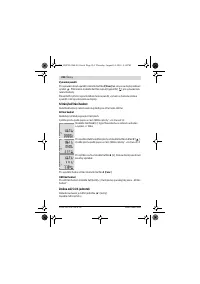
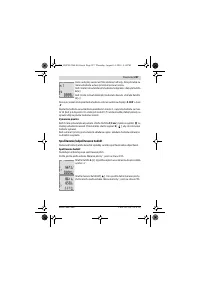
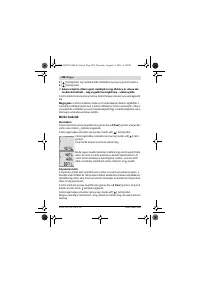
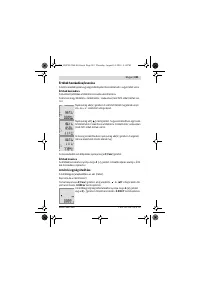
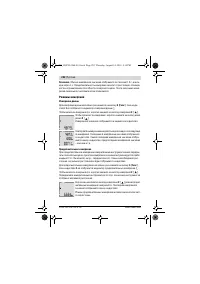
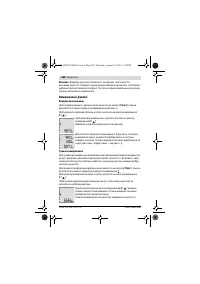
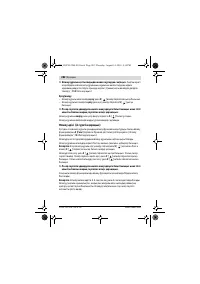
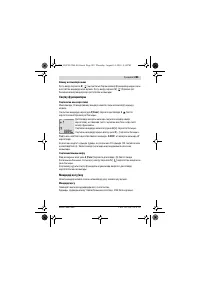
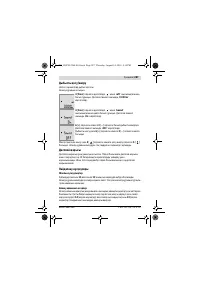
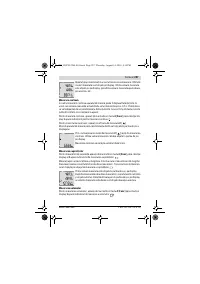
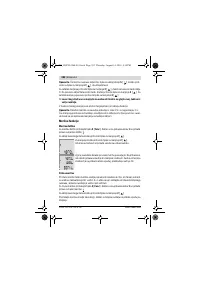
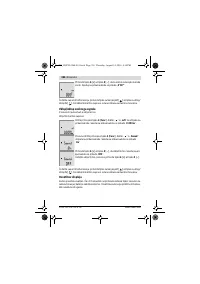
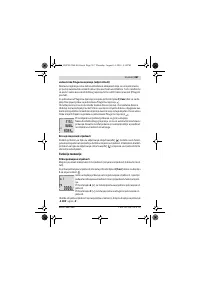
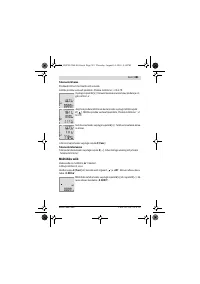
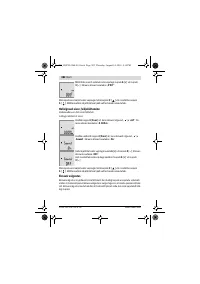
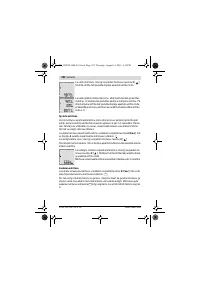
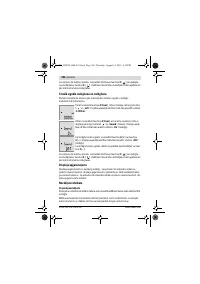
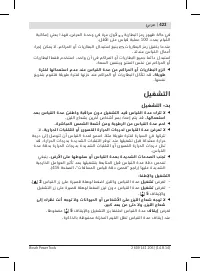
Measuring Procedure (see figure A)
Once switched on, the measuring tool is in the length measurement function. You can
set other measuring functions by repeatedly pressing button
4
[
Func
] (see “Measur-
ing Functions”, page 26).
The rear edge of the measuring tool is always the reference level for the measure-
ment.
Place the measuring tool against the desired starting point of the measurement (e. g.
a wall).
Note:
If the measuring tool has been switched on using the On/Off button
5
[
],
briefly press the measuring button
2
[
] to switch the laser on.
OBJ_BUCH-2264-001.book Page 25 Thursday, August 14, 2014 4:14 PM
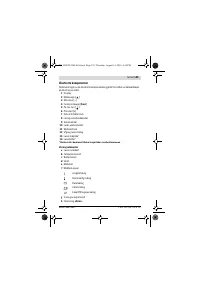
Содержание
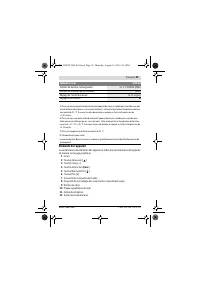
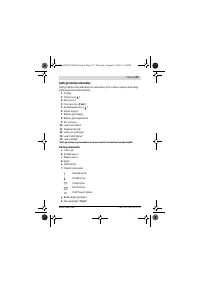
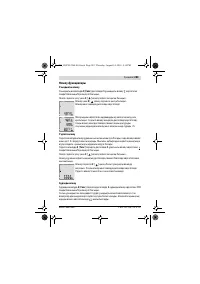
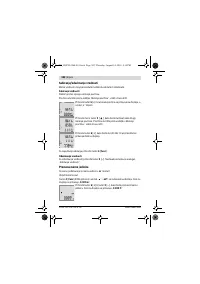
- 247 Не применяйте лазерные очки в качестве защитных очков.; Описание продукта и услуг; Применение по назначению; Цифровой лазерный дальномер
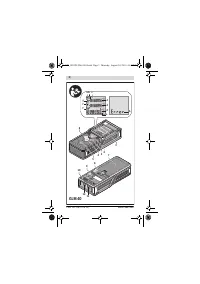
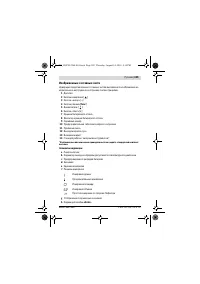
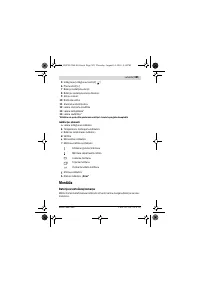
- 249 Изображенные составные части
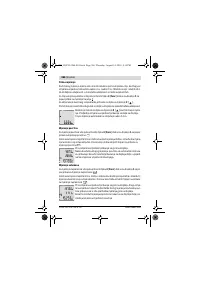
- 250 Сборка; Установка/замена батареек; Работа с инструментом; Эксплуатация
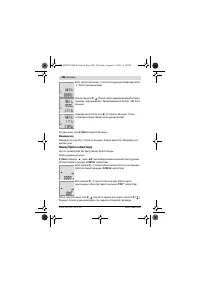
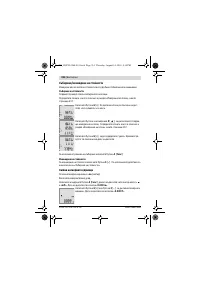
- 251 включить
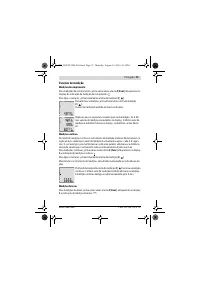
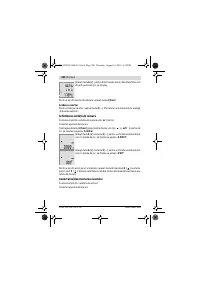
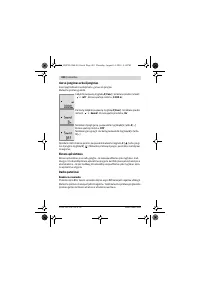
- 252 Режимы измерений; Измерение длины
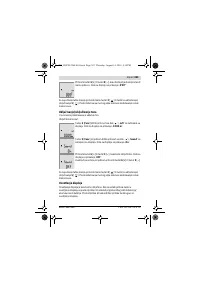
- 253 Измерение площади
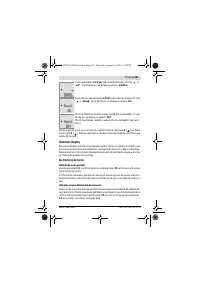
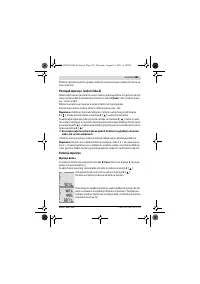
- 254 Удаление измеренных значений; Функции памяти; Отображение сохраненных значений
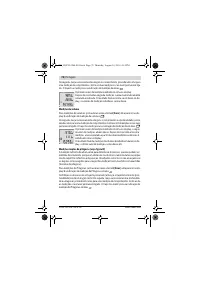
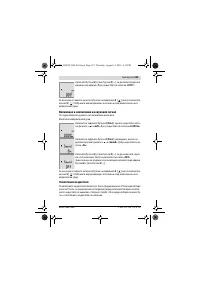
- 255 Сложение/вычитание значений; Сложение значений; Смена единицы измерения
- 256 Включение/выключение звука
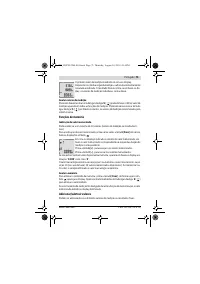
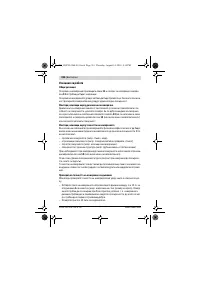
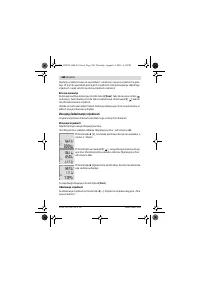
- 257 Подсветка дисплея; Общие указания; Факторы, влияющие на диапазон измерения; Факторы, влияющие на результат измерения
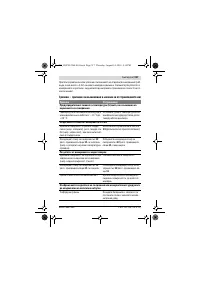
- 258 Проверка точности измерения расстояния; Неисправность – Причины и устранение; Причина
- 259 Техобслуживание и сервис; Техобслуживание и очистка
- 260 Россия
- 261 Казахстан; Утилизация
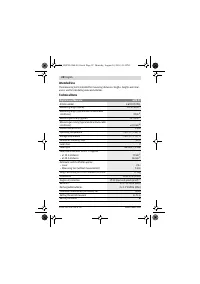
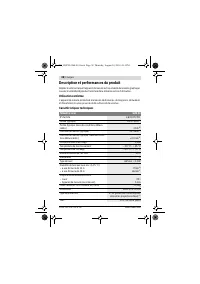
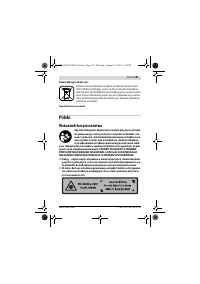
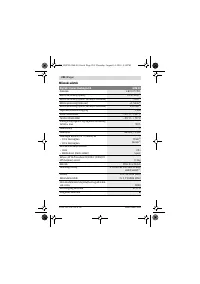
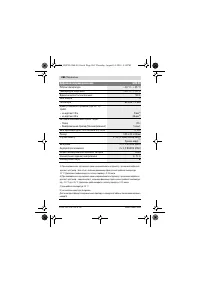
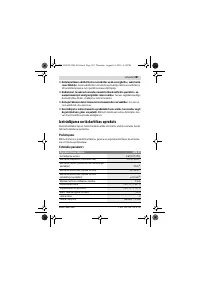
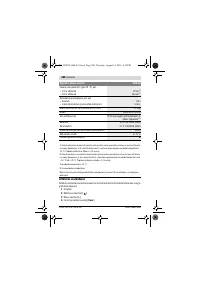
Характеристики

Остались вопросы?Не нашли свой ответ в руководстве или возникли другие проблемы? Задайте свой вопрос в форме ниже с подробным описанием вашей ситуации, чтобы другие люди и специалисты смогли дать на него ответ. Если вы знаете как решить проблему другого человека, пожалуйста, подскажите ему :)


