
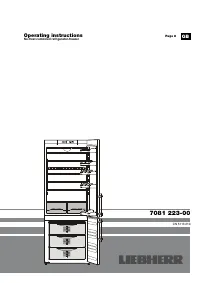
Холодильник Liebherr CN 5113 Comfort NoFrost - инструкция пользователя по применению, эксплуатации и установке на русском языке. Мы надеемся, она поможет вам решить возникшие у вас вопросы при эксплуатации техники.
Если остались вопросы, задайте их в комментариях после инструкции.
"Загружаем инструкцию", означает, что нужно подождать пока файл загрузится и можно будет его читать онлайн. Некоторые инструкции очень большие и время их появления зависит от вашей скорости интернета.

12
Malfunctions
You may be able to rectify the following faults by checking
the possible causes yourself:
•
Appliance does not function:
– Is the appliance switched on?
– Is the plug correctly fitted in the mains socket?
– Is the socket fuse intact?
•
Loud running noise:
– Is the appliance set up firmly on the floor?
– Does the appliance cause nearby items of furniture or objects to
vibrate? Please note that noises caused by the refrigerant circuit
cannot be avoided.
•
The temperature is not low enough:
– Is the temperature setting correct (see "Setting the tempera-
ture")?
– Have excessive amounts of fresh food been placed in the appli-
ance?
– Does the separately installed thermometer show the correct read-
ing?
– Is the ventilation system working properly?
– Is the appliance set up too close to a heat source?
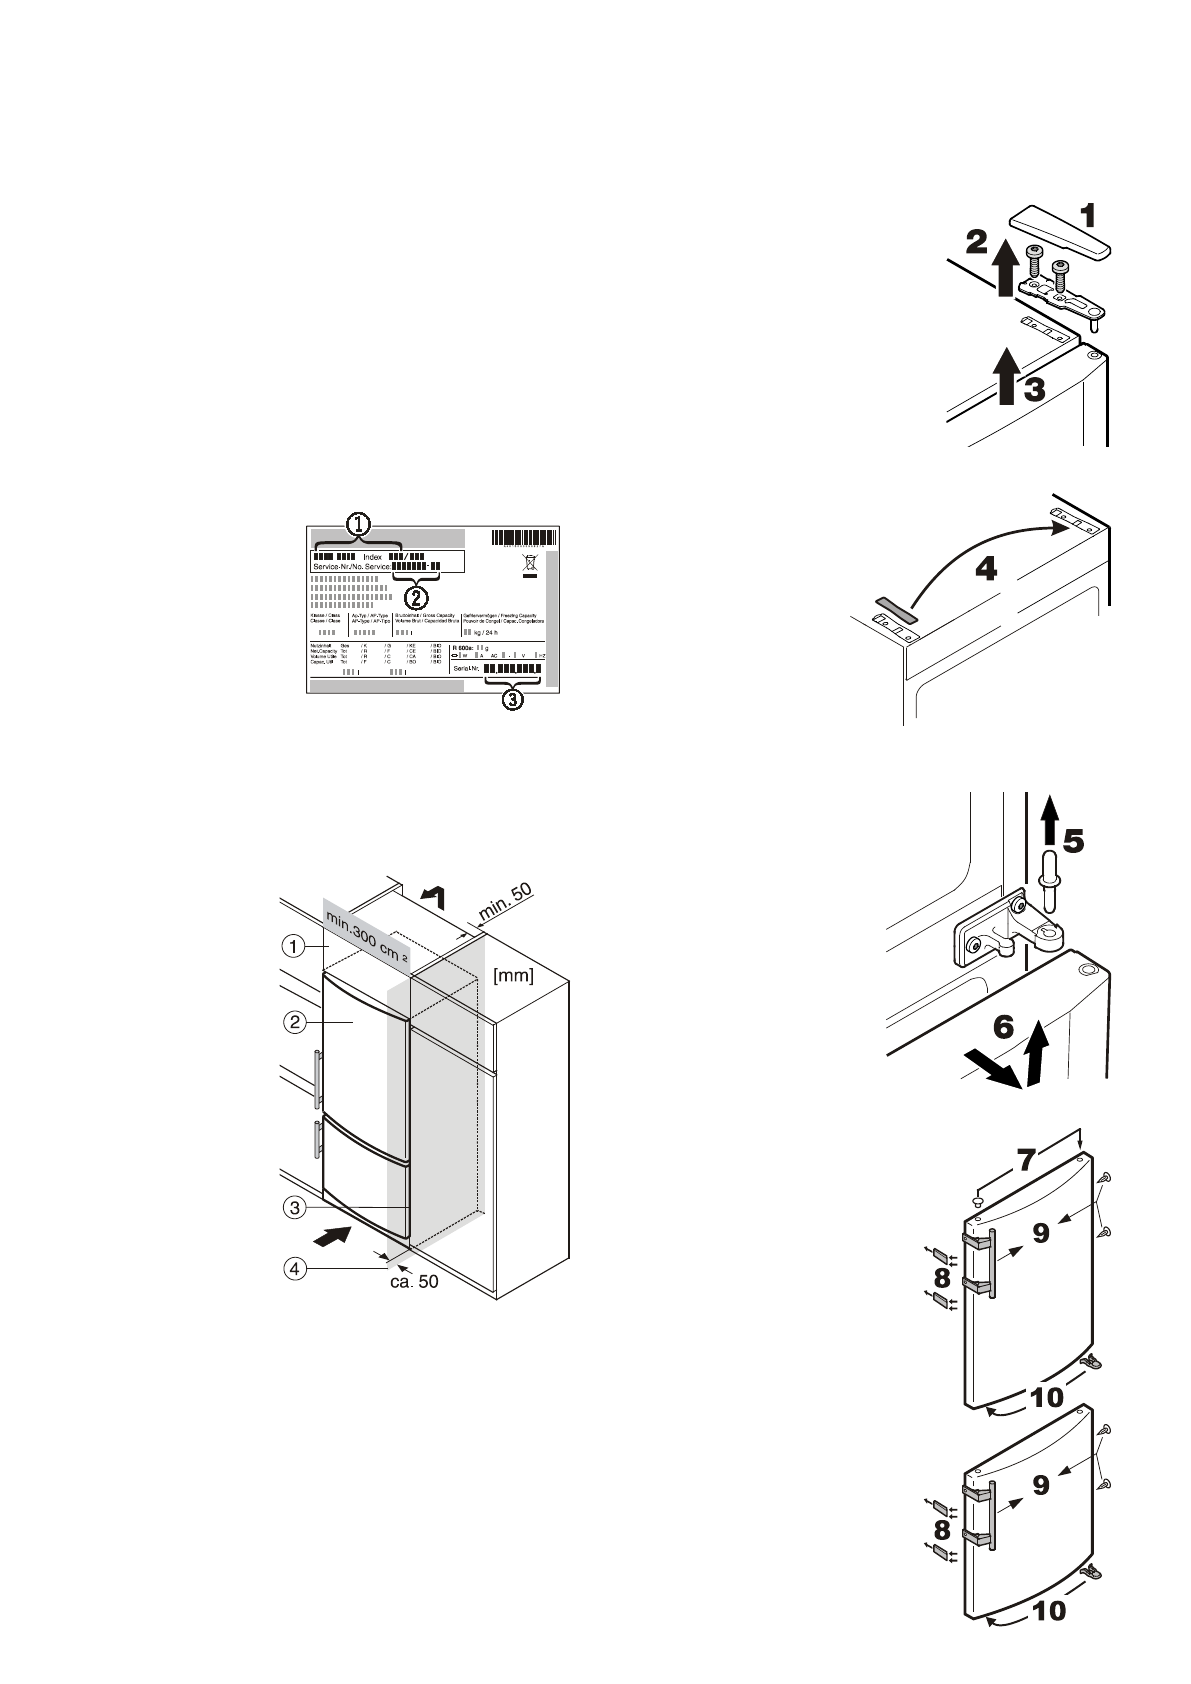
If none of the above causes
apply and you cannot rectify
the fault yourself, contact the
nearest customer service de-
partment stating the type des-
ignation
1
, service number
2
and appliance number
3
as
indicated on the type plate.
The type plate is located inside
the appliance on the left-hand
side.
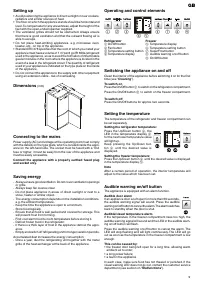
Installing appliance in a row of kitchen units
To adapt the height of the appliance to the surrounding furniture a
top unit
1
can be added.
A gap of at least 50 mm
depth must be provided
behind and along the entire
width of this unit so as to
ensure sufficient ventilation.
The area of ventilation un-
derneath the ceiling should
be at least 300 cm
2
.
When setting up the appli-
ance next to a wall
4
, a
distance of approx. 50 mm
must be provided on the
hinge side between the
appliance and the wall (for
the handle when the door
is open).
1
top unit
2
refrigerator-freezer
3
kitchen unit side panel
4
wall
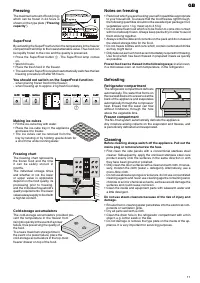
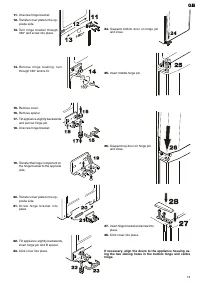
7.
Transfer plug.
8.
Lever out pressure plates at the
front and slide away.
9.
Transfer door handles and plugs
to the other side.
10.
Transfer spring clip to the op-
posite side.
1.
Remove cover.
2.
Unscrew hinge bracket.
3.
Remove top door.
4.
Transfer cover plate to the op-
posite side.
5.
Pull out middle hinge pin.
6.
Remove bottom door.
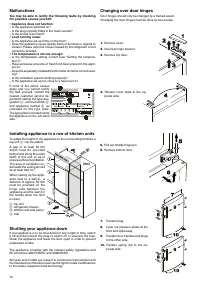
Changing over door hinges
Door hinges should only be changed by a trained expert.
Changing the door hinges must be done by two people.
Shutting your appliance down
If your appliance is to be shut down for any length of time, switch
it off and disconnect the plug or switch off or unscrew the fuse.
Clean the appliance and leave the door open in order to prevent
unpleasant smells.
The appliance complies with the relevant safety regulations and
EC Directives 2004/108/EC and 2006/95/EC.
All types and models are subject to continuous improvement and
the manufacturer therefore reserves the right to make modifica tions
to the shape, equipment and technology.
Характеристики

Остались вопросы?Не нашли свой ответ в руководстве или возникли другие проблемы? Задайте свой вопрос в форме ниже с подробным описанием вашей ситуации, чтобы другие люди и специалисты смогли дать на него ответ. Если вы знаете как решить проблему другого человека, пожалуйста, подскажите ему :)


