
Холодильник Kraft KF-HC2485CG - инструкция пользователя по применению, эксплуатации и установке на русском языке. Мы надеемся, она поможет вам решить возникшие у вас вопросы при эксплуатации техники.
Если остались вопросы, задайте их в комментариях после инструкции.
"Загружаем инструкцию", означает, что нужно подождать пока файл загрузится и можно будет его читать онлайн. Некоторые инструкции очень большие и время их появления зависит от вашей скорости интернета.


25
ИНСТРУКЦИЯ ПО ЭКСПЛУАТАЦИИ • USER GUIDE
ХОЛОДИЛЬНИК
REFRIGERATOR-FREEZER
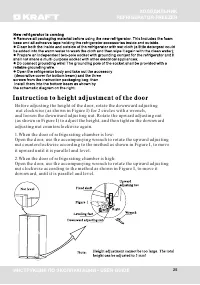
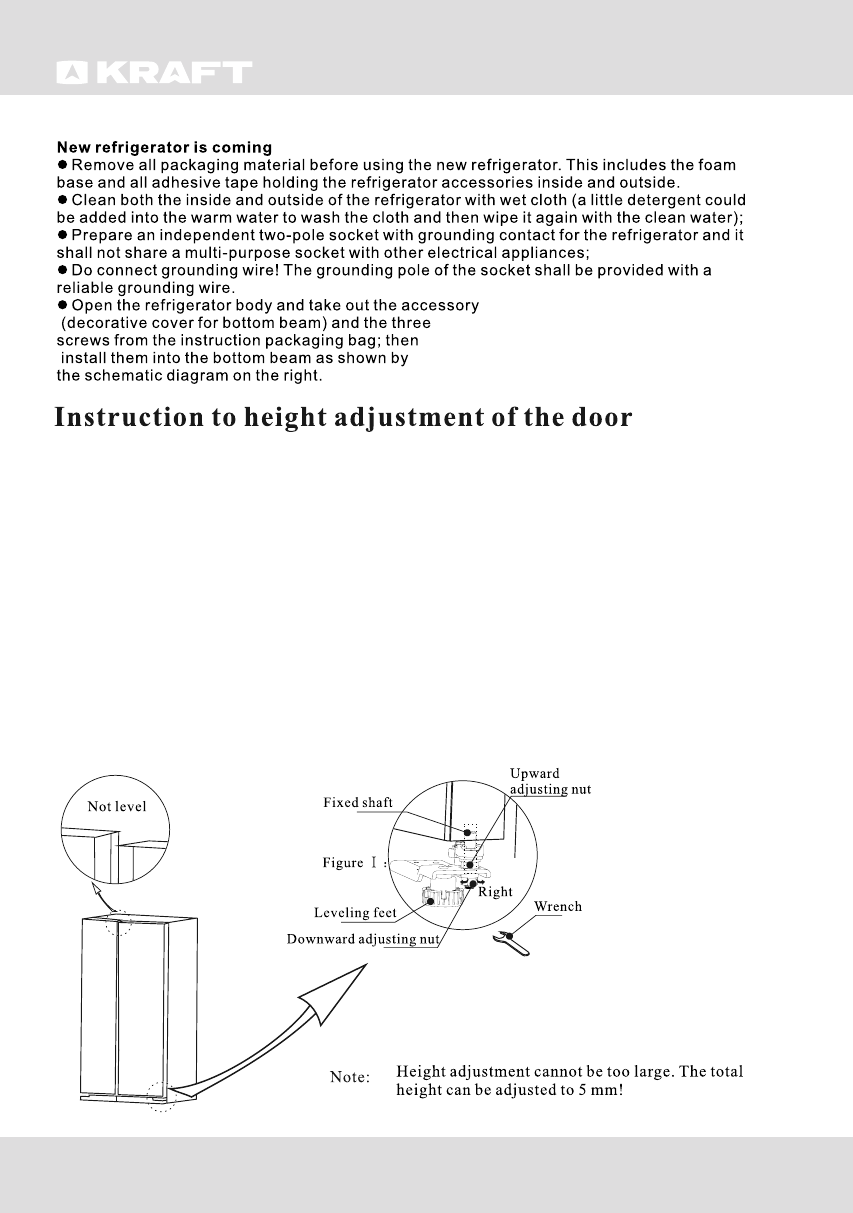
Left
Before adjusting the height of the door, rotate the downward adjusting
nut clockwise (as shown in Figure I) for 2 circles with a wrench,
and loosen the downward adjusting nut. Rotate the upward adjusting nut
(as shown in Figure I) to adjust the height, and then tighten the downward
adjusting nut counterclockwise again.
1.When the door of refrigerating chamber is low:
Open the door, use the accompanying wrench to rotate the upward adjusting
nut counterclockwise according to the method as shown in Figure I, to move
it upward until it is parallel and level.
2.When the door of refrigerating chamber is high:
Open the door, use the accompanying wrench to rotate the upward adjusting
nut clockwise according to the method as shown in Figure I, to move it
downward, until it is parallel and level.
Содержание
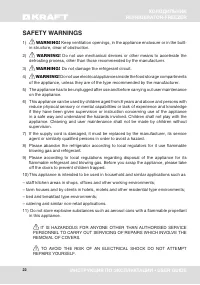
- 4 ТРЕБОВАНИЯ БЕЗОПАСНОСТИ; ПРИ ПОДКЛЮЧЕНИИ К ИСТОЧНИКУ ЭЛЕКТРОПИТАНИЯ:; нескольких приборов может привести к возгоранию.; ПРИ ЭКСПЛУАТАЦИИ ХОЛОДИЛЬНИКА:; • Не следует ставить тяжелые предметы на холодильник.
- 5 дильником. Это может стать причиной пожара.
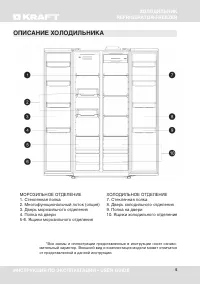
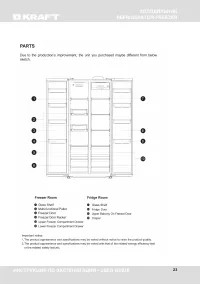
- 6 ОПИСАНИЕ ХОЛОДИЛЬНИКА
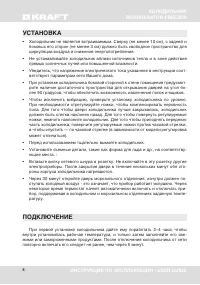
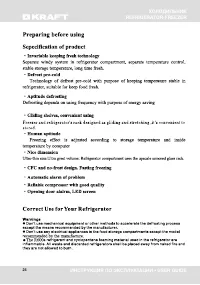
- 7 УСТАНОВКА; прямых солнечных лучей или повышенной влажности.; ПОДКЛЮЧЕНИЕ
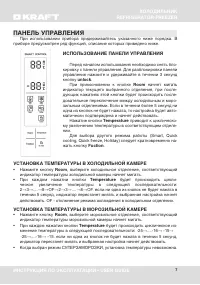
- 8 ПАНЕЛЬ УПРАВЛЕНИЯ; УСТАНОВКА ТЕМПЕРАТУРЫ В ХОЛОДИЛЬНОЙ КАМЕРЕ
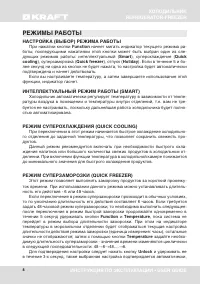
- 9 РЕЖИМЫ РАБОТЫ; Для подтверждения настройки следует нажать кнопку; Unlock; и удерживать ее
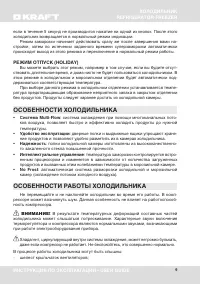
- 10 холодильник возвращается в нормальный режим индикации.; ОСОБЕННОСТИ ХОЛОДИЛЬНИКА; го закаленного стекла повышенной прочности.; ОСОБЕННОСТИ РАБОТЫ ХОЛОДИЛЬНИКА; В результате температурных деформаций составных частей
- 11 ХРАНЕНИЕ ПРОДУКТОВ
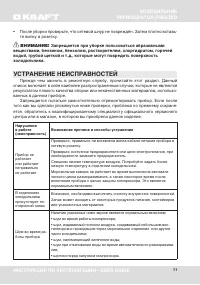
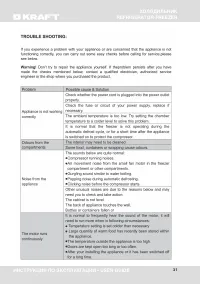
- 12 Запрещается при уборке пользоваться абразивными; УСТРАНЕНИЕ НЕИСПРАВНОСТЕЙ; Нарушение
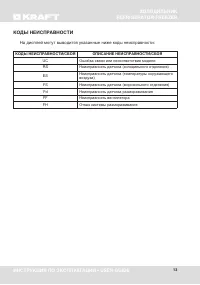
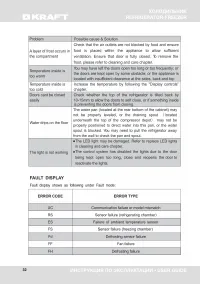
- 14 На дисплей могут выводится указанные ниже коды неисправности:; КОДЫ НЕИСПРАВНОСТИ/СБОЯ
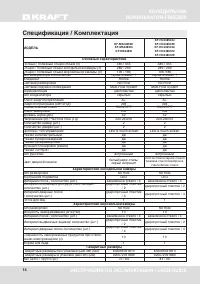
- 15 Спецификация / Комплектация
- 16 УТИЛИЗАЦИЯ
- 17 Дата продажи; ГАРАНТИЙНЫЙ ТАЛОН
- 18 НА ГАРАНТИЙНЫЙ РЕМОНТ; холодильника KRAFT модели; НА ГАРАНТИЙНЫЙ РЕМОНТ
- 20 ТАЛОН No 3; ТАЛОН No 4


