
Газонокосилки P.I.T. PLM32-C - инструкция пользователя по применению, эксплуатации и установке на русском языке. Мы надеемся, она поможет вам решить возникшие у вас вопросы при эксплуатации техники.
Если остались вопросы, задайте их в комментариях после инструкции.
"Загружаем инструкцию", означает, что нужно подождать пока файл загрузится и можно будет его читать онлайн. Некоторые инструкции очень большие и время их появления зависит от вашей скорости интернета.


Electric Lawn Mower
8
- in high vegetation, mow in several pass-
es, consecutively lowering the mowing
level;
Fitting / replacing the blade (fi g. G)
1. Disconnect the product from the mains and
wait until the knife stops completely;
2. Lay the product on its side to have access
to the knife;
3. Holding the knife by hand (ALWAYS wear-
ing gloves) from turning, unscrew the knife
fastening nut;
4. Observing orientation, install a new blade
and tighten the retaining nut securely.
Attention! Make sure the knife is not skewed
and is securely fastened.
Dispose of waste
Damaged power tools, batteries, ac-
cessories and waste packaging materials
must be recycled and reused in an environ-
mentally friendly manner.
Do not throw power tools and accumulators /
batteries into general household waste!
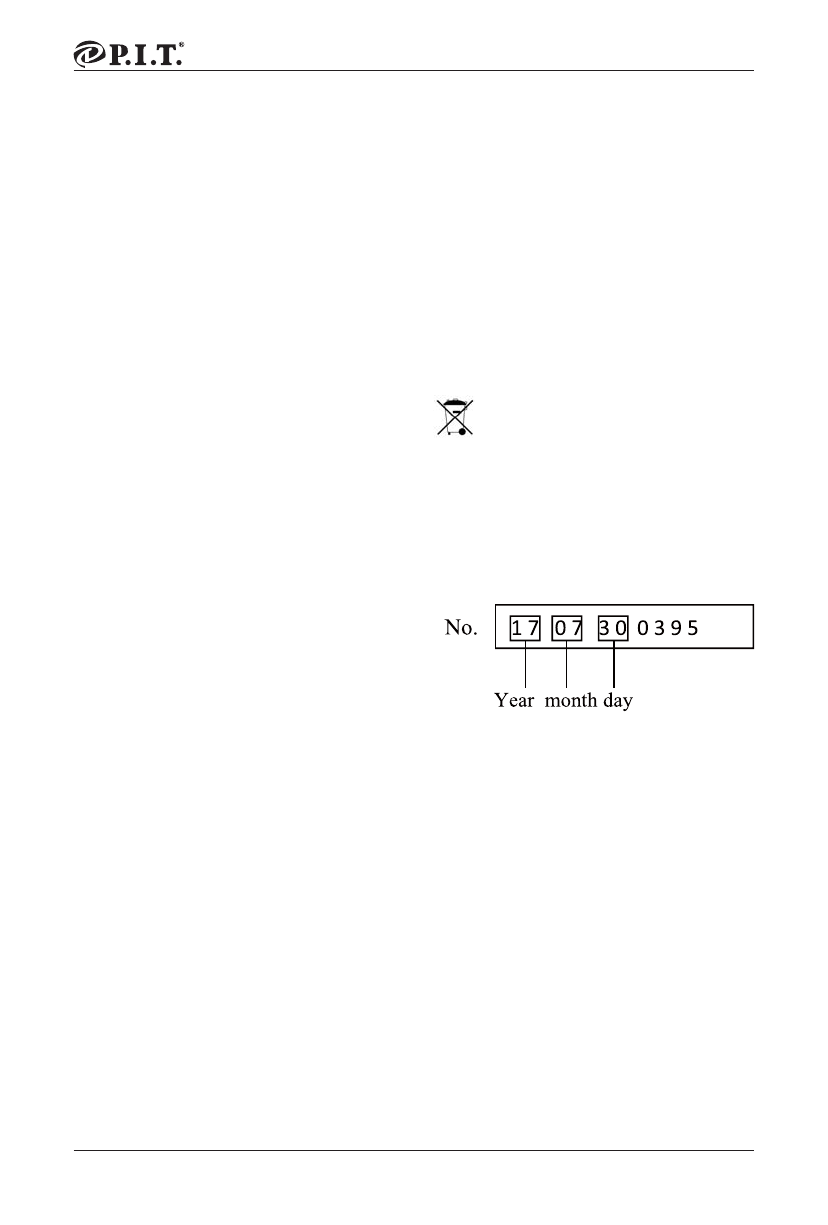
Product serial number interpreta-
tion
serial number
The fi rst and second digits of the product seri-
al number from left to right
Year of production, the third and fourth digits
indicate the month of production, the
The fi fth and sixth digits indicate the produc-
tion day.
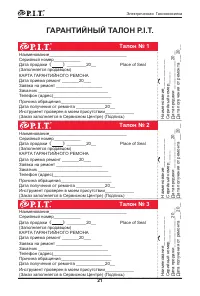
TERMS OF WARRANTY SERVICE
1. This Warranty Certifi cate is the only docu-
ment that confi rms your right to free warranty
service. Without presenting this certifi cate, no
claims are accepted. In case of loss or dam-
age, the warranty certifi cate is not restored.
2. The warranty period for the electric ma-
chine is 12 months from the date of sale,
during the warranty period the service depart-
ment eliminates manufacturing defects and
replaces parts that have failed due to the fault
of the manufacturer free of charge. In the war-
ranty repair, an equivalent operable product
is not provided. Replaceable parts become
property of service providers.
tice.
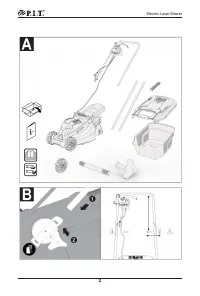
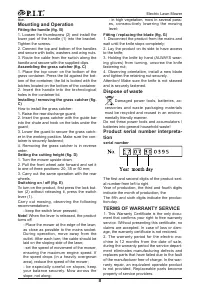
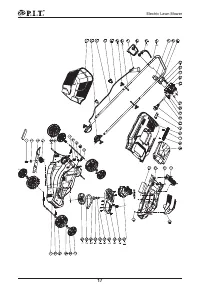
Mounting and Operation
Fitting the handle (fi g. B)
1. Loosen the thumbscrew (2) and install the
lower part of the handle (1) into the bracket.
Tighten the screws.
2. Connect the top and bottom of the handles
and secure with bolts, washers and wing nuts.
3. Route the cable from the switch along the
handle and secure with the supplied clips.
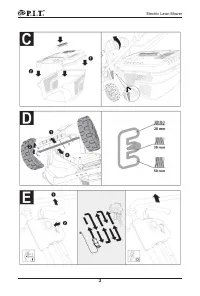
Assembling the grass catcher (fi g. C)
1. Place the top cover on the bottom of the
grass container. Press the lid against the bot-
tom of the container, the lid is locked with the
latches located on the bottom of the container.
2. Insert the handle into the technological
holes in the container lid.
Installing / removing the grass catcher (fi g.
C)
How to install the grass catcher:
1. Raise the rear discharge guard;
2. Insert the grass catcher with the guide bar
into the chute and hook on the tabs under the
guard;
3. Lower the guard to secure the grass catch-
er in the working position. Make sure the con-
tainer is securely fastened;
4. Removing the grass catcher is in reverse
order.
Setting the cutting height (fi g. D)
1. Turn the mower upside down;
2. Pull the front wheel axle forward and set it
to one of three positions: 20, 35 or 50 mm;
3. Carry out the same operation with the rear
wheels.
Switching on / off (fi g. E)
To turn on the product, fi rst press the lock but-
ton (2) without releasing it, press the switch
lever (1).
Carry out mowing, observing the following
recommendations:
- keep the switch lever pressed;
Note!
When the lever is released, the product
turns off .
- Place the mower at the edge of the lawn,
as close as possible to the mains socket.
During operation, move away from the
outlet. After each turn, the cable should be
laid on the sloping side of the lawn;
- set the speed of movement of the mower,
ensuring the maximum engine speed. If
the speed drops (in a heavily overgrown
area), reduce the speed of the mower;
- be especially careful on slopes, keep
your balance securely. Mow across the
slope, not along;
Содержание
- 12 Носите средства защиты слуха.; В таком случае; Электроподключение
- 13 водской табличке агрегата.; Электробезопасность; ► После выключения садового инстру-; Техобслуживание
- 14 Символы; Символ; Применение по назначению; ĹŌśŜūŒőřŔő; Модель; ļŌōŚţŌūŤŔŜŔřŌ; Комплект поставки; Примечание; Монтаж и эксплуатация
- 15 Хранение и транспортировка; Утилизируйте электроинструмент
- 22 Талон No 1


