
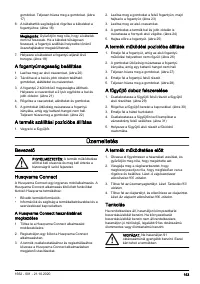
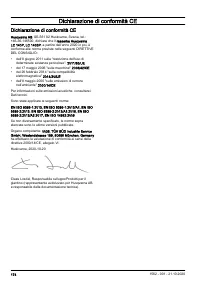
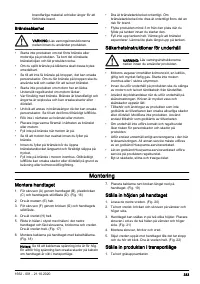
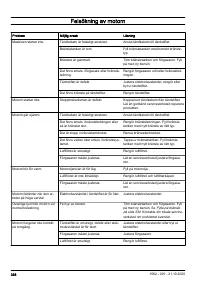
Газонокосилки Husqvarna LC 140SP 9704882-01 - инструкция пользователя по применению, эксплуатации и установке на русском языке. Мы надеемся, она поможет вам решить возникшие у вас вопросы при эксплуатации техники.
Если остались вопросы, задайте их в комментариях после инструкции.
"Загружаем инструкцию", означает, что нужно подождать пока файл загрузится и можно будет его читать онлайн. Некоторые инструкции очень большие и время их появления зависит от вашей скорости интернета.

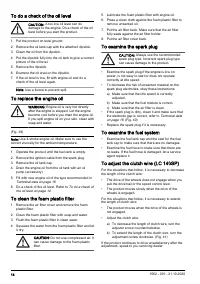


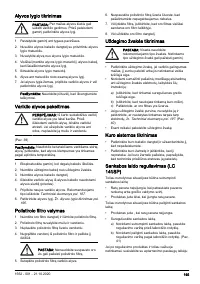


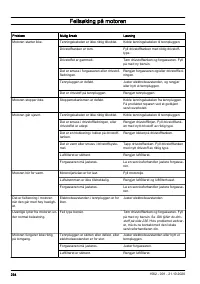


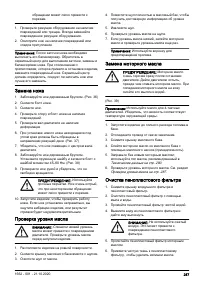


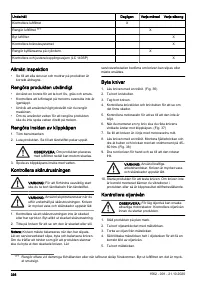


To do a check of the oil level
CAUTION: A too low oil level can do
damage to the engine. Do a check of the oil
level before you start the product.
1. Put the product on level ground.
2. Remove the oil tank cap with the attached dipstick.
3. Clean the oil from the dipstick.
4. Put the dipstick fully into the oil tank to give a correct
picture of the oil level.
5. Remove the dipstick.
6. Examine the oil level on the dipstick.
7. If the oil level is low, fill with engine oil and do a
check of the oil level again.
Note: Use a funnel to prevent spill.
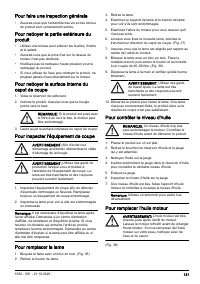
To replace the engine oil
WARNING: Engine oil is very hot directly
after the engine is stopped. Let the engine
become cool before you drain the engine oil.
If you spill engine oil on your skin, clean with
soap and water.
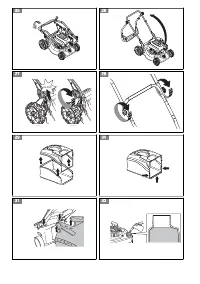
(Fig. 39)
Note: Use 4-stroke engine oil. Make sure to use the
correct viscosity for the ambient temperature.
1. Operate the product until the fuel tank is empty.
2. Remove the ignition cable from the spark plug.
3. Remove the oil tank cap.
4. Drain the engine oil from the oil tank with an oil
pump (accessory).
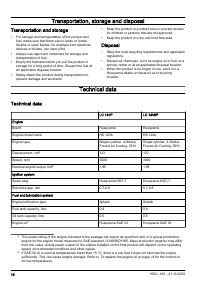
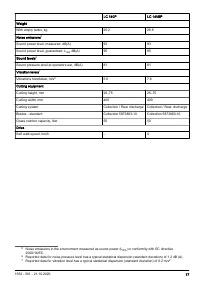
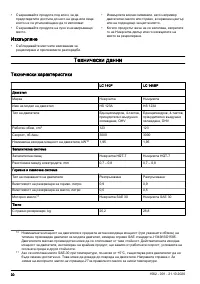
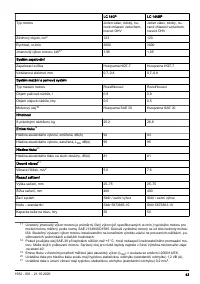
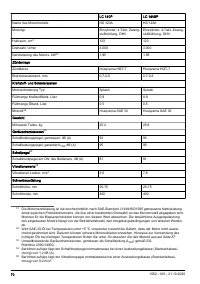
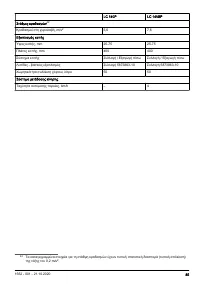
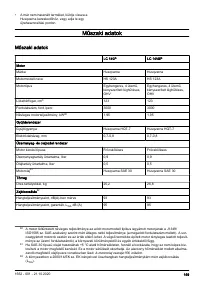
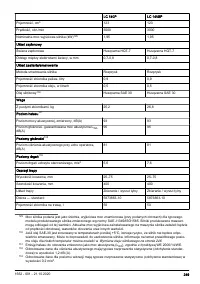
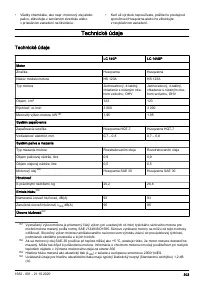
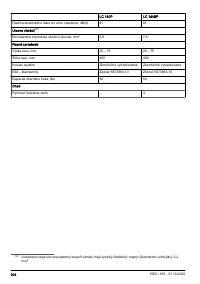
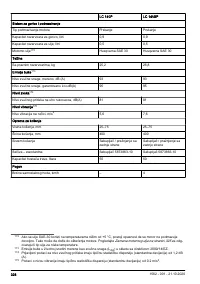
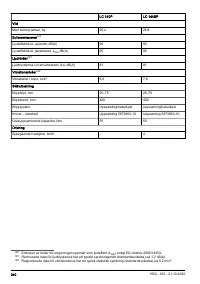
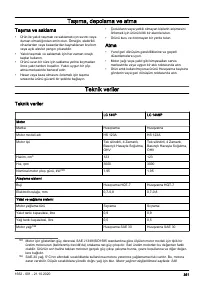
5. Fill with new engine oil of the type recommended in
Technical data on page 16.
6. Do a check of the oil level. Refer to
the oil level on page 14.
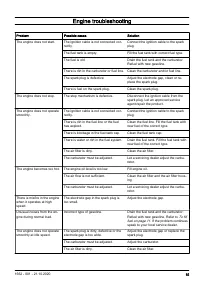
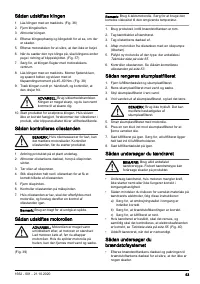
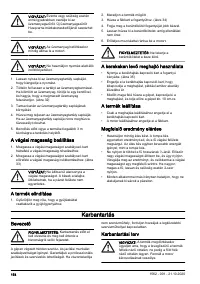
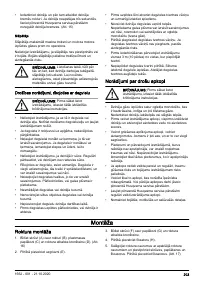
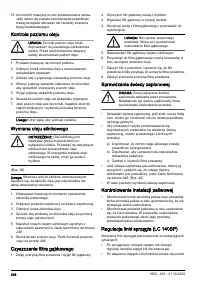
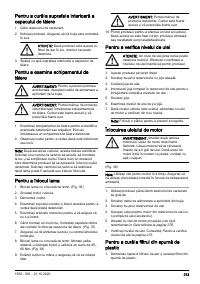
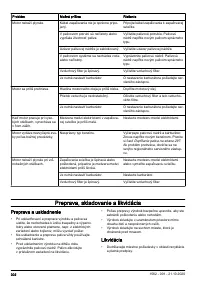
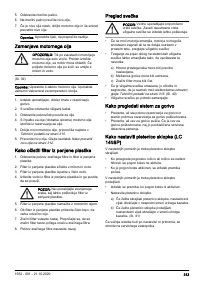
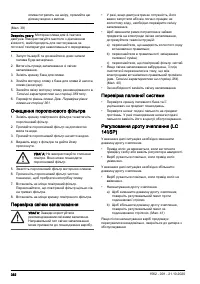
To clean the foam plastic filter
1. Remove the air filter cover and remove the foam
plastic filter.
2. Clean the foam plastic filter with soap and water.
3. Flush the foam plastic filter in clean water.
4. Squeeze the water from the foam plastic filter and let
it dry.
CAUTION: Do not use compressed air. It
can cause damage to the foam plastic
filter.
5. Lubricate the foam plastic filter with engine oil.
6. Press a clean cloth against the foam plastic filter to
remove unwanted oil.
7. Put the air filter back. Make sure that the air filter
fully seals against the air filter holder.
8. Put the air filter cover back.
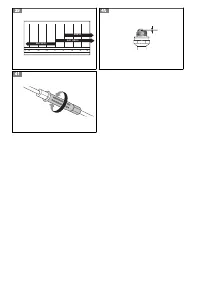
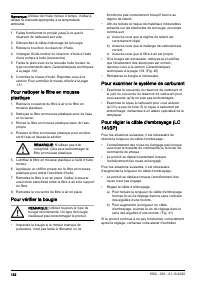
To examine the spark plug
CAUTION: Always use the recommended
spark plug type. Incorrect spark plug type
can cause damage to the product.
• Examine the spark plug if the engine is low on
power, is not easy to start or does not operate
correctly at idle speed.
• To decrease the risk of unwanted material on the
spark plug electrodes, obey these instructions:
a) Make sure that the idle speed is correctly
adjusted.
b) Make sure that the fuel mixture is correct.
c) Make sure that the air filter is clean.
• If the spark plug is dirty, clean it and make sure that
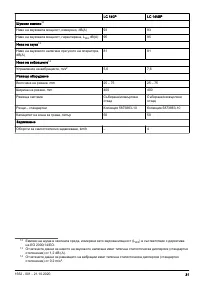
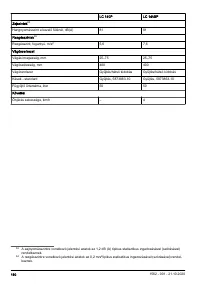
the electrode gap is correct, refer to
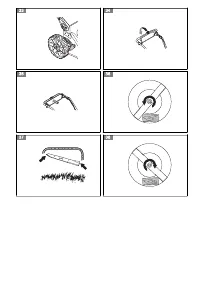
on page 16. (Fig. 40)
• Replace the spark plug if it is necessary.
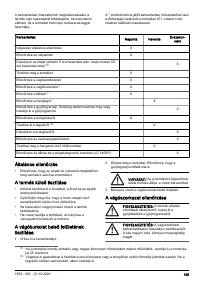
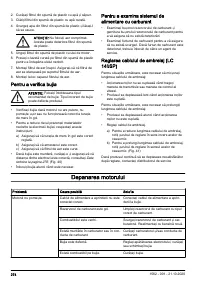
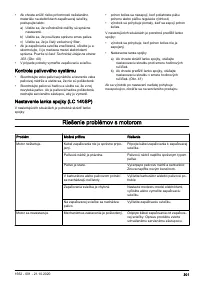
To examine the fuel system
• Examine the fuel tank cap and the seal for the fuel
tank cap to make sure that there are no damages.
• Examine the fuel hose to make sure that there are
no leaks. If the fuel hose is damaged, let a service
agent replace it.
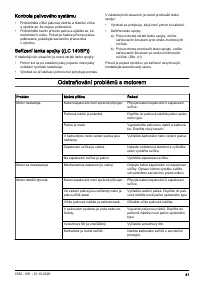
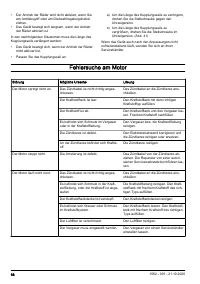
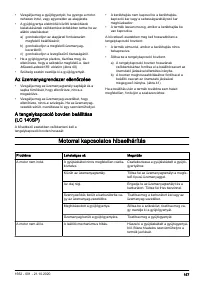
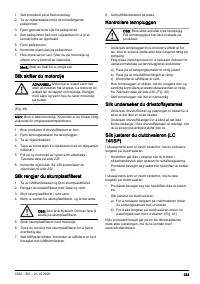
To adjust the clutch wire (LC 140SP)
For the situations that follow, it is necessary to decrease
the length of the clutch wire:
• The drive of the wheels does not engage when you
pull the drive bail or the speed control lever.
• The product moves slowly when the drive of the
wheels is engaged.
For the situations that follow, it is necessary to extend
the length of clutch wire:
• The product moves when the drive of the wheels is
not engaged.
• Adjust the clutch wire.
a) To decrease the length of clutch wire, turn the
adjuster screw counterclockwise.
b) To extend the length of the clutch wire, turn the
adjustment screw clockwise. (Fig. 41)
If the product continues to drive unsatisfactory after the
adjustment, speak to you servicing dealer
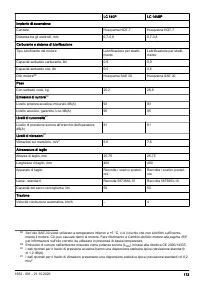
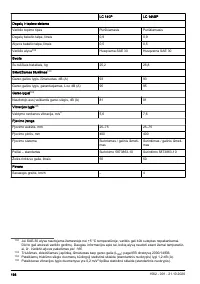
14
1562 - 001 - 21.10.2020


