
Газонокосилки Bosch AdvancedRotak 36-690 4Ah+Multimulch 40 см 06008B9608 - инструкция пользователя по применению, эксплуатации и установке на русском языке. Мы надеемся, она поможет вам решить возникшие у вас вопросы при эксплуатации техники.
Если остались вопросы, задайте их в комментариях после инструкции.
"Загружаем инструкцию", означает, что нужно подождать пока файл загрузится и можно будет его читать онлайн. Некоторые инструкции очень большие и время их появления зависит от вашей скорости интернета.


22
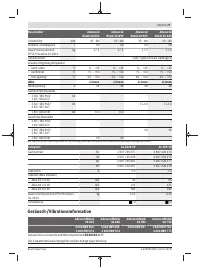
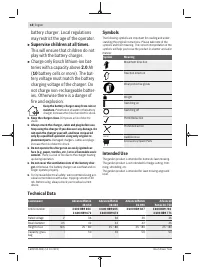
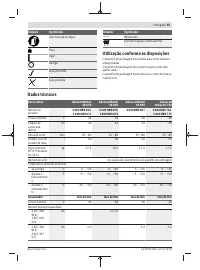
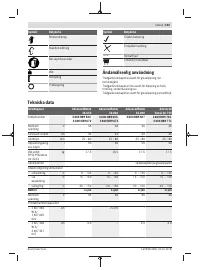
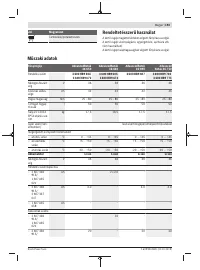
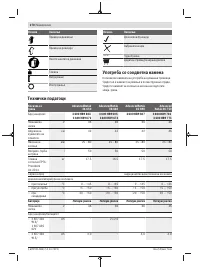
| English
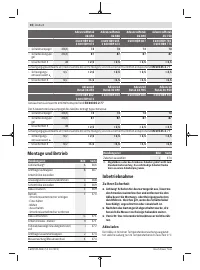
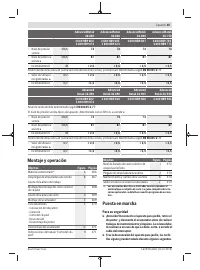
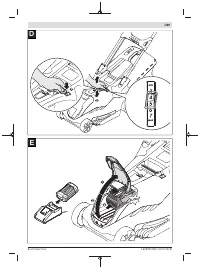
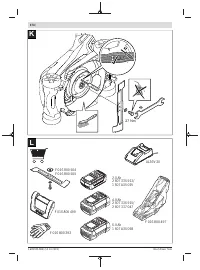
Inserting/Removing the Battery
Note:
Using unsuitable batteries can lead to malfunctions or
damage the machine.
Insert the charged battery. Ensure the battery is inserted
correctly.
To remove the battery from the machine, press the battery
unlocking button and pull the battery out.
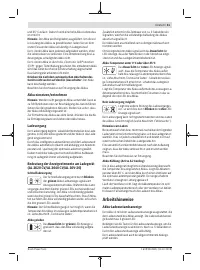
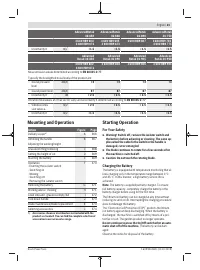
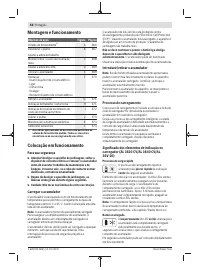
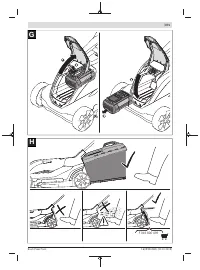
Charging Procedure
The charging procedure starts as soon as the mains plug of
the charger is plugged into a socket outlet and the battery is
inserted onto the charger .
Due to the intelligent charging method, the charging condi-
tion of the battery is automatically detected and the battery
is charged with the optimum charging current, depending on
battery temperature and voltage.
This gives longer life to the battery and always leaves it fully
charged when kept in the charger for storage.
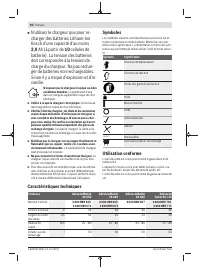
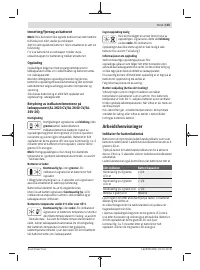
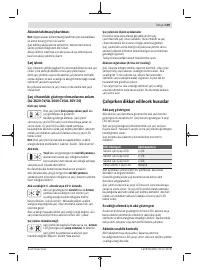
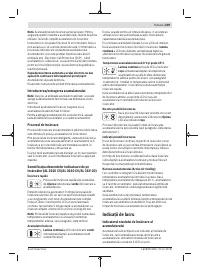
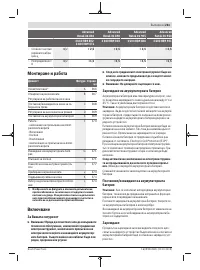
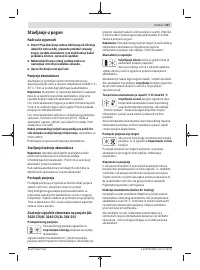
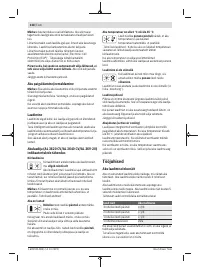
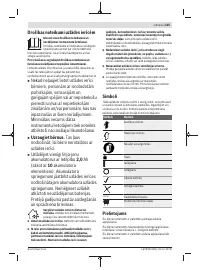
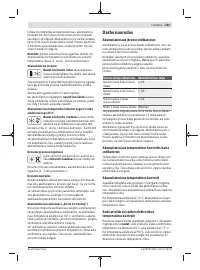
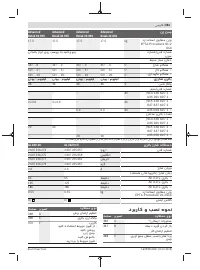
Meaning of the indication elements on the
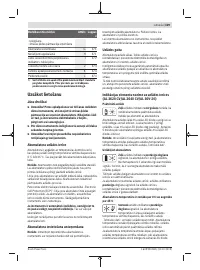
charger (AL 3620 CV/AL 3640 CV/AL 36V-20)
Rapid-charging Procedure
The rapid-charging procedure is indicated by
flashing
of the
green
battery charge indicator.
Indication element of the battery: During the
charging procedure, the three green LEDs light up one after
the other and briefly go out. The battery is fully charged
when the three green LEDs light up continuously. The three
LEDs go out again approx. 5 minutes after the battery has
been fully charged.
Note:
The rapid-charging procedure is only possible when
the battery temperature is within the allowable charging
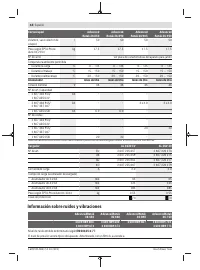
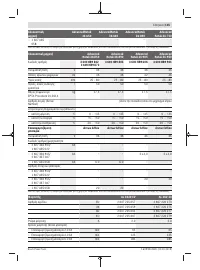
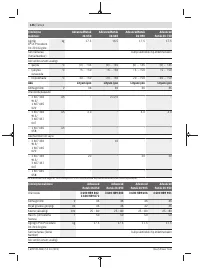
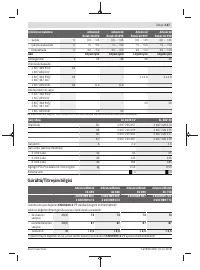
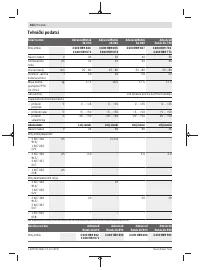
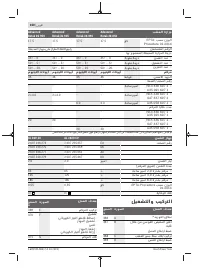
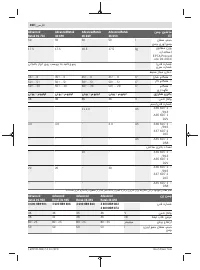
temperature range, see section “Technical Data”.
Battery charged
Continuous lighting
of the
green
LED indic-
ator indicates that the battery is fully charged.
Additionally, a signal tone sounds for approx.
2 seconds, which acoustically indicates that the battery is
fully charged.
Afterwards, the battery can be removed for immediate use.
When the battery is not inserted,
continuous lighting
of the
LED indicator indicates that the mains plug is inserted in the
socket outlet and that the battery charger is ready for opera-
tion.
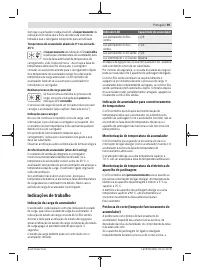
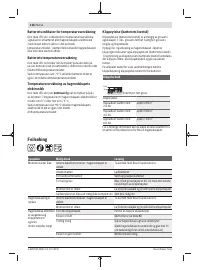
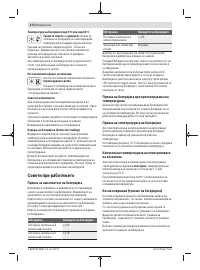
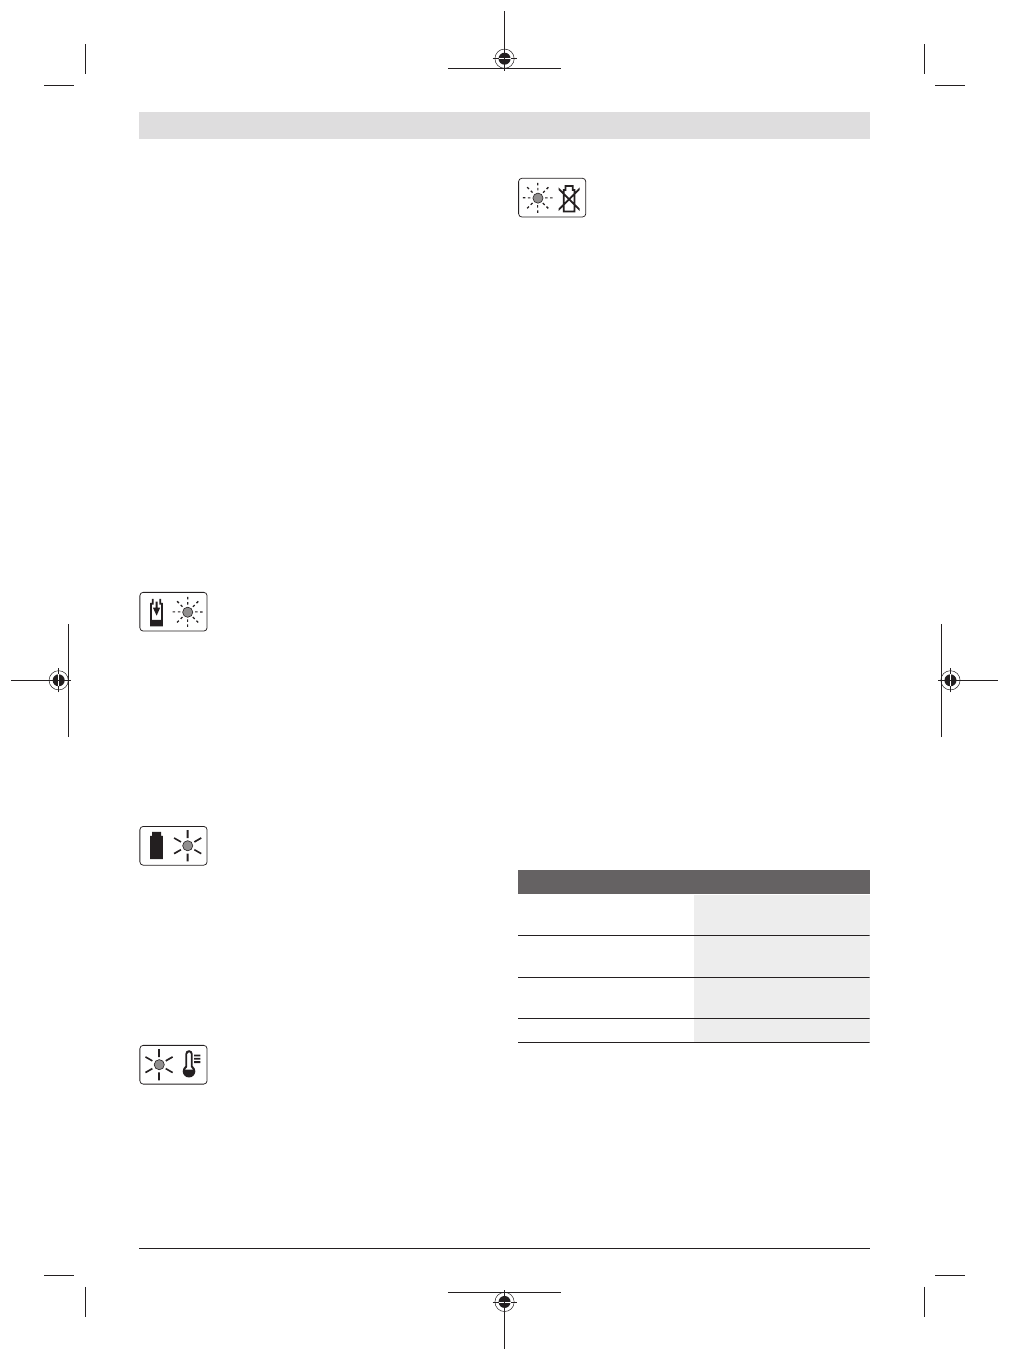
Battery Temperature below 0°C or above 45°C
Continuous lighting
of the
red
LED indicator
indicates that the temperature of the battery is
not within the allowable charging temperature
range, see section “Technical Data”. As soon as the allowable
charging temperature range is reached, the battery charger
automatically switches to rapid charging.
When the battery is not within the allowable temperature
range, the red battery LED lights up when inserting the bat-
tery into the battery charger.
No Charging Procedure Possible
If a different malfunction of the charging pro-
cedure is present, this will be indicated
through
flashing
of the
red
LED indicator.
The charging procedure cannot be started and the battery
cannot be charged (see section Troubleshooting).
Charging Advice
With continuous or several repetitive charging cycles without
interruption, the charger can warm up. This is not meaning-
ful and does not indicate a technical defect of the battery
charger.
A significantly reduced working period after charging indic-
ates that the battery is used and must be replaced.
Observe the notes for disposal.
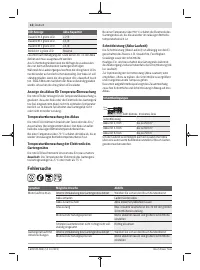
Battery Cooling (Active Air Cooling)
The fan control integrated into the charger monitors the tem-
perature of the inserted battery. When the battery temperat-
ure is above 30 °C, a fan cools down the battery to the op-
timal charging temperature. The fan generates a ventilation
sound when switched on.
If the fan is not running, the battery temperature is within the
optimum charge-temperature range or the fan is defective.
In this case, the charging time of the battery might be exten-
ded.
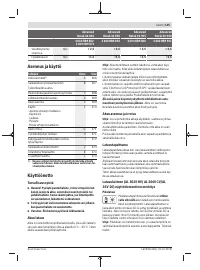
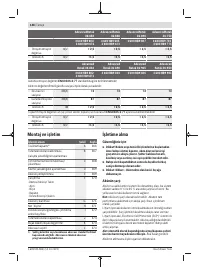
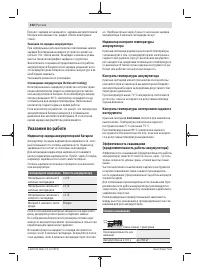
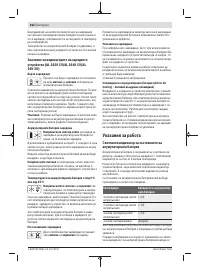
Working Advice
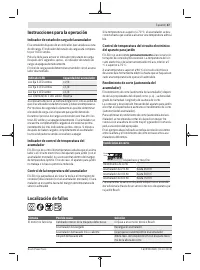
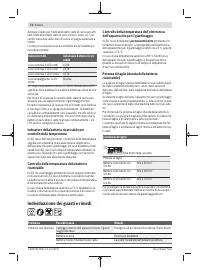
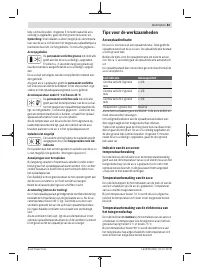
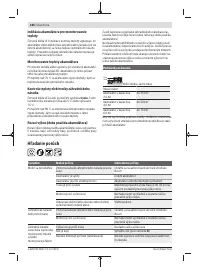
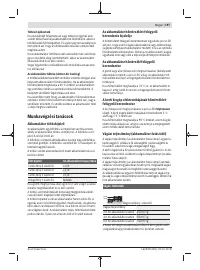
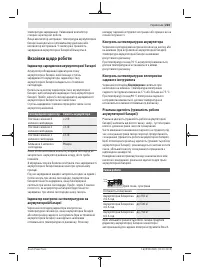
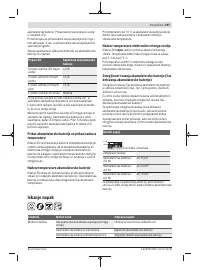
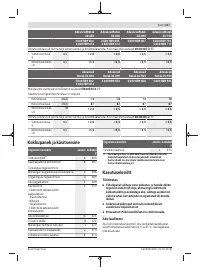
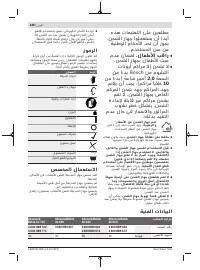
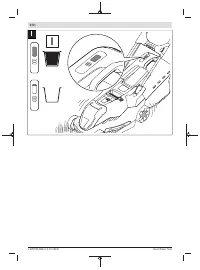
Battery charge-control indicator
The battery is equipped with a charge-control indicator,
which indicates its charge condition. The charge-control in-
dicator consists of 3 green LEDs.
Press the charge-control indicator button to actuate the
charge-control indicator. After approx. 5 seconds, the
charge-control indicator goes out automatically.
The charge condition can also be checked when the battery
is removed.
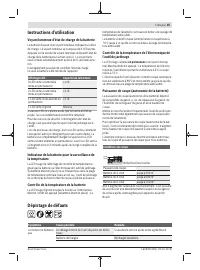
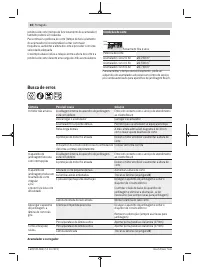
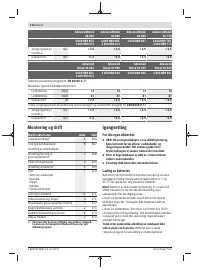
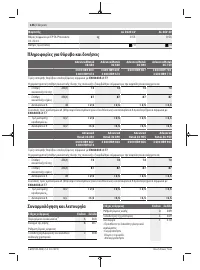
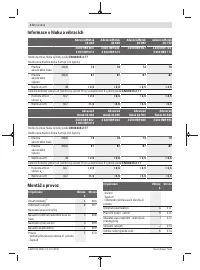
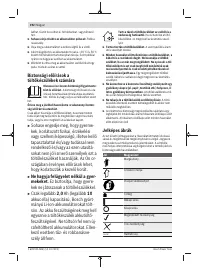
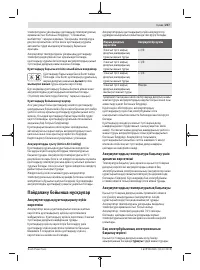
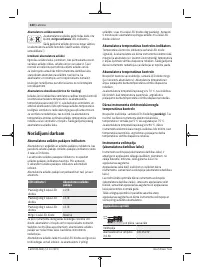
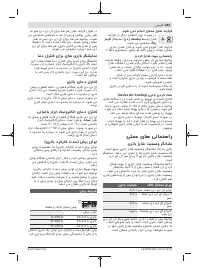
LED Indication
Battery Capacity
Continuous lighting of 3
green LEDs
≥ 2/3
Continuous lighting of 2
green LEDs
≥ 1/3
Continuous lighting of 1
green LED
≤ 1/3
Flashing of 1 green LED
Reserve
When no LED lights up after pressing the button, then the
battery is defective and must be replaced.
For safety reasons, the charge condition of the battery can
only be checked when the garden product is at a standstill.
During the charging procedure, the three green LEDs light up
one after the other and briefly go out. The battery is fully
charged when the three green LEDs light up continuously.
The three green LEDs go out again approx. 5 minutes after
the battery has been fully charged.
1 609 92A 5BS | (14.10.2019)
Bosch Power Tools
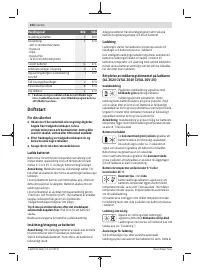
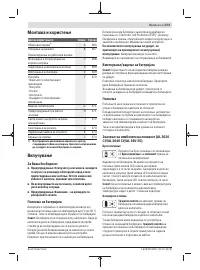
Содержание
- 200 дящихся поблизости людей.
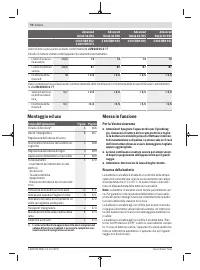
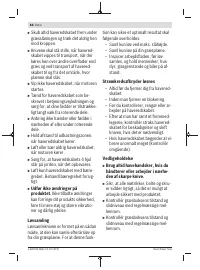
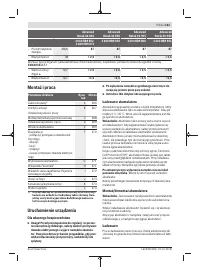
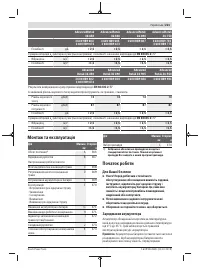
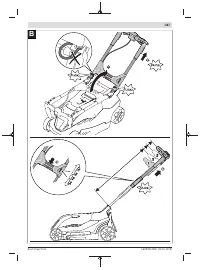
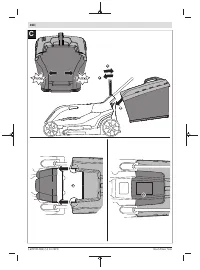
- 201 Эксплуатация
- 204 рать с зарядным устройством.
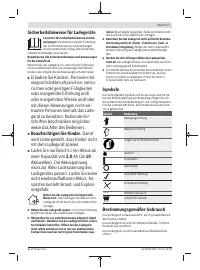
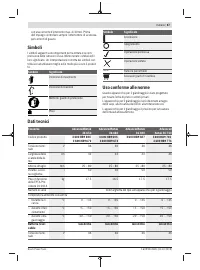
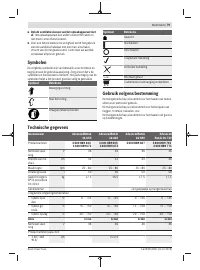
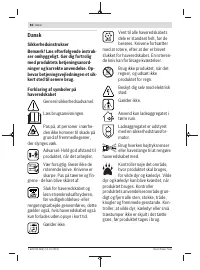
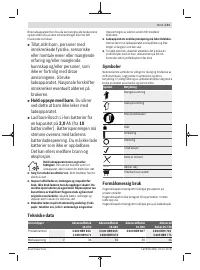
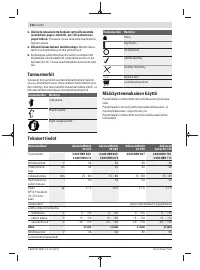
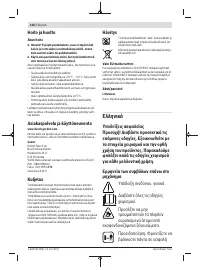
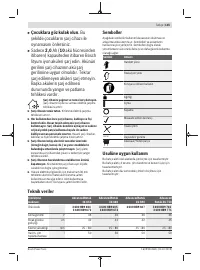
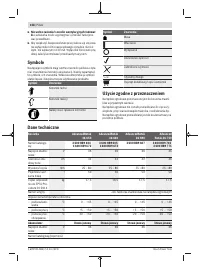
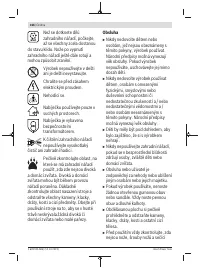
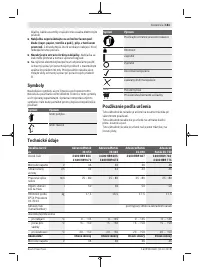
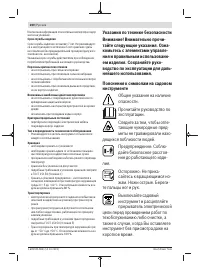
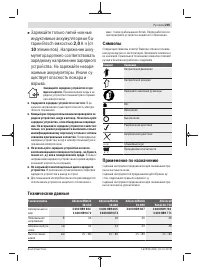
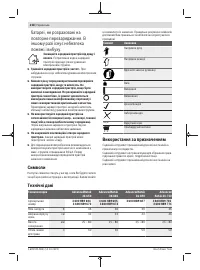
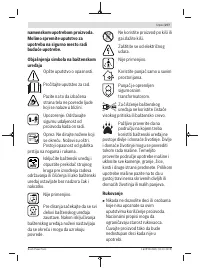
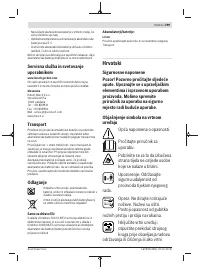
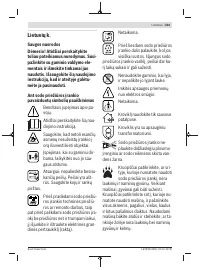
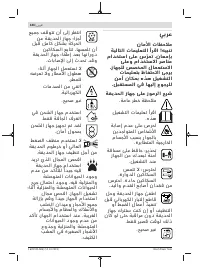
- 205 Символы
- 209 Включение; Для Вашей безопасности; Процесс зарядки
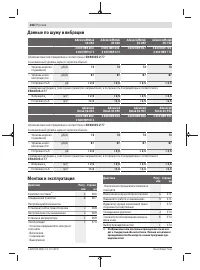
- 210 Указания по работе; Индикатор заряда аккумуляторной батареи; Контроль температуры аккумулятора
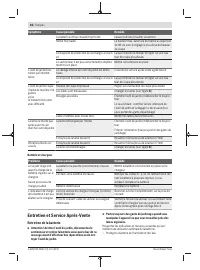
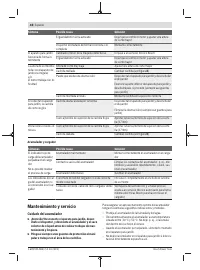
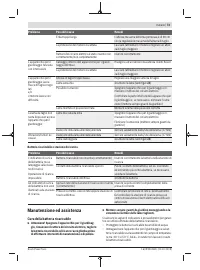
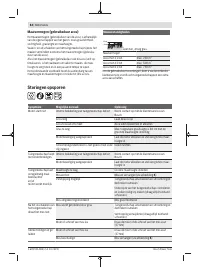
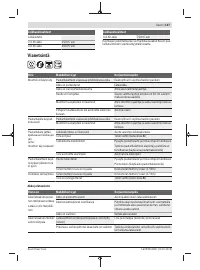
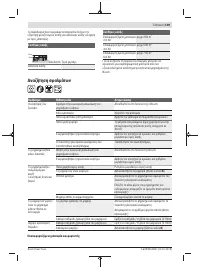
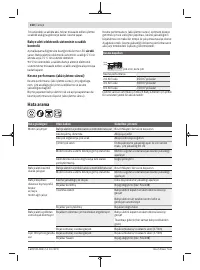
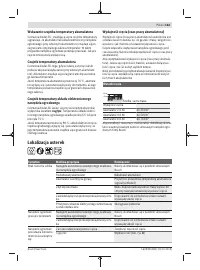
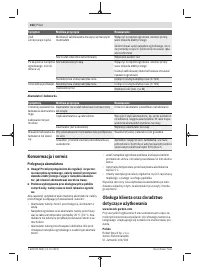
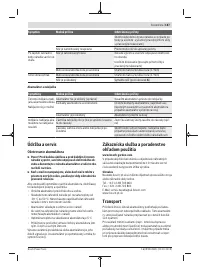
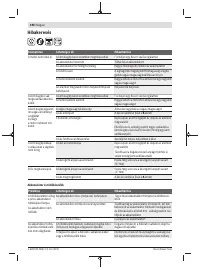
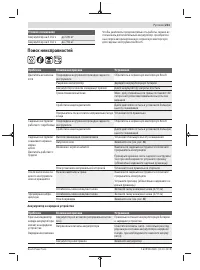
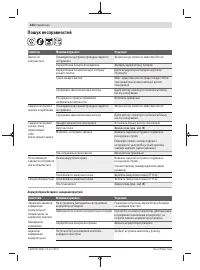
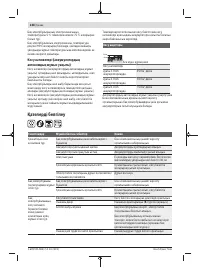
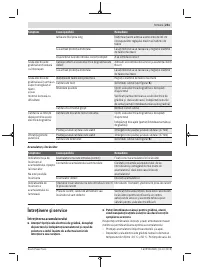
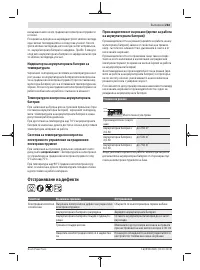
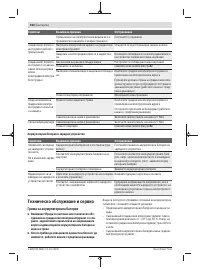
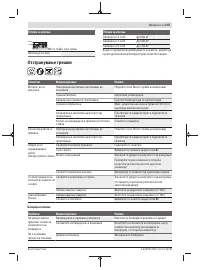
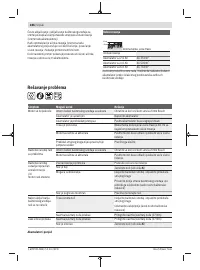
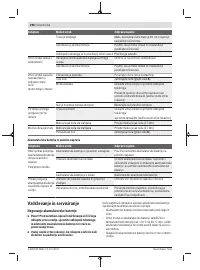
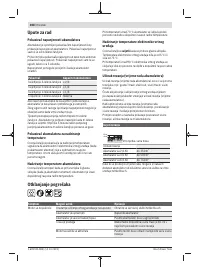
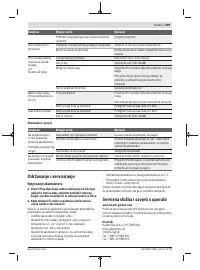
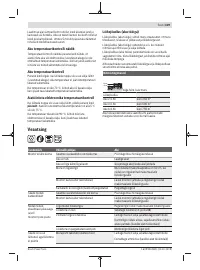
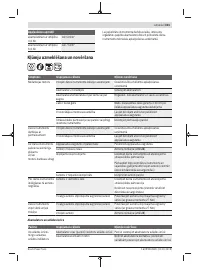
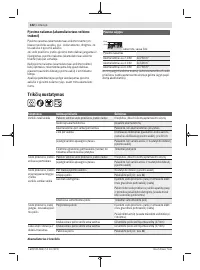
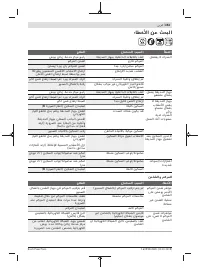
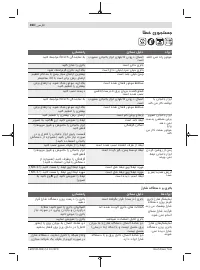
- 211 Поиск неисправностей
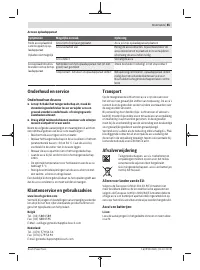
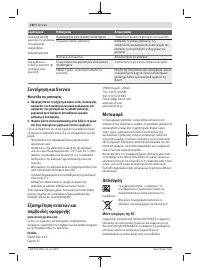
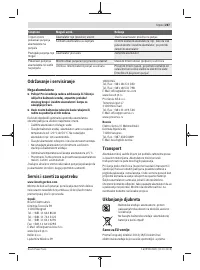
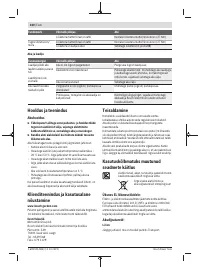
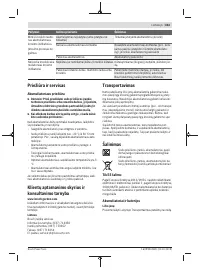
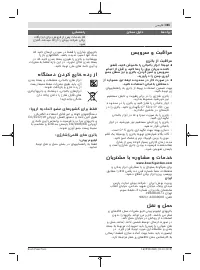
- 212 Техобслуживание и сервис; Уход за аккумулятором
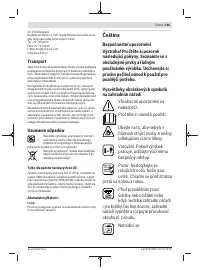
- 213 Українська


