
Фены Valera 542.14/038A - инструкция пользователя по применению, эксплуатации и установке на русском языке. Мы надеемся, она поможет вам решить возникшие у вас вопросы при эксплуатации техники.
Если остались вопросы, задайте их в комментариях после инструкции.
"Загружаем инструкцию", означает, что нужно подождать пока файл загрузится и можно будет его читать онлайн. Некоторые инструкции очень большие и время их появления зависит от вашей скорости интернета.


7
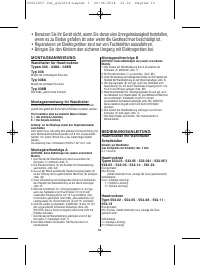
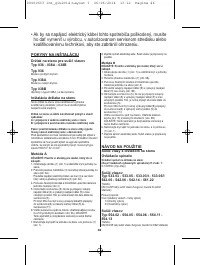
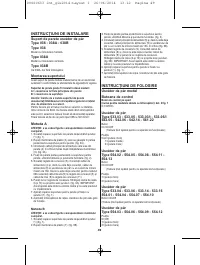
INSTALLATION INSTRUCTIONS
Wall holder for hairdryer
Type 036 - 038A - 038B
Type 036
Front housing model.
Type 038A
Ver tical housing model.
Type 038B
As the 038A but with no switch.
Installation of wall holder
This wall holder must only be installed by a qualified
electrician in conformity to applicable safety standards.
The wall holder may be installed in one of two ways:
A = connection to wall mains wiring
B = connection to surface mains wiring
Attention: before installing the wall holder always switch
off the general switch of your mains electricity.
For each pole a switch with a minimum break distance
between contacts of 3 mm must be fitted up-line of the
appliance.
Each time the appliance is opened, the switch must be used
to disconnect the appliance.
The connection wiring must be at least type H05VV-F
2x1,0 mm
2
.
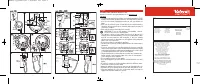
Method A
IMPORTANT: Refer to the figures for the model you have
purchased.
1. Unscrew the screw (1) (fig. 1) and remove the cover from
the wall unit.
2. Break the plastic membrane (3) at the back of the wall unit
(fig. 3A).
3. Route the main power cable from the wall (4) through the
hole left by the plastic membrane (3) (fig. 3A).
4. Fix the back of the wall unit to the wall using the fixing
screws and wall plugs provided (fig. 2).
5. Remove the terminal strip (5). The input power cable (4)
and the output power cable (9) of hairdryer with max input
current of 10A,if not already connected, must be
connected to the terminal strip(5).
In mod. 036 the Neutral output cable(9) must be connected
to terminal strip(5) and the Line output cable (9) to terminal
strip (11).
6. Reposition the terminal strip. Tighten the cable clamp
(6 and 10) with its own screws. (fig. 3A). IMPORTANT:
This appliance is double insulated and has no ground
(ear th) connection.
7. Fit the cover back on the wall unit with (1) (fig. 1).
8. Switch the power on at the mains switch. The hair dryer is
now ready to use.
Method B
IMPORTANT: Refer to the figures for the model you have
purchased.
1. Unscrew the screw (1) (fig. 1) and remove the cover from
the wall unit.
2. Break the plastic membrane (7) (fig. 3B).
3. Fix the back of the wall unit to the wall using the fixing
screws and wall plugs provided (fig. 2).
4. Route the input power cable (8) and the output power (9)
into the holes (fig. 3B).
5. Remove the terminal strip (5). The input power cable (8)
and the output power cable (9) of hairdryer with max input
current of 10A,if not already connected, must be
connected to the terminal strip(5).
In mod. 036 the Neutral output cable(9) must be connected
to terminal strip (5) and the Line output cable (9) to
terminal strip (11).
Reposition the terminal strip. Tighten the cable clamp (6 and
10) with its own screws. (fig. 3B). IMPORTANT: This
appliance is double insulated and has no ground (ear th)
connection.
6. Fit the cover back on the wall unit with (1) (fig. 1).
7. Switch the power on at the mains switch. The hair dryer is
now ready to use.
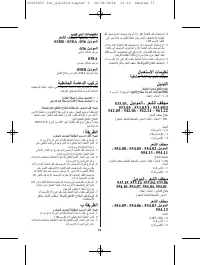
INSTRUCTIONS FOR USE
Hairdryer with wall holder
Control Switches
Control switch on wall holder
(only for models equipped with a switch) rif. 2 fig. 1:
0-1 = Off/On
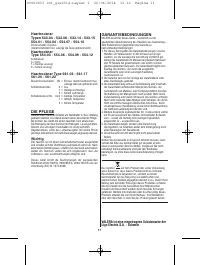
Hairdryer
Type 533.03 - 533.05 - 533.03/I - 533.05/I
542.05 - 542.06 - 542.14 - 561.22
Pushbutton:
ON=On/Off
(pressure must be maintained to operate the hairdryer)
Slide Switch
Cool=(low power)
1=(medium power)
2=(maximum power)
Hairdryer
Type 554.02 - 554.05 - 554.08 - 554.11
554.13
Pushbutton:
ON=On/Off (pressure must be maintained to operate the
hairdryer)
Slide Switch
1=(low power)
2=(maximum power)
Hardryer
Type 533.04 - 533.06 - 533.14 - 533.15
554.01 - 554.04 - 554.07 - 554.10
Pushbutton=On/Off
(pressure must be maintained to operate the hairdryer)
00060633 int_giu2014:Layout 1 26/06/2014 13.12 Pagina 7
Характеристики

Остались вопросы?Не нашли свой ответ в руководстве или возникли другие проблемы? Задайте свой вопрос в форме ниже с подробным описанием вашей ситуации, чтобы другие люди и специалисты смогли дать на него ответ. Если вы знаете как решить проблему другого человека, пожалуйста, подскажите ему :)


