
Фены Bellissima 11312N/L/X - инструкция пользователя по применению, эксплуатации и установке на русском языке. Мы надеемся, она поможет вам решить возникшие у вас вопросы при эксплуатации техники.
Если остались вопросы, задайте их в комментариях после инструкции.
"Загружаем инструкцию", означает, что нужно подождать пока файл загрузится и можно будет его читать онлайн. Некоторые инструкции очень большие и время их появления зависит от вашей скорости интернета.


6
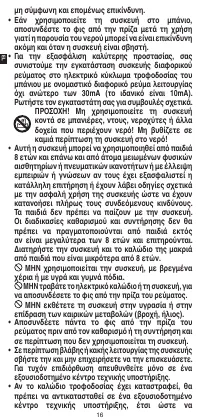
DO NOT expose the appliance to humidity or weather
conditions (rain, sun, etc.).
• Always disconnect the appliance from the mains supply
before cleaning or performing maintenance and when
the appliance is not in use.
• If the appliance is faulty or malfunctions, switch it off
and do not tamper with it. Any repairs must only be
carried out by an authorised technical service centre.
• If the power cable is damaged it must be replaced by
an authorised technical service centre, so as to prevent
all risks.
DO NOT obstruct the intake filter and always keep it
free from dust and hair.
DO NOT spray hairspray while the appliance is
switched on. There is a risk of fire.
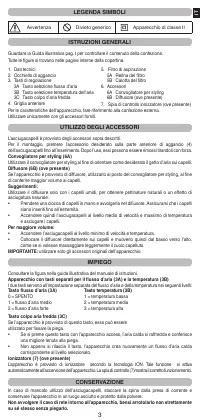
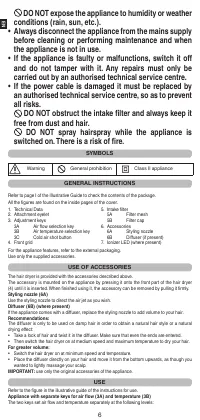
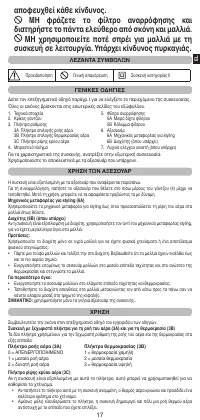
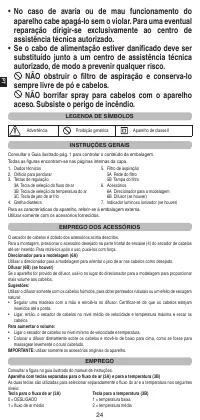
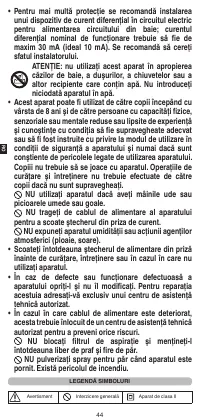
SYMBOLS
Warning
General prohibition
Class II appliance
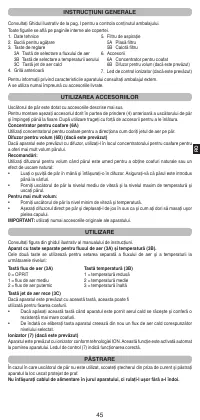
GENERAL INSTRUCTIONS
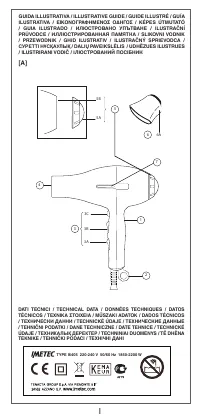
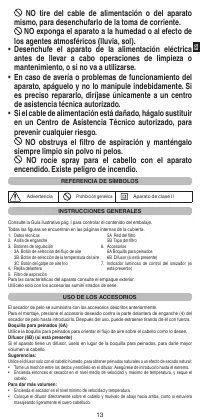
Refer to page I of the Illustrative Guide to check the contents of the package.
All the figures are found on the inside pages of the cover.
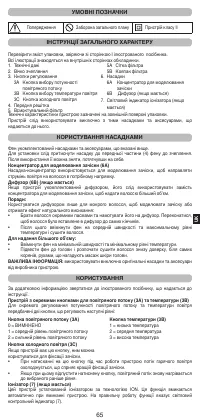
1. Technical Data
2. Attachment eyelet
3. Adjustment keys
3A
Air flow selection key
3B
Air temperature selection key
3C
Cold air shot button
4. Front grid
5.
Intake filter
5A
Filter mesh
5B
Filter cap
6. Accessories
6A
Styling nozzle
6B
Diffuser (if present)
7.
Ionizer LED (where present)
For the appliance features, refer to the external packaging.
Use only the supplied accessories.
USE OF ACCESSORIES
The hair dryer is provided with the accessories described above.
The accessory is mounted on the appliance by pressing it onto the front part of the hair dryer
(4) until it is inserted. When finished using it, the accessory can be removed by pulling it firmly.
Styling nozzle (6A)
Use the styling nozzle to direct the air jet as you wish.
Diffuser (6B) (where present)
If the appliance comes with a diffuser, replace the styling nozzle to add volume to your hair.
Recommendations:
The diffuser is only to be used on damp hair in order to obtain a natural hair style or a natural
drying effect:
• Take a lock of hair and twist it in the diffuser. Make sure that even the ends are entered.
• Then switch the hair dryer on at medium speed and maximum temperature to dry your hair.
For greater volume:
• Switch the hair dryer on at minimum speed and temperature.
• Place the diffuser directly on your hair and move it from the bottom upwards, as though you
wanted to lightly massage your scalp.
IMPORTANT:
use only the original accessories of the appliance.
USE
Refer to the figure in the illustrative guide of the instructions for use.
Appliance with separate keys for air flow (3A) and temperature (3B)
The two keys set air flow and temperature separately at the following levels:
EN
Характеристики

Остались вопросы?Не нашли свой ответ в руководстве или возникли другие проблемы? Задайте свой вопрос в форме ниже с подробным описанием вашей ситуации, чтобы другие люди и специалисты смогли дать на него ответ. Если вы знаете как решить проблему другого человека, пожалуйста, подскажите ему :)


