
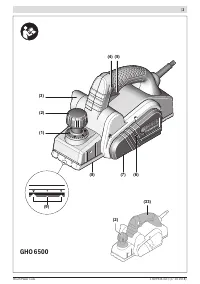
Электрорубанки Bosch GHO 6500 - инструкция пользователя по применению, эксплуатации и установке на русском языке. Мы надеемся, она поможет вам решить возникшие у вас вопросы при эксплуатации техники.
Если остались вопросы, задайте их в комментариях после инструкции.
"Загружаем инструкцию", означает, что нужно подождать пока файл загрузится и можно будет его читать онлайн. Некоторые инструкции очень большие и время их появления зависит от вашей скорости интернета.


used for a preliminary estimation of vibration and noise
emissions.
The given vibration level and noise emission value represent
the main applications of the power tool. However, if the
power tool is used for other applications, with different ap-
plication tools or is poorly maintained, the vibration level
and noise emission value may differ. This may significantly
increase the vibration and noise emissions over the total
working period.
To estimate vibration and noise emissions accurately, the
times when the tool is switched off or when it is running but
not actually being used should also be taken into account.
This may significantly reduce vibration and noise emissions
over the total working period.
Implement additional safety measures to protect the oper-
ator from the effects of vibration, such as servicing the
power tool and application tools, keeping the hands warm,
and organising workflows correctly.
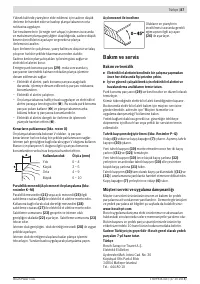
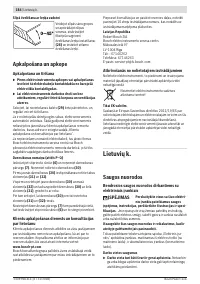
Fitting
u
Pull the plug out of the socket before carrying out any
work on the power tool.
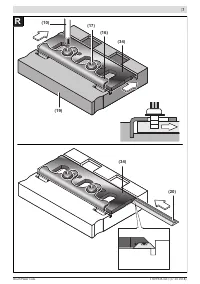
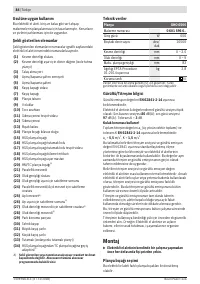
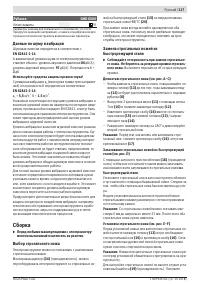
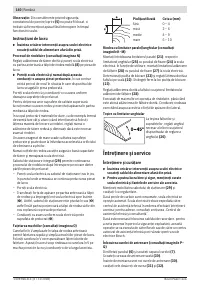
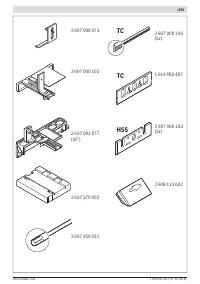
Choosing the Planer Blade
The power tool can be fitted with different planer blades.
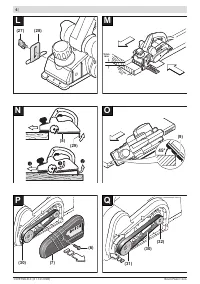
Fitting the adapter
(34)
(accessory) allows the power tool to
be changed from HSS planer blades
(15)
to HM/TC planer
blades
(20)
.
Always change both planer blades – replacing just one blade
will create an imbalance that could cause vibrations and
shorten the service life of the power tool.
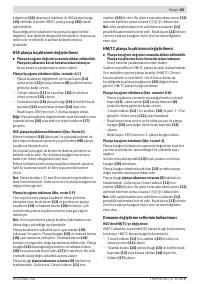
Changing the HSS Planer Blades
u
Take care when changing the planer blade. Do not pick
up the planer blade by the cutting edges.
You may be
injured by the sharp cutting edges.
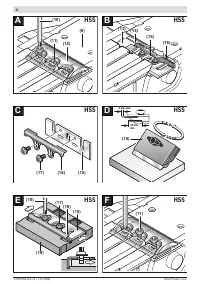
Removing the Planer Blades (see figures A–C)
– To replace the planer blades, turn the blade head
(13)
until the clamping jaw
(12)
is parallel with the planer base
plate
(8)
.
– Undo the three fastening screws
(11)
using the Torx key
(10)
and remove the clamping jaw
(12)
.
– Push the retaining clip
(16)
together with the planer
blade
(15)
out of the blade head
(13)
and/or the guide
groove
(14)
.
– Turn the blade head 180° and remove the second planer
blade.
Note:
Before changing or resharpening the planer blades,
remove the retaining clip
(16)
by undoing the fastening
screw
(17)
.
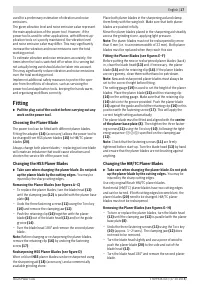
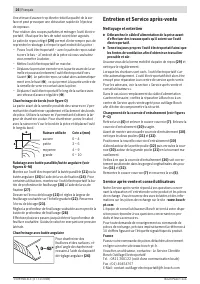
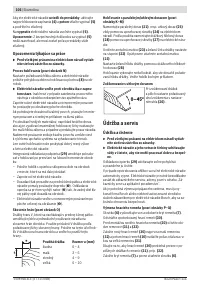
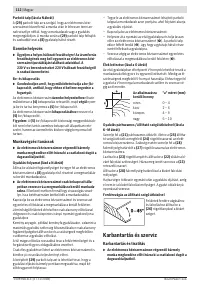
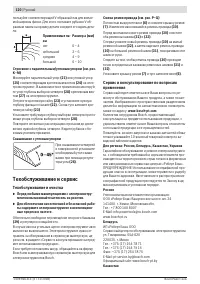
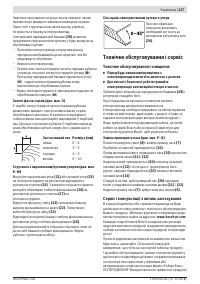
Resharpening HSS Planer Blades (see figure D)
Worn or blunt
HSS
planer blades can be resharpened using
the sharpening aid
(18)
(accessory) and a commercially
available grinding stone.
Place both planer blades in the sharpening aid and clamp
them firmly with the wing bolt. Make sure that both planer
blades are pushed in fully.
Move the planer blades placed in the sharpening aid steadily
across the grinding stone, applying light pressure.
Note:
The planer blades must not be resharpened by more
than 6 mm (i.e. to a minimum width of 23 mm). Both planer
blades must be replaced when they reach this size.
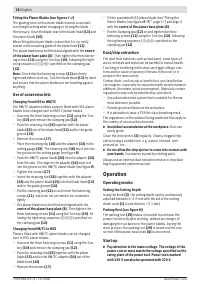
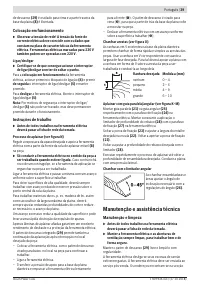
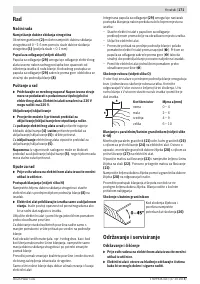
Fitting the Planer Blades (see figures E–F)
Before putting the new or resharpened planer blades (back)
in, clean the blade head
(13)
and, if necessary, the planer
blade
(15)
and the retaining clip
(16)
. If the planer blades
are very gummy, clean them with ethanol or petroleum.
Note:
New and resharpened planer blades must always be
set to the correct height before fitting.
The setting gauge
(19)
is used to set the height of the planer
blades. Place the planer blade
(15)
and the retaining clip
(16)
on the setting gauge. Make sure that the retaining clip
(16)
slots into the groove provided. Push the planer blade
(15)
against the guide and hold the retaining clip
(16)
in this
position with the fastening screw
(17)
. This will apply the
correct height setting automatically.
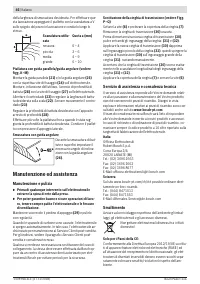
The planer blade must be fitted and aligned with the
centre
of the planer base plate
(8)
. Then tighten the three fasten-
ing screws
(11)
using the Torx key
(10)
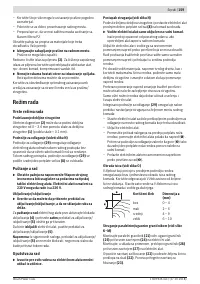
, following the tight-
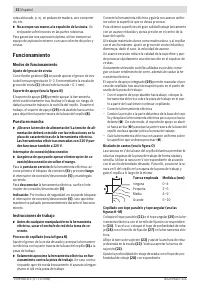
ening sequence (
①②③
) specified on the clamping jaw
(12)
.
Note:
Check that the fastening screws
(11)
are firmly
tightened before start-up. Turn the blade head
(13)
by hand
and ensure that the planer blades are not brushing against
anything.
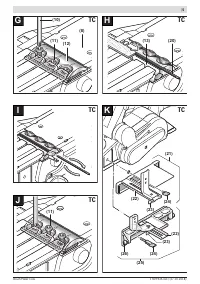
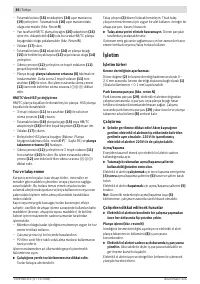
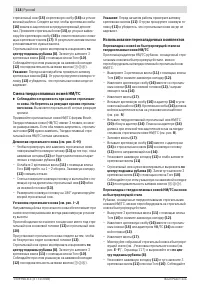
Changing the HM/TC Planer Blades
u
Take care when changing the planer blade. Do not pick
up the planer blade by the cutting edges.
You may be
injured by the sharp cutting edges.
Use only original Bosch HM/TC planer blades.
Hard metal (HM/TC) planer blades have two cutting edges
and can be turned. If both cutting edges become blunt, the
planer blades
(20)
need to be changed. HM/TC planer
blades must not be resharpened.
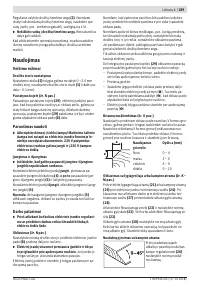
Removing the Planer Blades (see figures G–H)
– To turn or replace the planer blades, turn the blade head
(13)
until the clamping jaw
(12)
is parallel with the planer
base plate
(8)
.
– Undo the three fastening screws
(11)
using the Torx key
(10)
(approx. 1–2 turns). The clamping jaw
(12)
does
not need to be removed.
– Turn the blade head slightly and use a piece of wood to
push the planer blade
(20)
to the side and out of the
blade head
(13)
.
– Turn the blade head 180° and remove the second planer
blade.
English |
17
Bosch Power Tools
1 609 92A 4LE | (17.10.2018)
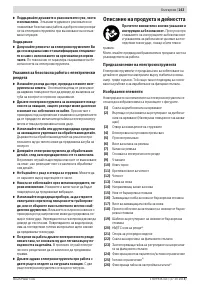
Содержание
- 114 Указания по технике безопасности; ЖДЕНИЕ
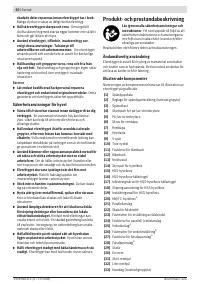
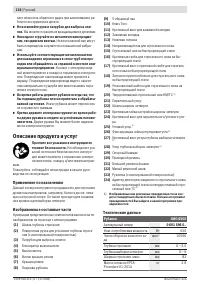
- 116 Описание продукта и услуг; Применение по назначению
- 117 Данные по шуму и вибрации; Сборка; Выбор строгального ножа
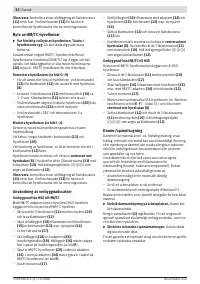
- 118 Смена твердосплавных ножей HM/TC
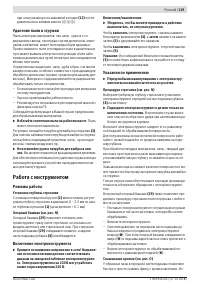
- 119 Удаление пыли и стружки; Работа с инструментом; Режимы работы; Включение электроинструмента; Указания по применению
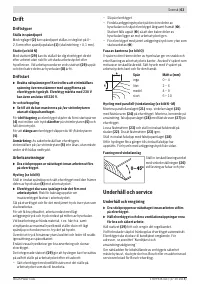
- 120 Техобслуживание и сервис; Техобслуживание и очистка
- 121 Утилизация; Українська; Вказівки з техніки безпеки; ДЖЕННЯ
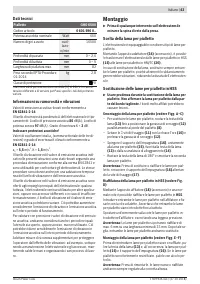
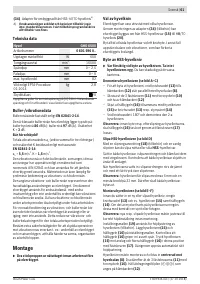
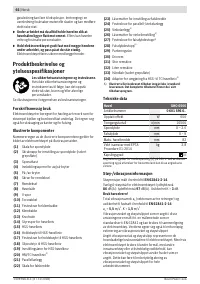
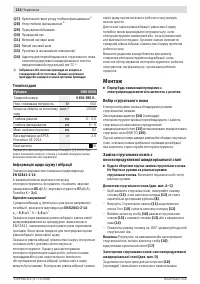
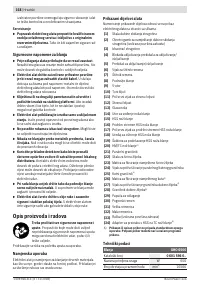
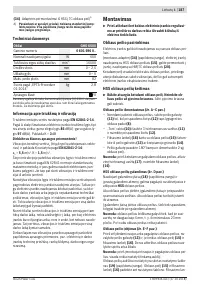
Характеристики

Остались вопросы?Не нашли свой ответ в руководстве или возникли другие проблемы? Задайте свой вопрос в форме ниже с подробным описанием вашей ситуации, чтобы другие люди и специалисты смогли дать на него ответ. Если вы знаете как решить проблему другого человека, пожалуйста, подскажите ему :)


