Электропилы Bosch GKS 160 - инструкция пользователя по применению, эксплуатации и установке на русском языке. Мы надеемся, она поможет вам решить возникшие у вас вопросы при эксплуатации техники.
Если остались вопросы, задайте их в комментариях после инструкции.
"Загружаем инструкцию", означает, что нужно подождать пока файл загрузится и можно будет его читать онлайн. Некоторые инструкции очень большие и время их появления зависит от вашей скорости интернета.


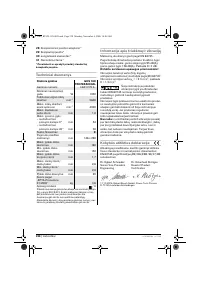

20
| English
1 609 929 J94 • 6.11.06
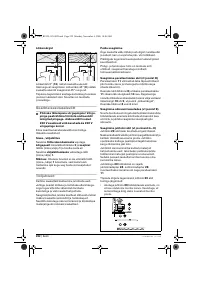
Dust/Chip Extraction
f
Before any work on the machine itself, pull
the mains plug.
Mounting the Extraction Adapter (see figure F)
Attach the extraction adapter
27
onto the sawdust
ejector
16
until it latches. A vacuum hose with a diam-
eter of 35 mm can be connected to the extraction
adapter
27
.
f
The extraction adapter may not be mounted
when no external dust extraction is con-
nected.
Otherwise the extraction channel can
become clogged.
f
Do not connect a dust bag to the extraction
adapter.
Otherwise the extraction system can
become clogged.
To ensure optimum extraction, the extraction adapter
27
must be cleaned regularly.
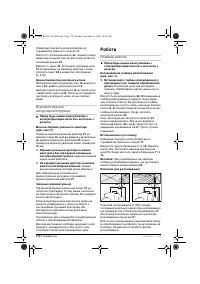
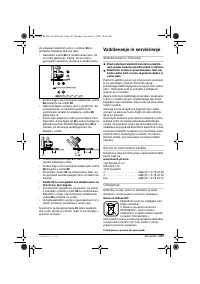
External Dust Extraction
Connect the vacuum hose
31
to a vacuum cleaner
(accessory). An overview for connecting to various
vacuum cleaners can be found at the end of this man-
ual.
The machine can be plugged directly into the recep-
tacle of a Bosch all-purpose vacuum cleaner with
remote starting control. The vacuum cleaner starts
automatically when the machine is switched on.
The vacuum cleaner must be suitable for the material
being worked.
When vacuuming dry dust that is especially detrimen-
tal to health or carcinogenic, use a special vacuum
cleaner.
Operation
Operating Modes
f
Before any work on the machine itself, pull
the mains plug.
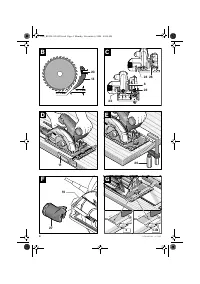
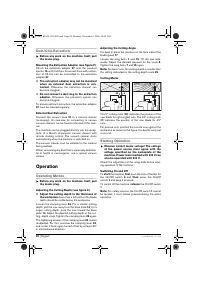
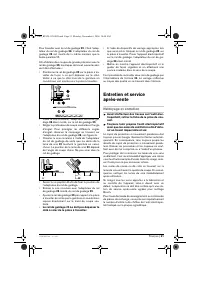
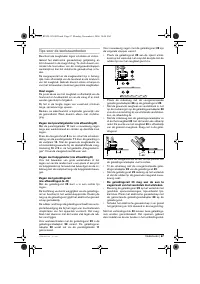
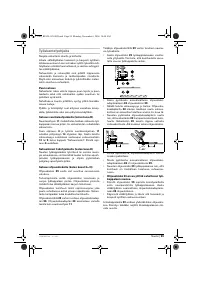
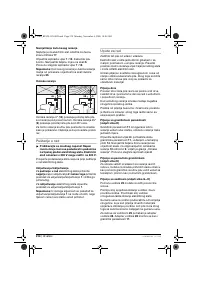
Adjusting the Cutting Depth (see figure C)
f
Adjust the cutting depth to the thickness of
the workpiece.
Less than a full tooth of the blade
teeth should be visible below the workpiece.
Loosen the clamping lever
24
. For a smaller cutting
depth, pull the saw away from the base plate
14
; for a
larger cutting depth, push the saw toward the base
plate
14
. Adjust the desired cutting depth at the cut-
ting -depth scale. Tighten the clamping lever
24
again.
The tightening tension of the clamping lever
24
can be
readjusted. For this, unscrew the clamping lever
24
,
and screw it back again turned offset by at least 30°
in anticlockwise direction.
Adjusting the Cutting Angle
It is best to place the machine on the face side of the
blade guard
17
.
Loosen the wing bolts
7
and
15
. Tilt the saw side-
wards. Adjust the desired measure on the scale
5
.
Tighten the wing bolts
7
and
15
again.
Note:
For bevel cuts, the cutting depth is smaller than
the setting indicated on the cutting-depth scale
25
.
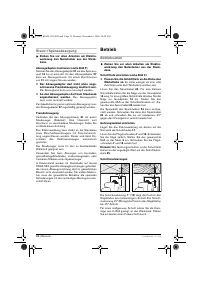
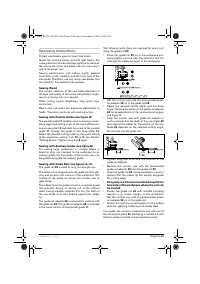
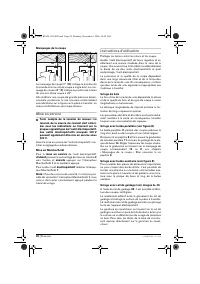
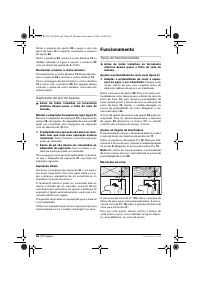
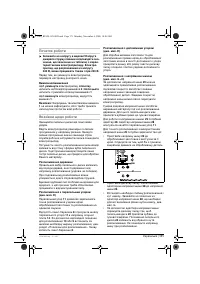
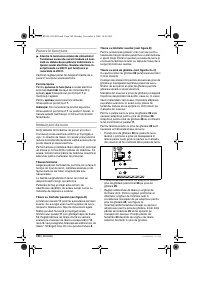
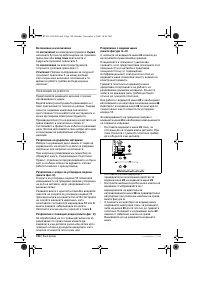
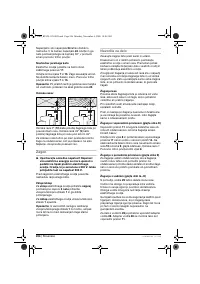
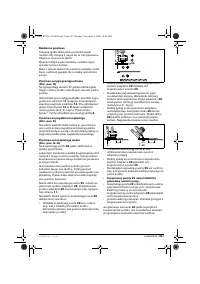
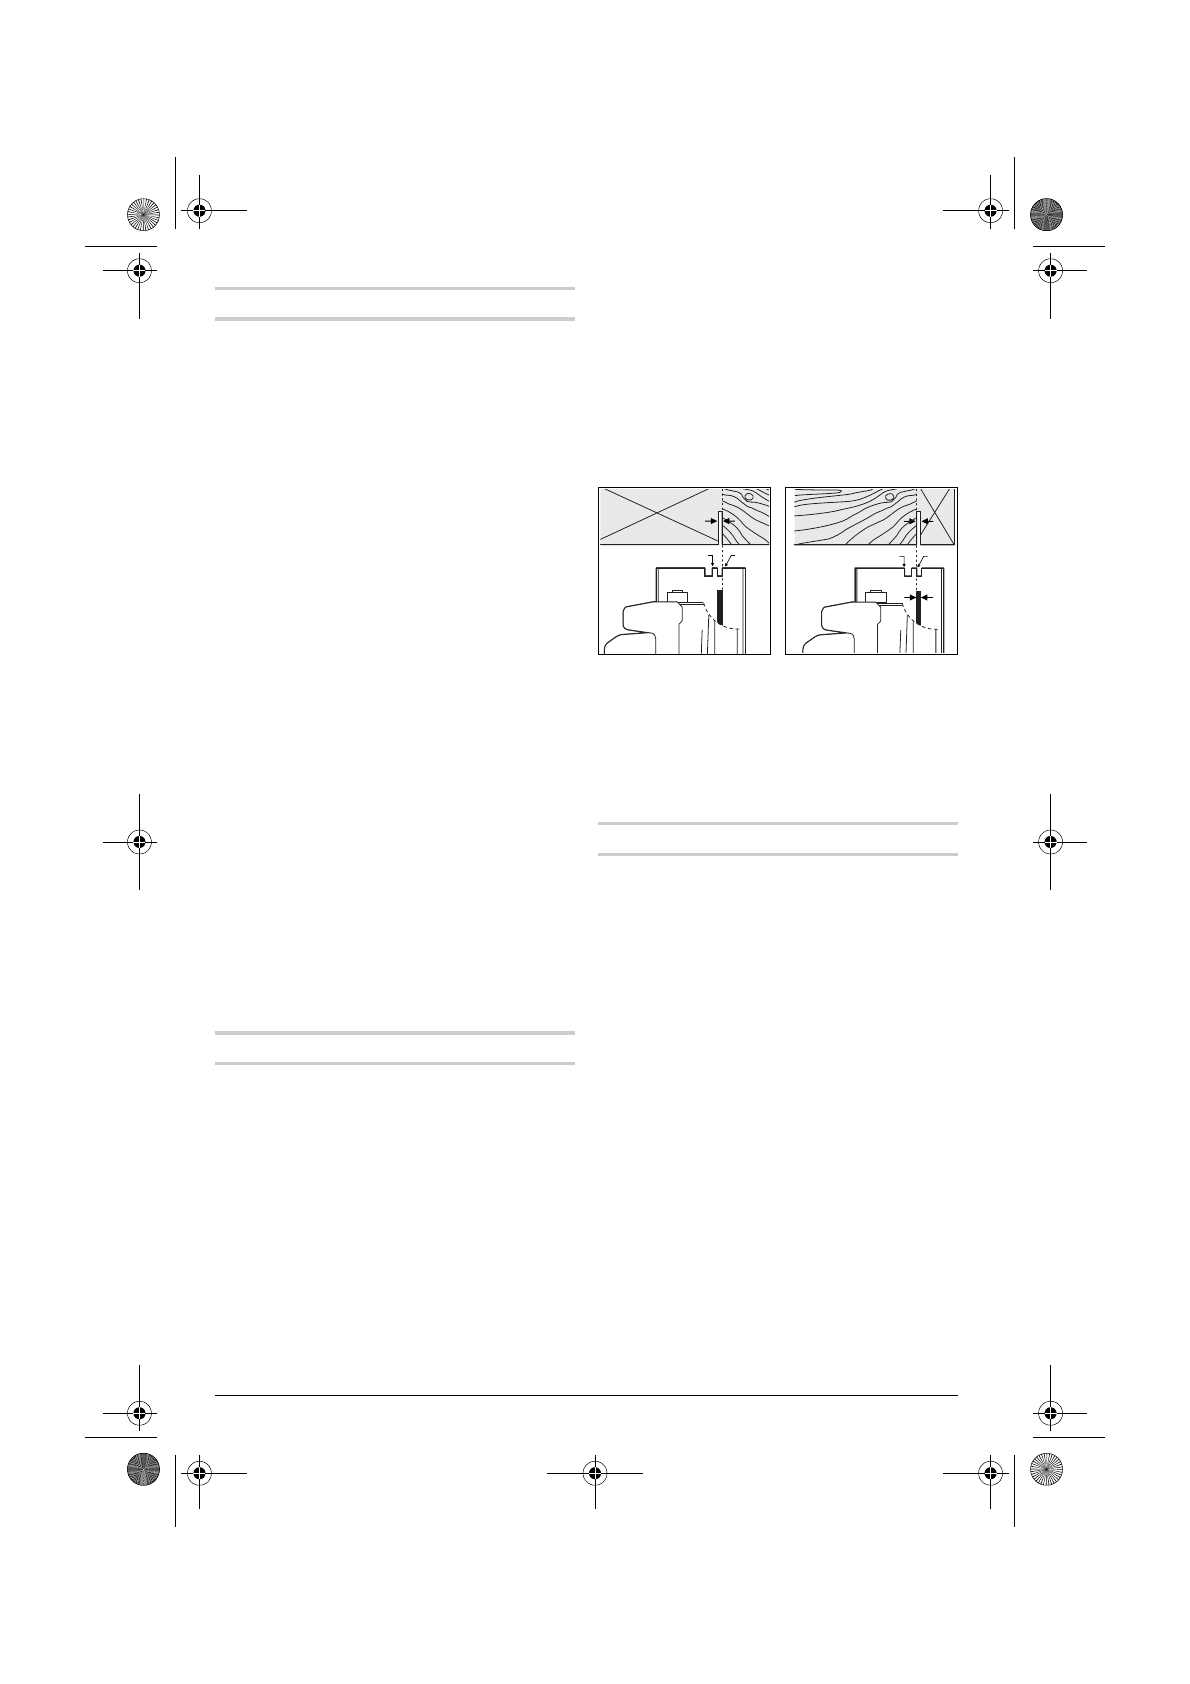
Cutting Marks
The 0 ° cutting mark (
10
) indicates the position of the
saw blade for right-angled cuts. The 45 ° cutting mark
(
9
) indicates the position of the saw blade for 45 °
cuts.
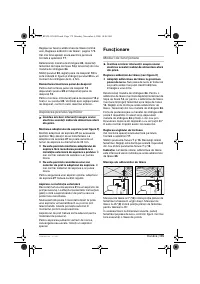
For precise cuts, position the circular saw against the
workpiece as shown in the figure. It is best to carry out
a trial cut.
Starting Operation
f
Observe correct mains voltage! The voltage
of the power source must agree with the
voltage specified on the nameplate of the
machine. Power tools marked with 230 V can
also be operated with 220 V.
Check the adjustment of the riving knife before start-
ing operation of the machine.
Switching On and Off
To
start
the machine,
first
push the lock-off button for
the On/Off switch
2
and
then
press the On/Off
switch
1
and keep it pressed.
To switch off the machine,
release
the On/Off switch
1
.
Note:
For safety reasons, the On/Off switch
1
cannot
be locked; it must remain pressed during the entire
operation.
0
45
0
45
OBJ_BUCH-185-002.book Page 20 Monday, November 6, 2006 10:08 AM


