Электрические зубные щетки Philips HX6921 Sonicare FlexCare+ - инструкция пользователя по применению, эксплуатации и установке на русском языке. Мы надеемся, она поможет вам решить возникшие у вас вопросы при эксплуатации техники.
Если остались вопросы, задайте их в комментариях после инструкции.
"Загружаем инструкцию", означает, что нужно подождать пока файл загрузится и можно будет его читать онлайн. Некоторые инструкции очень большие и время их появления зависит от вашей скорости интернета.


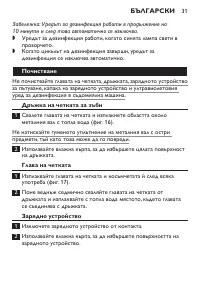
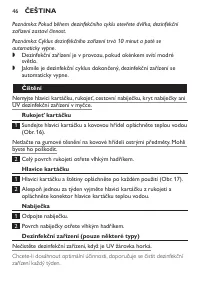


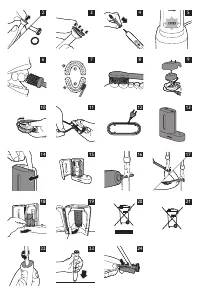


Cleaning
Do not clean the brush head, handle, travel charger, charger cover and
the UV sanitiser in the dishwasher.
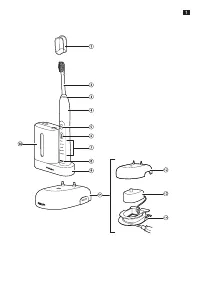
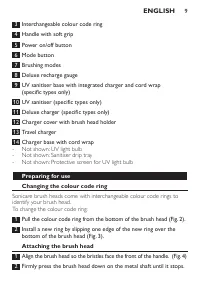
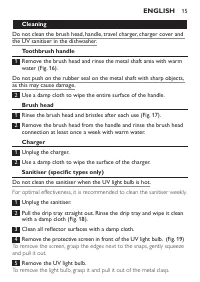
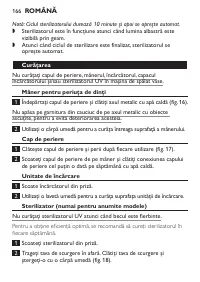
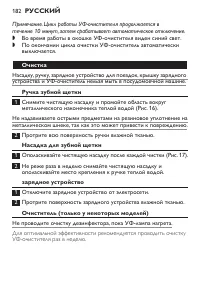
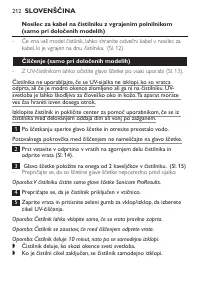
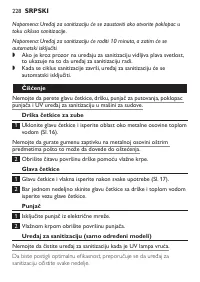
Toothbrush handle
1
Remove the brush head and rinse the metal shaft area with warm
water (Fig. 16).
Do not push on the rubber seal on the metal shaft with sharp objects,
as this may cause damage.
2
Use a damp cloth to wipe the entire surface of the handle.
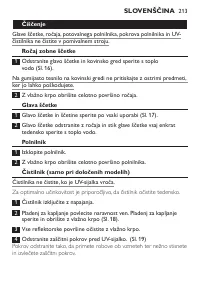
Brush head
1
Rinse the brush head and bristles after each use (Fig. 17).
2
Remove the brush head from the handle and rinse the brush head
connection at least once a week with warm water.
Charger
1
Unplug the charger.
2
Use a damp cloth to wipe the surface of the charger.
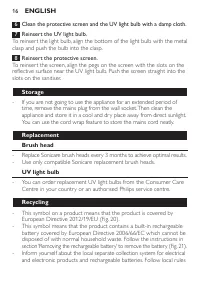
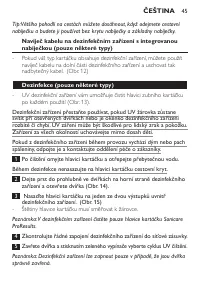
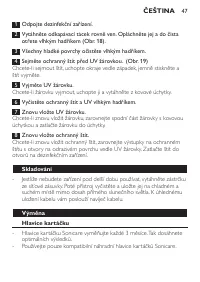
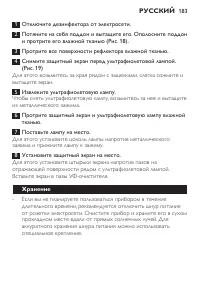
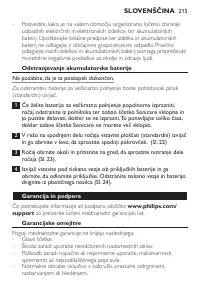
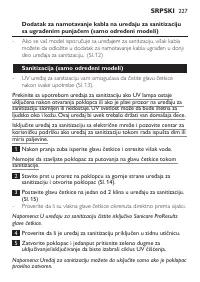
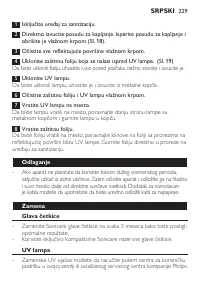
Sanitiser (specific types only)
Do not clean the sanitiser when the UV light bulb is hot.
For optimal effectiveness, it is recommended to clean the sanitiser weekly.
1
Unplug the sanitiser.
2
Pull the drip tray straight out. Rinse the drip tray and wipe it clean
with a damp cloth (Fig. 18).
3
Clean all reflector surfaces with a damp cloth.
4
Remove the protective screen in front of the UV light bulb. (Fig. 19)
To remove the screen, grasp the edges next to the snaps, gently squeeze
and pull it out.
5
Remove the UV light bulb.
To remove the light bulb, grasp it and pull it out of the metal clasp.
ENGLISH
15
Содержание
- 171 Введение; Важная информация; РУССКИЙ
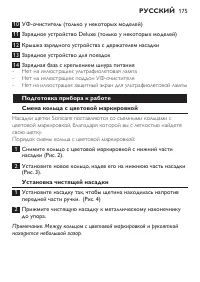
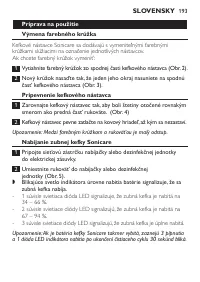
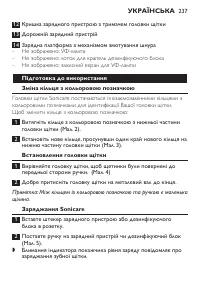
- 175 Подготовка прибора к работе; Насадки щетки Sonicare поставляются со съемными кольцами с
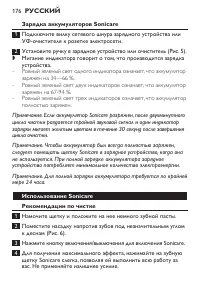
- 176 Зарядка аккумуляторов Sonicare; - Ровный зеленый свет одного индикатора означает, что аккумулятор; Использование Sonicare
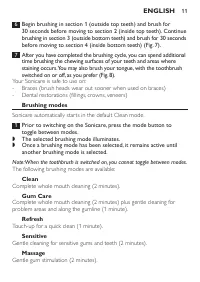
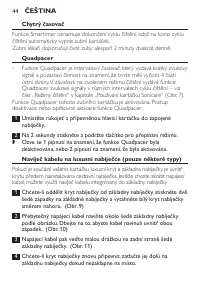
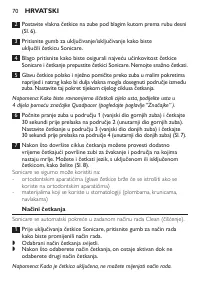
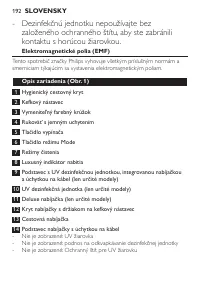
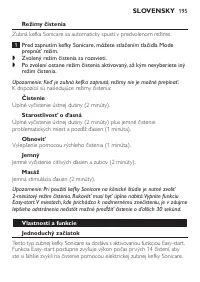
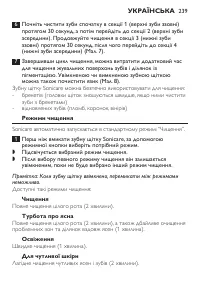
- 177 Режимы чистки; Имеются следующие режимы чистки:
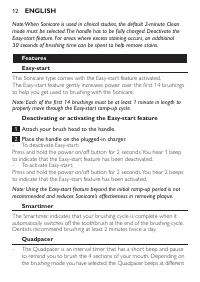
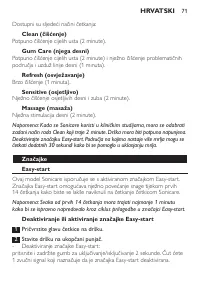
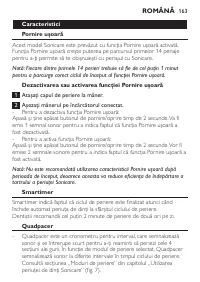
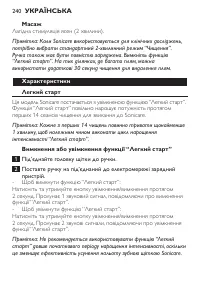
- 178 Особенности; Наденьте чистящую насадку на ручку.
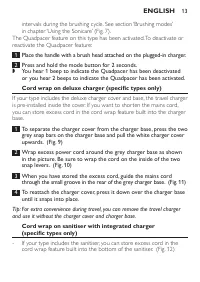
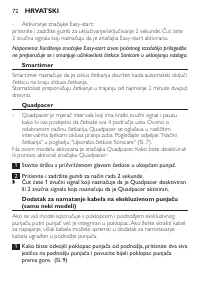
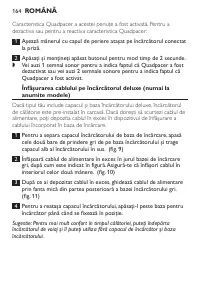
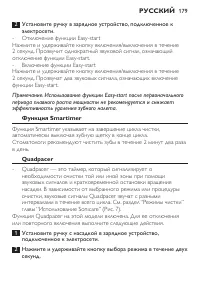
- 179 Функция Smartimer; Установите ручку с насадкой в зарядное устройство,
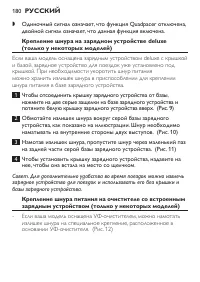
- 180 Крепление шнура питания на очистителе со встроенным
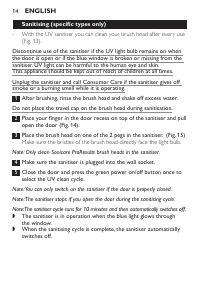
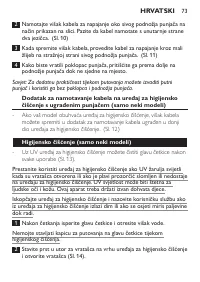
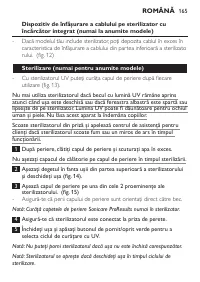
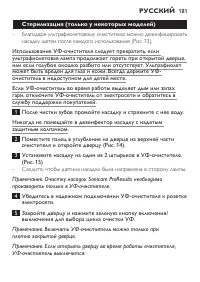
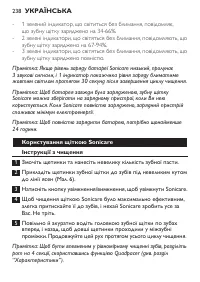
- 181 Стерилизация (только у некоторых моделей); - Следите, чтобы щетина насадки была направлена в сторону лампы.
- 182 Очистка
- 183 Хранение
- 184 Примите во внимание, что данный процесс необратим.


