Gorenje KN55225AW - инструкции и руководства
Плита Gorenje KN55225AW - инструкции пользователя по применению, эксплуатации и установке на русском языке читайте онлайн в формате pdf
Инструкции:
Инструкция по эксплуатации Gorenje KN55225AW


Краткое содержание
1 GB RU OPERATING AND MAINTENANCE INSTRUCTIONS РУКОВОДСТВО ПО ЭКСПЛУАТАЦИИ Dear customer! Thank you for purchasing a new combined electric and gas cooker. The following information will help you understand the features of the appliance and use it safely. We hope the appliance will serve you successf...
3 NOTE The manufacturer reserves the right to make minor changes in the Instructions for Use resulting from relevant technological modifications or improvements of the product. ПРИМЕЧАНИЕ Завод-изготовитель не несёт ответственность за неисправности, а гарантия не распространяется на дефекты, возникш...
4 NOTE The manufacturer declines responsibility for any injuries to persons or damages to the appliance resulting from improper usage of the appliance. ПРИМЕЧАНИЕ Завод-изготовитель не несёт ответственность за травмы или неполадки, которые возникли вследствие неправильного использования прибора. OPE...
Gorenje Плиты Инструкции
-
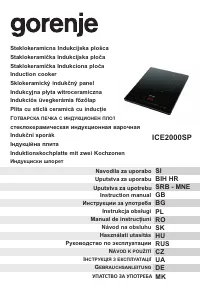 Gorenje 2000 SP
Инструкция по эксплуатации
Gorenje 2000 SP
Инструкция по эксплуатации
-
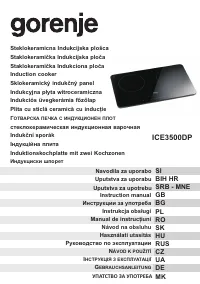 Gorenje 3500 DP
Инструкция по эксплуатации
Gorenje 3500 DP
Инструкция по эксплуатации
-
 Gorenje B7470E
Инструкция по эксплуатации
Gorenje B7470E
Инструкция по эксплуатации
-
 Gorenje B8960SG
Инструкция по эксплуатации
Gorenje B8960SG
Инструкция по эксплуатации
-
 Gorenje BC5348DX
Инструкция по эксплуатации
Gorenje BC5348DX
Инструкция по эксплуатации
-
 Gorenje BC7333AX (BX)
Инструкция по эксплуатации
Gorenje BC7333AX (BX)
Инструкция по эксплуатации
-
 Gorenje BC7345BX / BC7349DX
Инструкция по эксплуатации
Gorenje BC7345BX / BC7349DX
Инструкция по эксплуатации
-
 Gorenje BC7446AX
Инструкция по эксплуатации
Gorenje BC7446AX
Инструкция по эксплуатации
-
 Gorenje BO5306PX
Инструкция по эксплуатации
Gorenje BO5306PX
Инструкция по эксплуатации
-
 Gorenje BO5322MX
Инструкция по эксплуатации
Gorenje BO5322MX
Инструкция по эксплуатации
-
 Gorenje BO615E01XK
Инструкция по эксплуатации
Gorenje BO615E01XK
Инструкция по эксплуатации
-
 Gorenje BO615E10MG
Инструкция по эксплуатации
Gorenje BO615E10MG
Инструкция по эксплуатации
-
 Gorenje BO615E10X
Инструкция по эксплуатации
Gorenje BO615E10X
Инструкция по эксплуатации
-
 Gorenje BO615E20XG-M
Инструкция по эксплуатации
Gorenje BO615E20XG-M
Инструкция по эксплуатации
-
 Gorenje BO625E10WG
Инструкция по эксплуатации
Gorenje BO625E10WG
Инструкция по эксплуатации
-
 Gorenje BO635E11B
Инструкция по эксплуатации
Gorenje BO635E11B
Инструкция по эксплуатации
-
 Gorenje BO635E11BK-2
Инструкция по эксплуатации
Gorenje BO635E11BK-2
Инструкция по эксплуатации
-
 Gorenje BO635E11W
Инструкция по эксплуатации
Gorenje BO635E11W
Инструкция по эксплуатации
-
 Gorenje BO635E11X
Инструкция по эксплуатации
Gorenje BO635E11X
Инструкция по эксплуатации
-
 Gorenje BO635E11XK
Инструкция по эксплуатации
Gorenje BO635E11XK
Инструкция по эксплуатации