
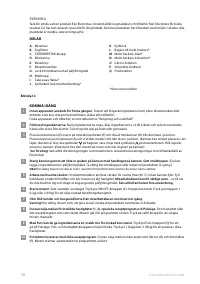
Блендеры Electrolux E7CB1-4GB - инструкция пользователя по применению, эксплуатации и установке на русском языке. Мы надеемся, она поможет вам решить возникшие у вас вопросы при эксплуатации техники.
Если остались вопросы, задайте их в комментариях после инструкции.
"Загружаем инструкцию", означает, что нужно подождать пока файл загрузится и можно будет его читать онлайн. Некоторые инструкции очень большие и время их появления зависит от вашей скорости интернета.


7
www.electrolux.com
DE
DK
EE
FI
FR
HR
HU
IT
LT
LV
FA
NO
PL
RO
RU
SE
SI
SK
SR
TR
CZ
AR
GB
BG
UA
ES
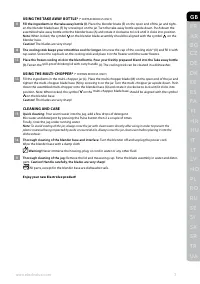
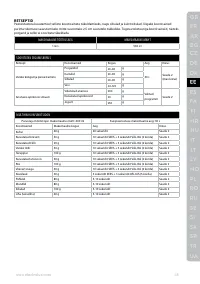
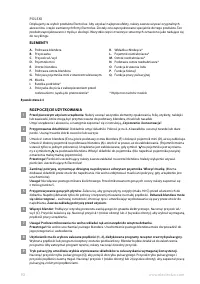
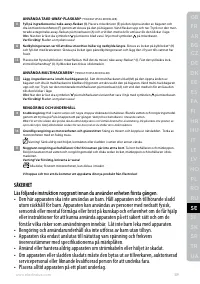
USING THE TAKE AWAY BOTTLE*
(* CERTAIN MODELS ONLY)
11
Fill the ingredients in the take away bottle (I).
Place the blender blade (E) on the open end of the jar and tight-
en the blender blade base (F) by screwing it on the jar. Turn the take away bottle upside down. Push down the
assembled take away bottle onto the blender base (A) and rotate it clockwise to lock until it clicks into position.
Note
: When locked, the symbol on the blender blade assembly should be aligned with the symbol on the
blender base.
Caution!
The blades are very sharp!
12
The cooling stick keeps your smoothies cool for longer.
Unscrew the cap of the cooling stick* (K) and fill it with
tap water. Screw the cap back on the cooling stick and place it in the freezer until the water freezes.
13
Place the frozen cooling stick in the blend bottle. Pour your freshly prepared blend into the Take away bottle
(I).
Fasten the spill-proof drinking lid with carry handle (J). The cooling stick can be cleaned in a dishwasher.
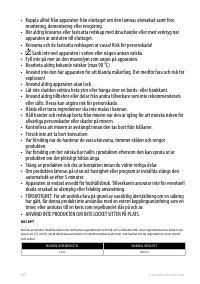
USING THE MULTI-CHOPPER*
(* CERTAIN MODELS ONLY)
14
Fill the ingredients in the multi-chopper jar (L). Place the multi-chopper blade (M) on the open end of the jar and
tighten the multi-chopper blade base (N) by screwing it on the jar. Turn the multi-chopper jar upside down. Push
down the assembled multi-chopper onto the blender base (A) and rotate it clockwise to lock until it clicks into
position. Note: When locked, the symbol on the multi-chopper blade base should be aligned with the symbol
on the blender base.
Caution!
The blades are very sharp!
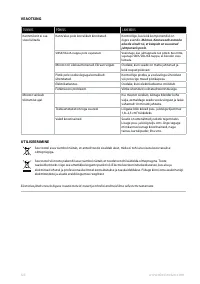
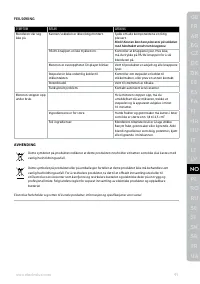
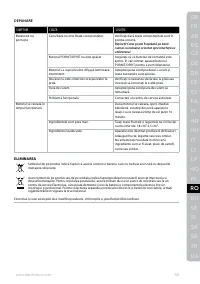
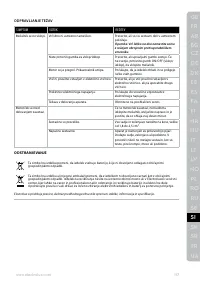
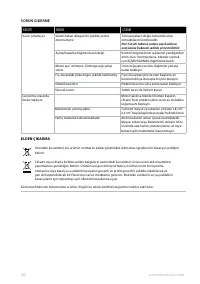
CLEANING AND CARE
15
Quick cleaning:
Pour warm water into the jug, add a few drops of detergent.
Mix water and detergent by pressing the Pulse button then 2 a couple of times.
Finally, rinse the jug under running water.
Note:
To avoid crazing of the jar, always rinse the jar with clean water directly after using in order to prevent the
plastic material being impacted by acids or essential oils. Always rinse the jar clean even before placing it into the
dishwashwer.
16
Thorough cleaning of the blender base and interface:
Turn the blender off and unplug the power cord.
Wipe the blender base with a damp cloth.
Warning!
Never immerse the housing, plug, or cord in water or any other fluid.
17
Thorough cleaning of the jug:
Remove the lid and measuring cup. Rinse the blade assembly in water and deter-
gent.
Caution! Handle carefully, the blades are very sharp!
All parts, except for the blender base are dishwasher safe.
Enjoy your new Electrolux product!
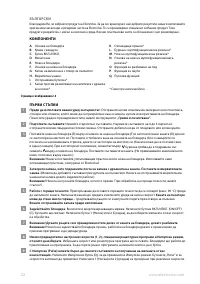
Содержание
- 103 ИСПОЛЬЗОВАНИЕ СЪЕМНОГО ШЕЙКЕРА*; МЕРЫ ПРЕДОСТОРОЖНОСТИ; устройство и кабель питания в недоступном для детей месте. Данное
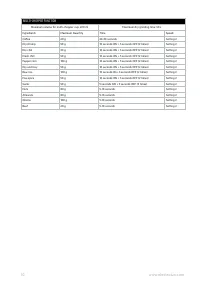
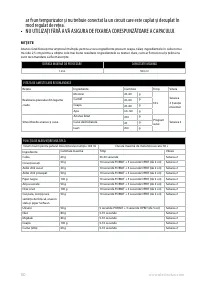
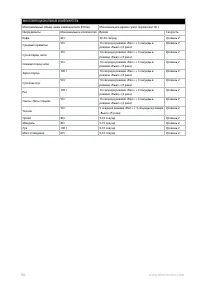
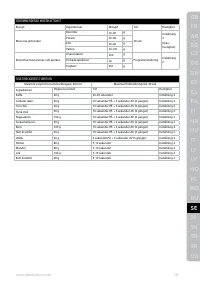
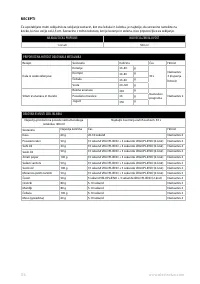
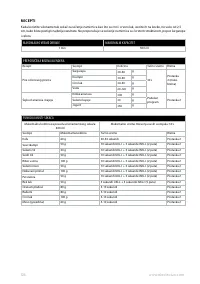
- 105 либо действий с движущимися частями.; поставщиком электроэнергии.; • ПЕРЕД ВКЛЮЧЕНИЕМ ОБЯЗАТЕЛЬНО УСТАНОВИТЕ КРЫШКУ НА МЕСТО.; РЕЦЕПТЫ; МАКСИМАЛЬНОЕ ВРЕМЯ ПЕРЕРАБОТКИ
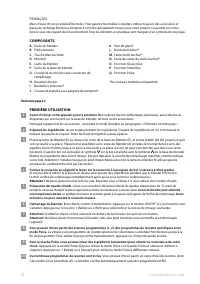
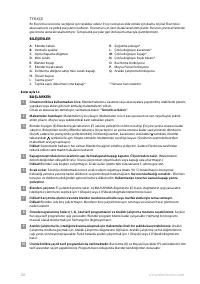
- 106 МНОГОФУНКЦИОНАЛЬНЫЙ ИЗМЕЛЬЧИТЕЛЬ
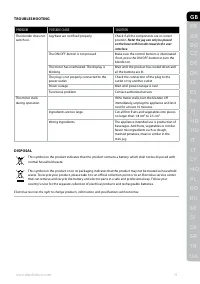
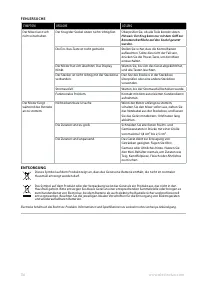
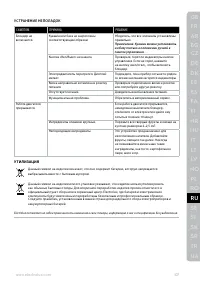
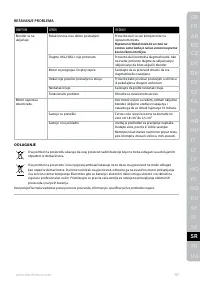
- 107 УСТРАНЕНИЕ НЕПОЛАДОК; УТИЛИЗАЦИЯ
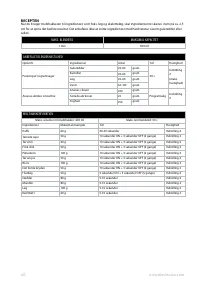
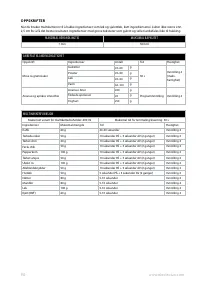
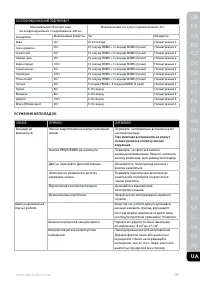
Характеристики

Остались вопросы?Не нашли свой ответ в руководстве или возникли другие проблемы? Задайте свой вопрос в форме ниже с подробным описанием вашей ситуации, чтобы другие люди и специалисты смогли дать на него ответ. Если вы знаете как решить проблему другого человека, пожалуйста, подскажите ему :)


